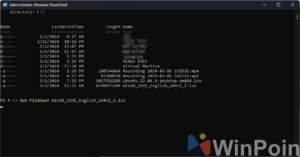
If you work in a virtual machine environment, particularly using VMWare on Windows 10 or 11, you might have encountered situations where the VM you created fails to run, displaying errors like the one shown below.
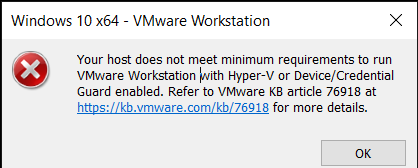
This issue arises because your Windows system does not meet the requirements to run VMWare Workstation with Hyper-V or Device Guard Enabled. A common cause is the Core Isolation feature in Windows Defender being active, which leads to this disruption.
Also Read: How to Enable Memory Integrity in Windows 10 and 11
To resolve this, ensure that the Core Isolation feature in Windows Defender or Windows Security is disabled. Here’s how you can do it:
Step 1. Open Windows Security.
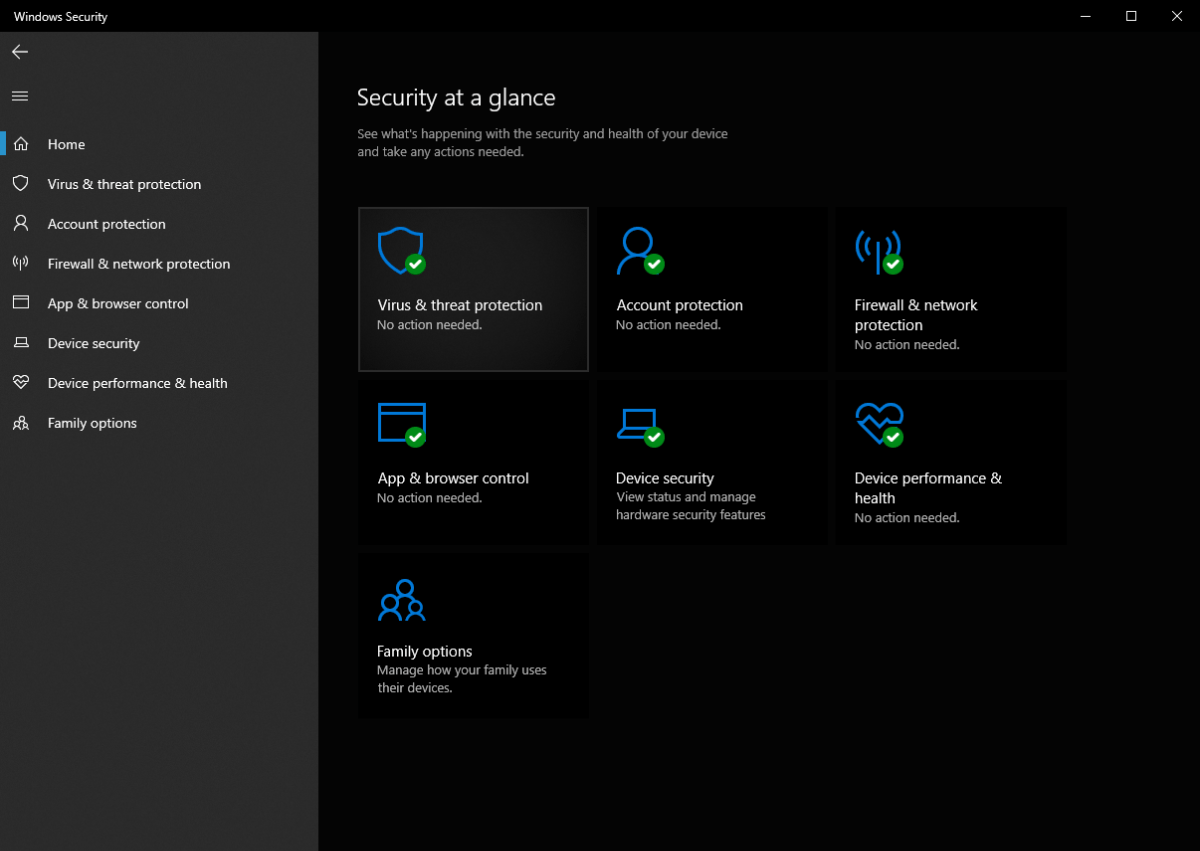
Step 2. Navigate to Device Security > Core Isolation.
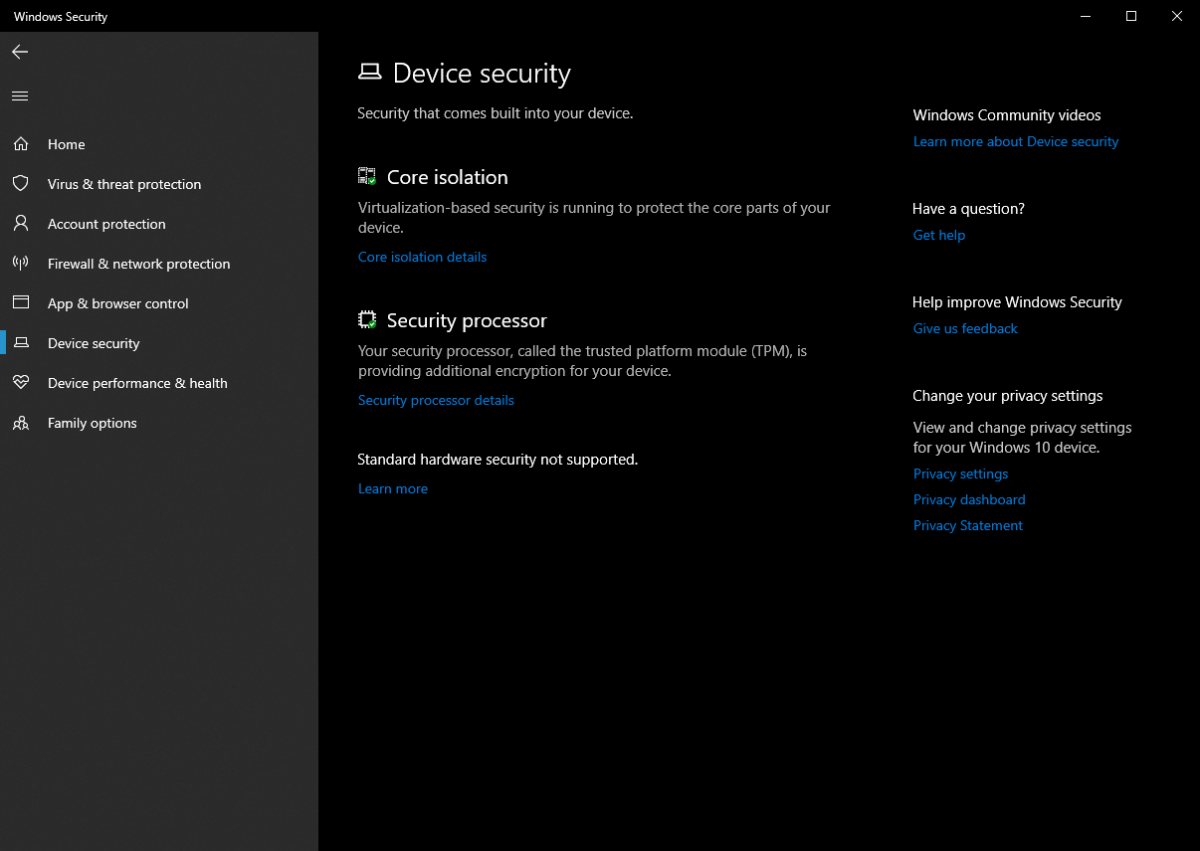
Next, disable Memory Integrity.
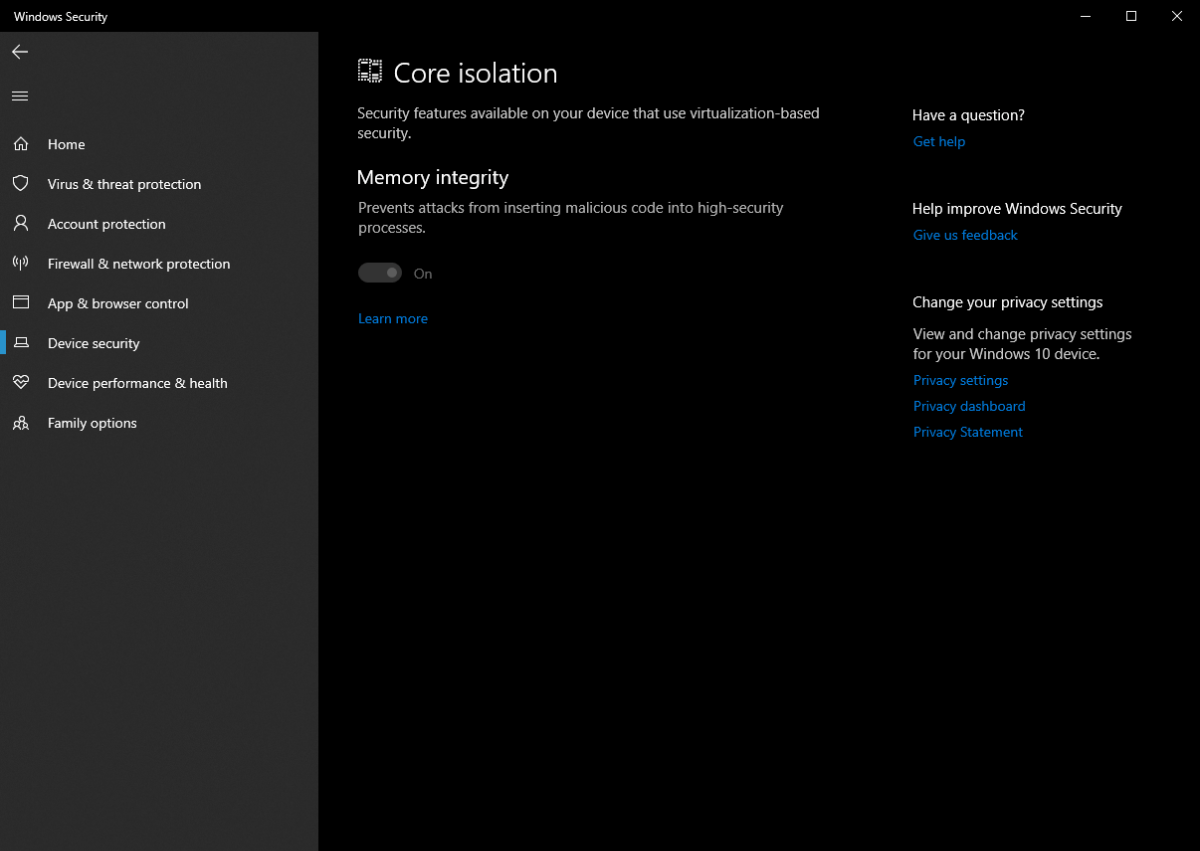
If the feature cannot be disabled, you can modify the registry editor by accessing the following registry key:
Edit the DWORD 32-bit value to 0 for Disabled. Then, return to Steps 1 and 2 and disable Memory Integrity again.
After completing these steps, restart your Windows 10 or 11 system. Once the restart is complete, the Virtual Machine should run normally, as shown in the image below.
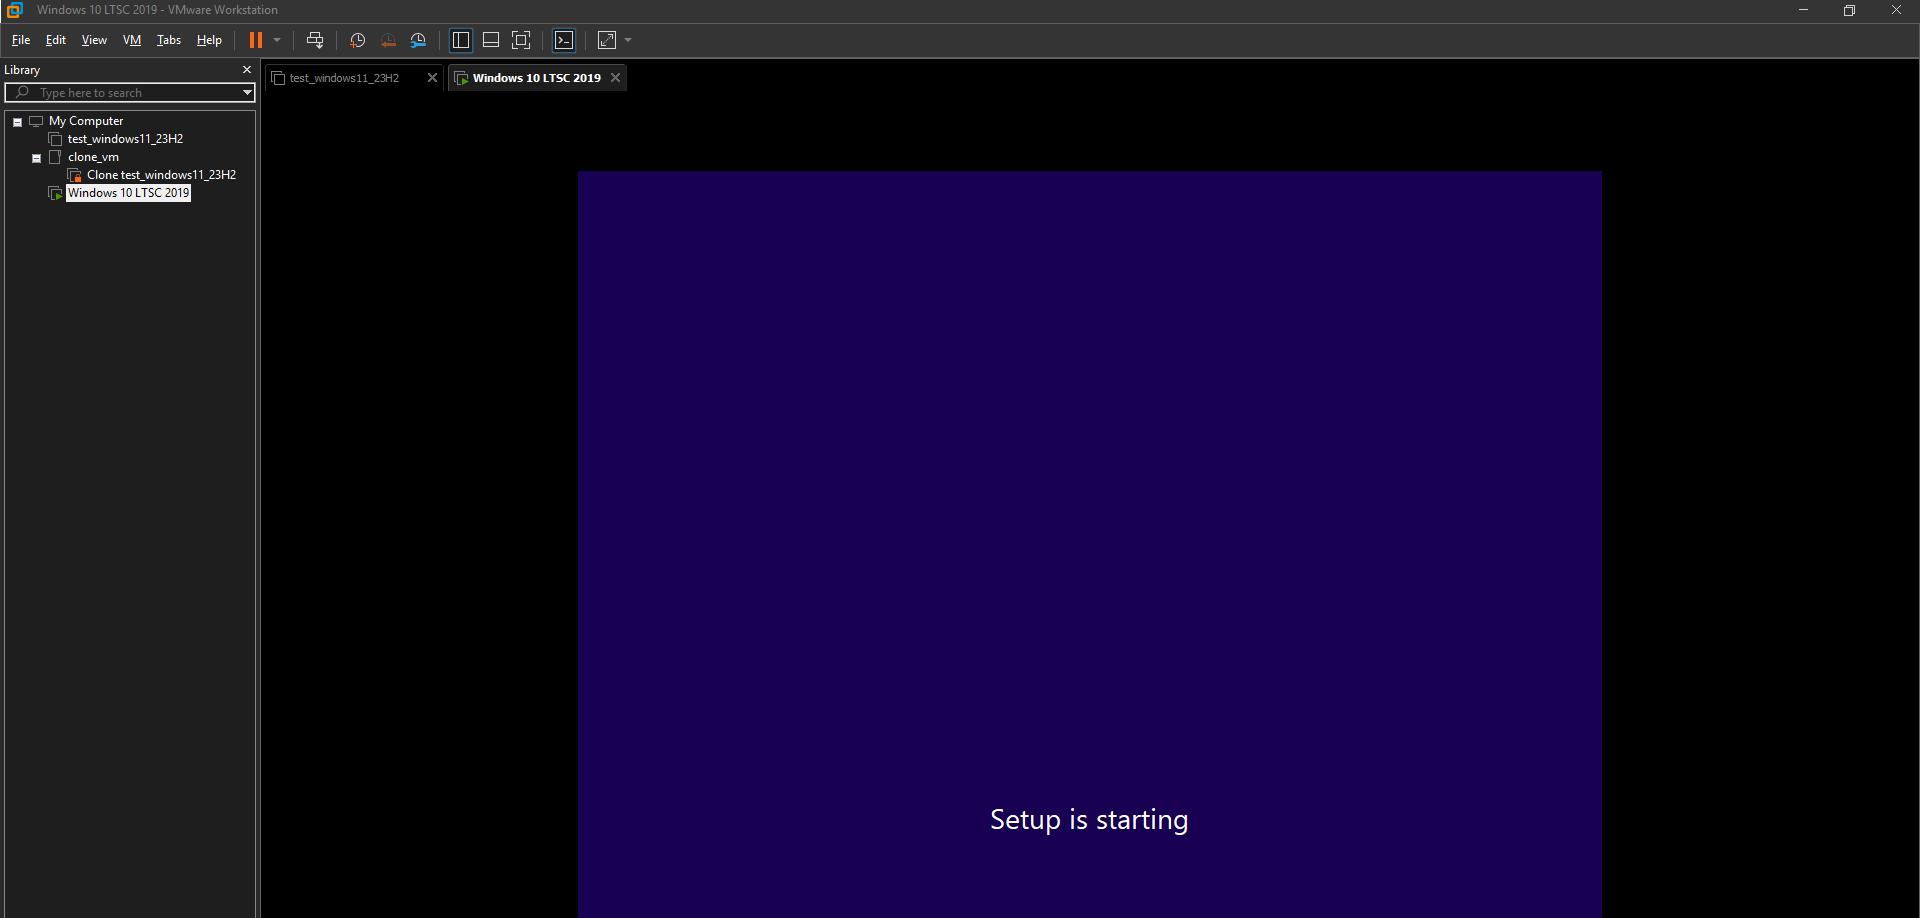
This problem typically does not occur if you use third-party antivirus software. It usually happens due to the device not supporting hyper-v virtualization or because Memory Integrity is active. Therefore, ensure both settings are properly configured.
Give it a try, and I hope this article proves helpful. Thank you.


