File History is a legacy feature available in the Control Panel of both Windows 10 and Windows 11. This tool offers a crucial capability to secure user files directly by copying them to an external drive specified by the user.
In addition to this, File History serves several other functions, including:
So, how do you set up File History for the first time? By default, this feature is inactive, but activating it is straightforward. You can refer to a similar article on the following page: How to Create File History in Windows 10
Step 1. First, open the Control Panel > System and Security > File History.
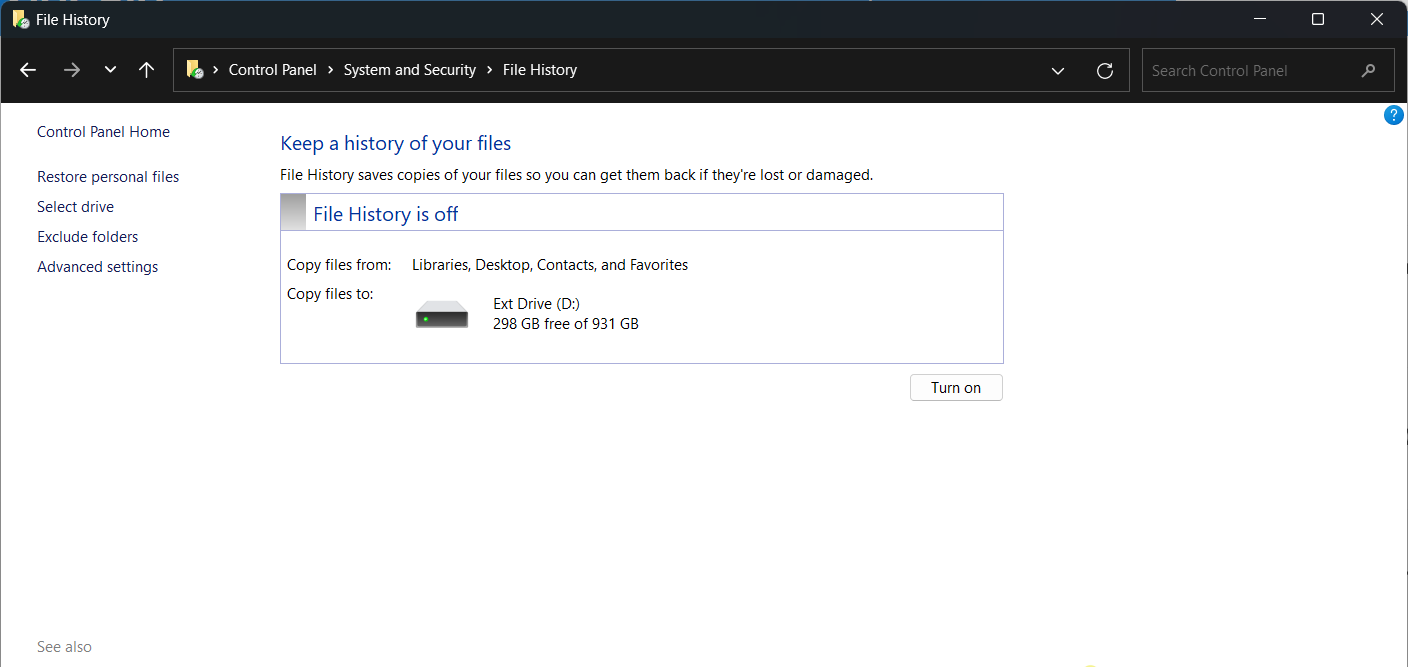
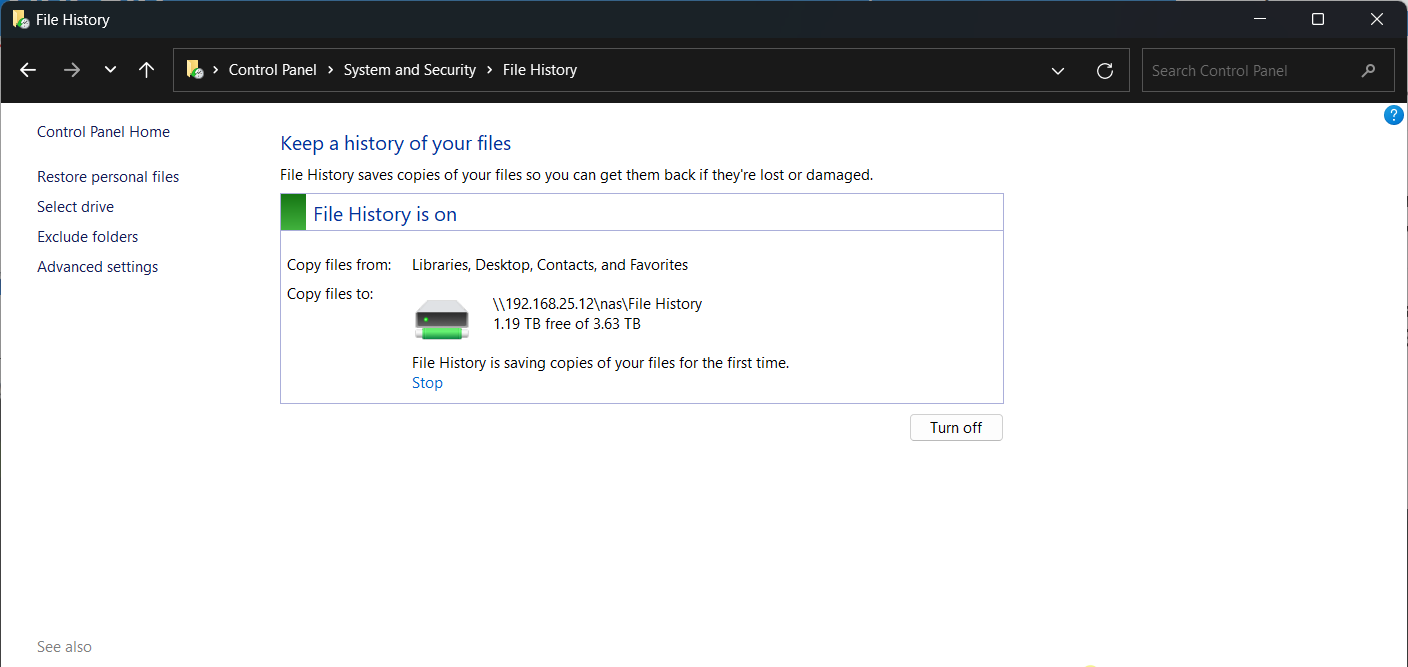
Step 2. Next, select the storage location where you want to save your file history, then click Turn on.
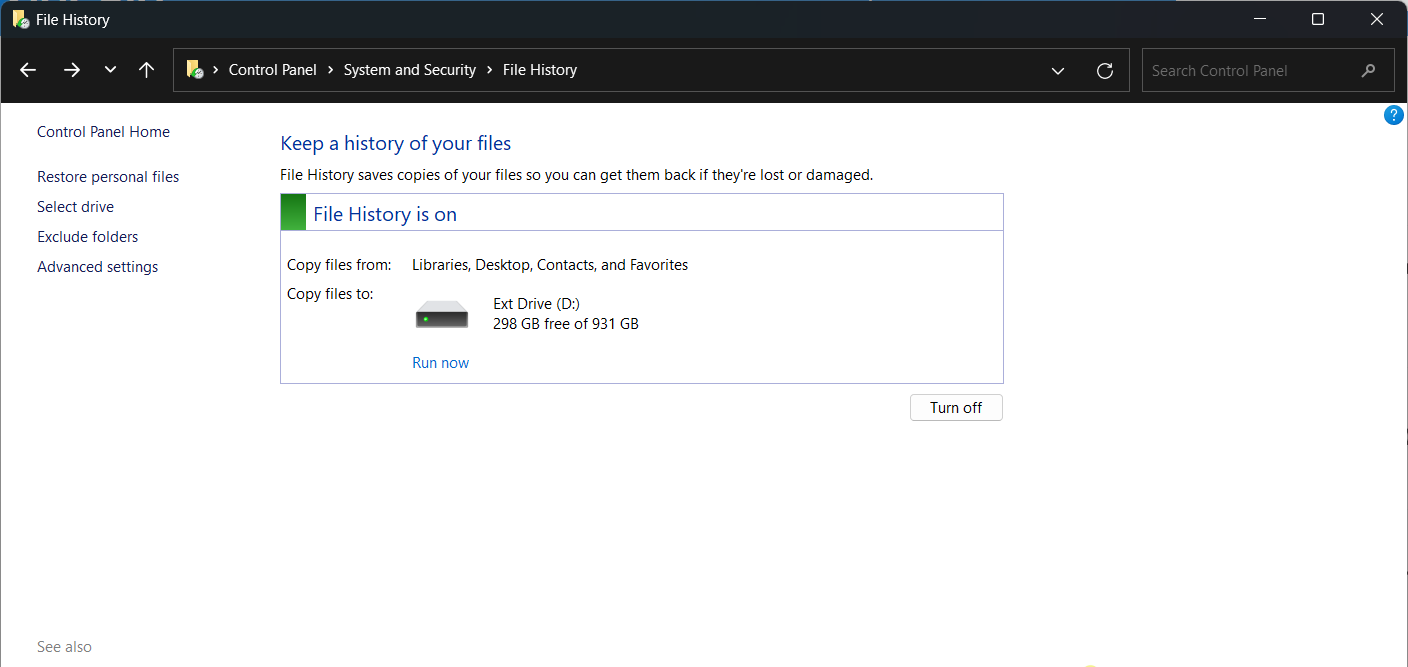
You can also configure another drive by clicking on select drive or even set up file history to be stored on a local network or NAS by clicking Add network location.
*Personally, I always store my file history on a NAS for enhanced security and larger storage capacity.
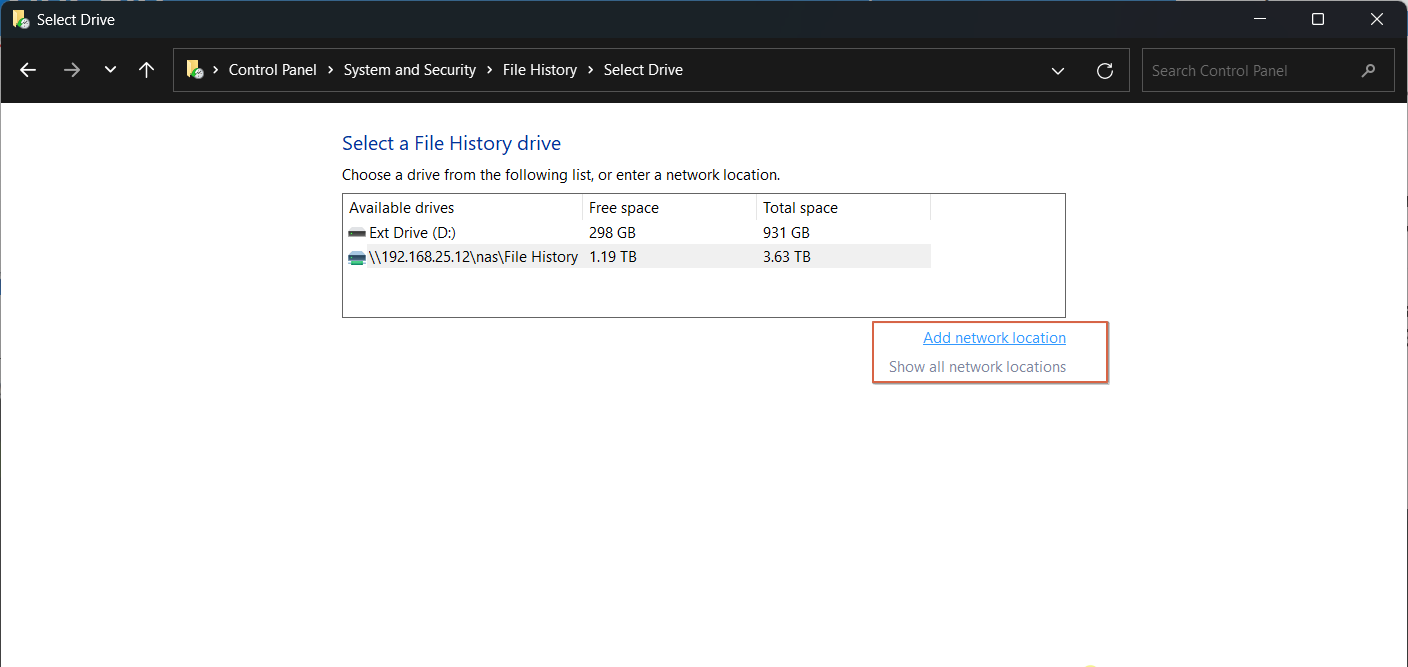
Once activated, all folders in your account, specifically in C:\Users\yourusername, will automatically be saved and backed up to the drive you previously selected. The backed-up folders include Documents, Downloads, Pictures, and more.
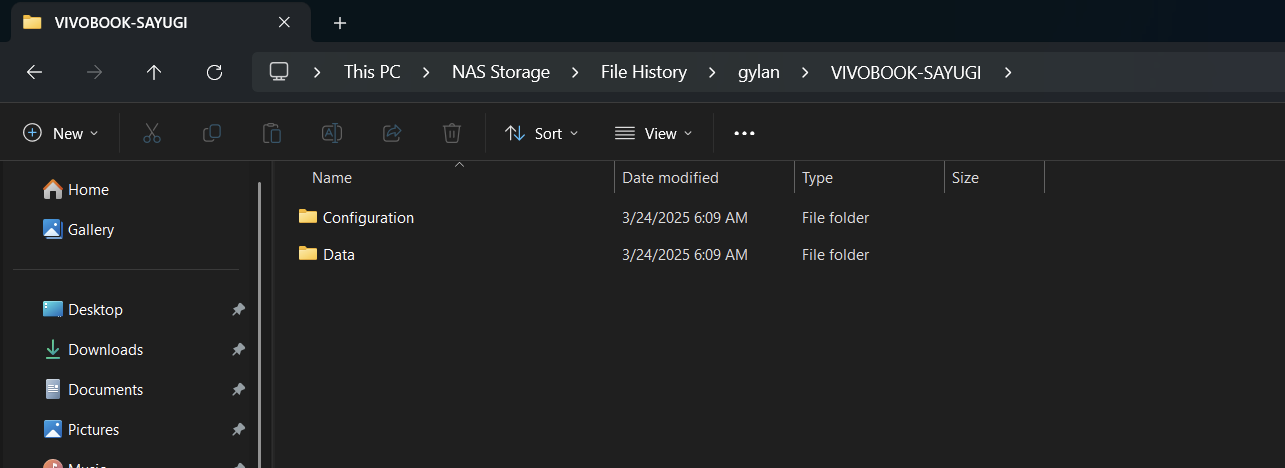
Here’s an example of some files backed up by File History, which include configurations and data, both of which are highly important.
Give it a try, and I hope this article proves helpful. Thank you.

