To optimize the internet connection shared by me and my housemates, I installed AdGuard Home on a Virtual Machine within the Host, which operates 24/7. The VM’s IP address can then be utilized as a DNS to effectively block ads.
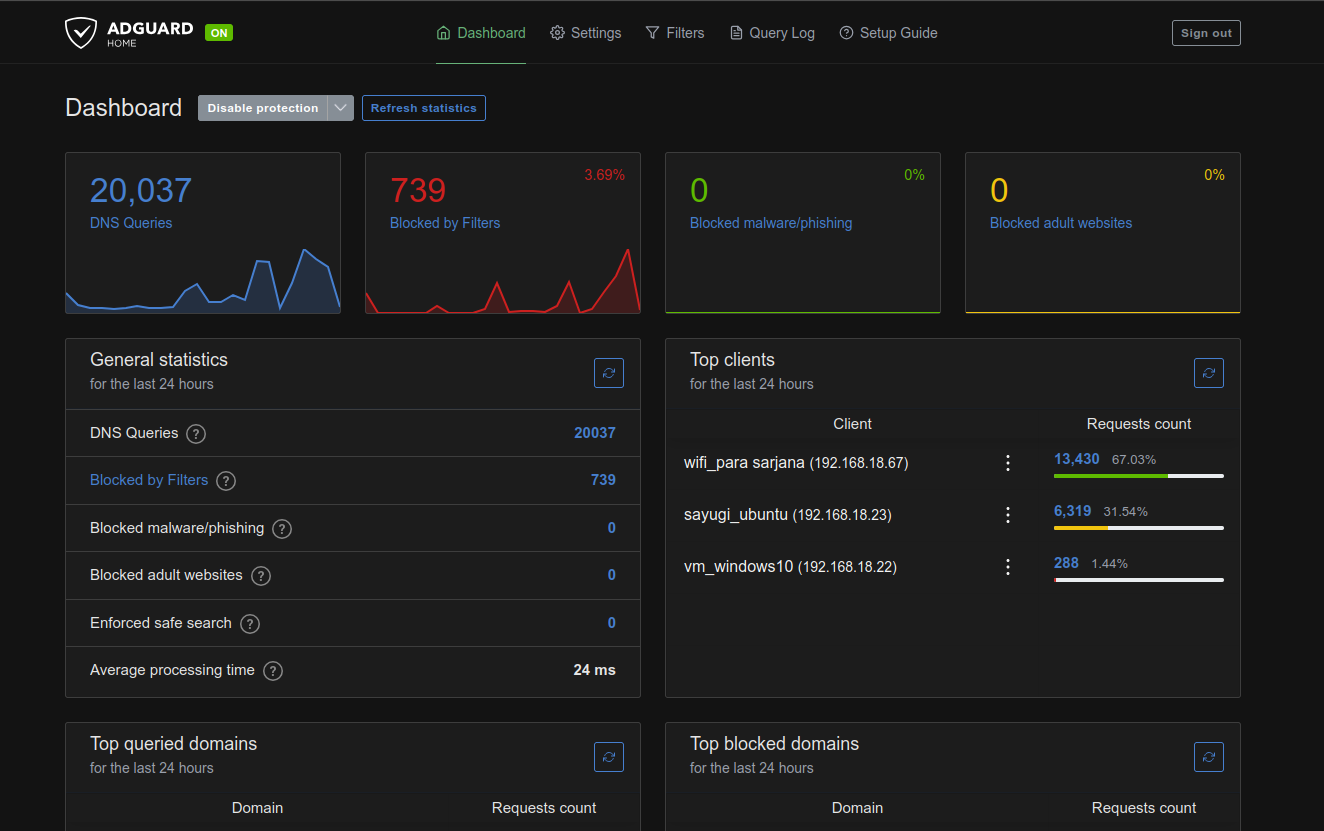
While the filtering quality may not match browser extensions, it’s sufficient for blocking pop-up ads and other intrusive advertisements.
Also Read: AdGuard Home Review: The Best DNS Server-Based Ad Blocker I’ve Tried
An installation guide and other AdGuard Home tutorials may be created separately. This time, however, I’ll focus on how to add a blocklist to enhance its functionality.

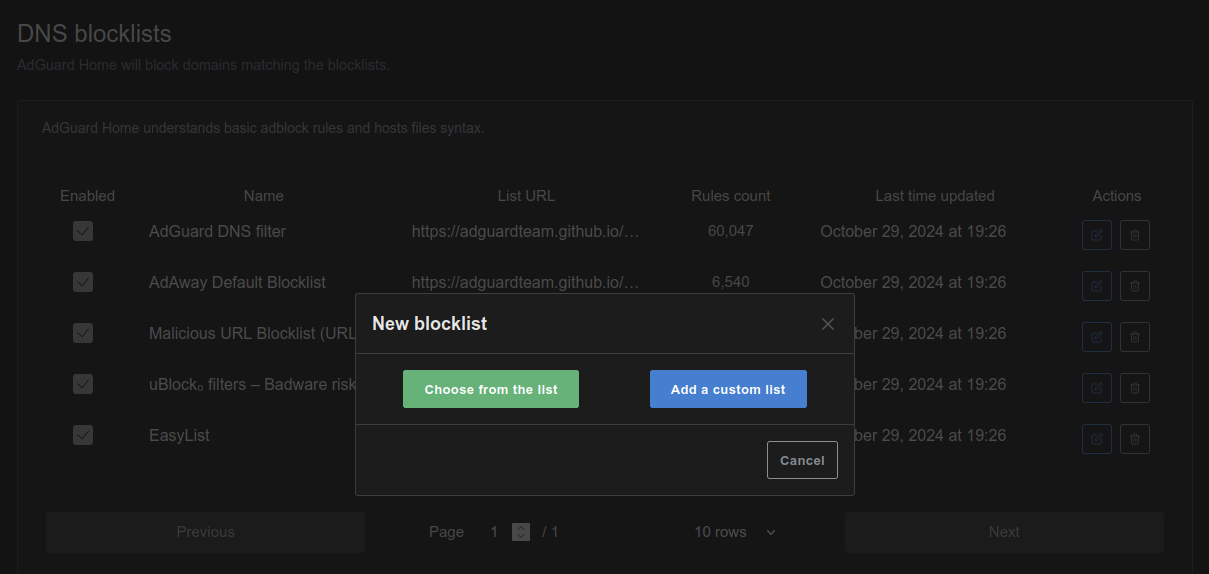
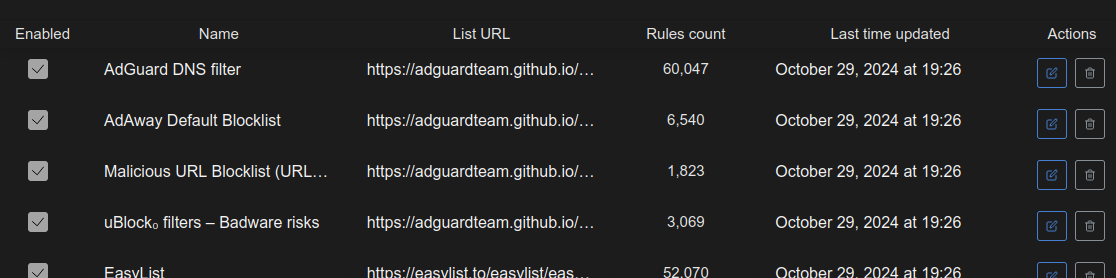
As shown in the image above, AdGuard DNS filter comes with approximately 60,047 default rules, which are continuously updated. This is usually enough to block commonly found ads across the internet. However, additional blocklists like EasyList can also be integrated.
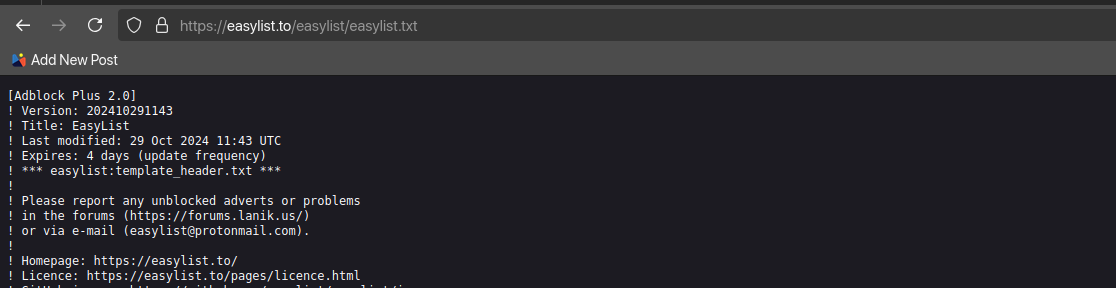
Adding a blocklist is straightforward. First, obtain the URL of the blocklist you wish to implement (e.g., EasyList).
Next, navigate to the AdGuard Home admin panel and go to Filter > DNS Blocklist.

Then, click Add blocklist > Add a custom list.
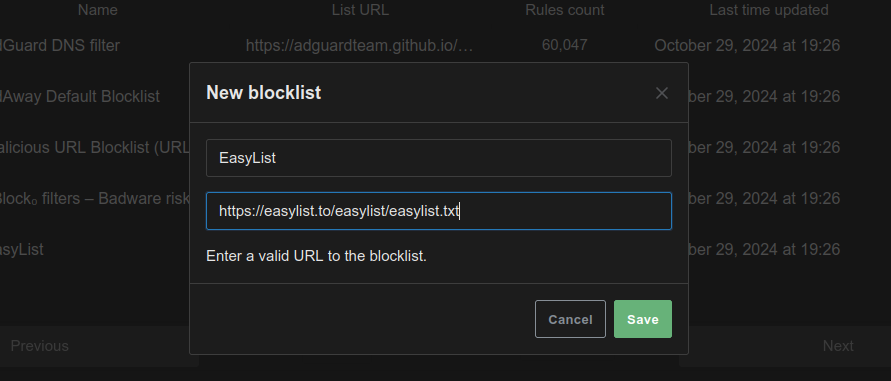
Enter the URL and name of the list, and click Save to confirm the changes.
Remember to update your list to ensure the rules count is current.
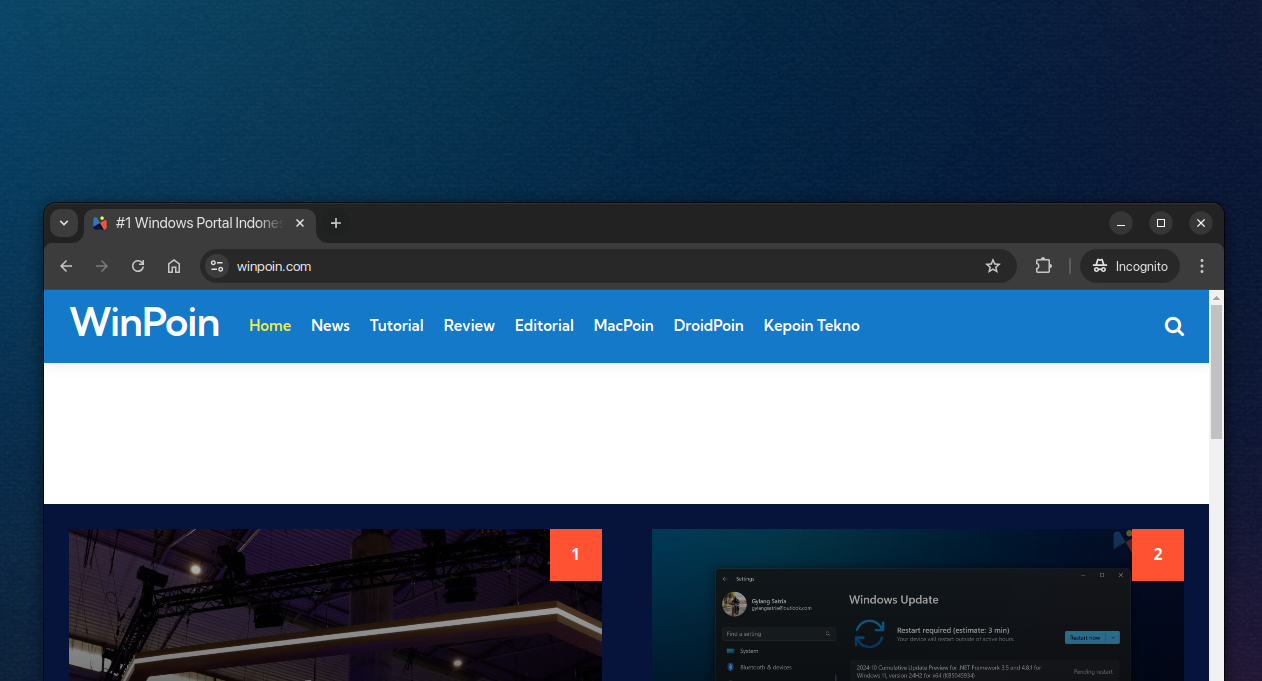
Here’s an example of a website with and without AdGuard Home applied.

Impressive, right? I’ll cover installation tutorials and other AdGuard Home-related topics in future posts, so stay tuned.
By the way, dgdig relies on ad revenue for maintenance, server hosting, and other expenses. If possible, please whitelist this site from your preferred ad blocker, including AdGuard Home. Thank you!