During the Windows 11 installation process, the system typically encrypts the drive automatically, which is beneficial as it enhances data security through BitLocker encryption. Starting with Windows 11 24H2, Microsoft will enable Device Encryption by default for all Windows 11 systems, including the Home edition.
However, what if users prefer not to disable device encryption and BitLocker does not encrypt the drive? Currently, there are two bypass methods available: editing the registry editor during the OOBE process and bypassing the ISO file using the Rufus application.
Read Also:
Read Also:
During the OOBE (Out of Box Experience) process, the following steps can be taken.
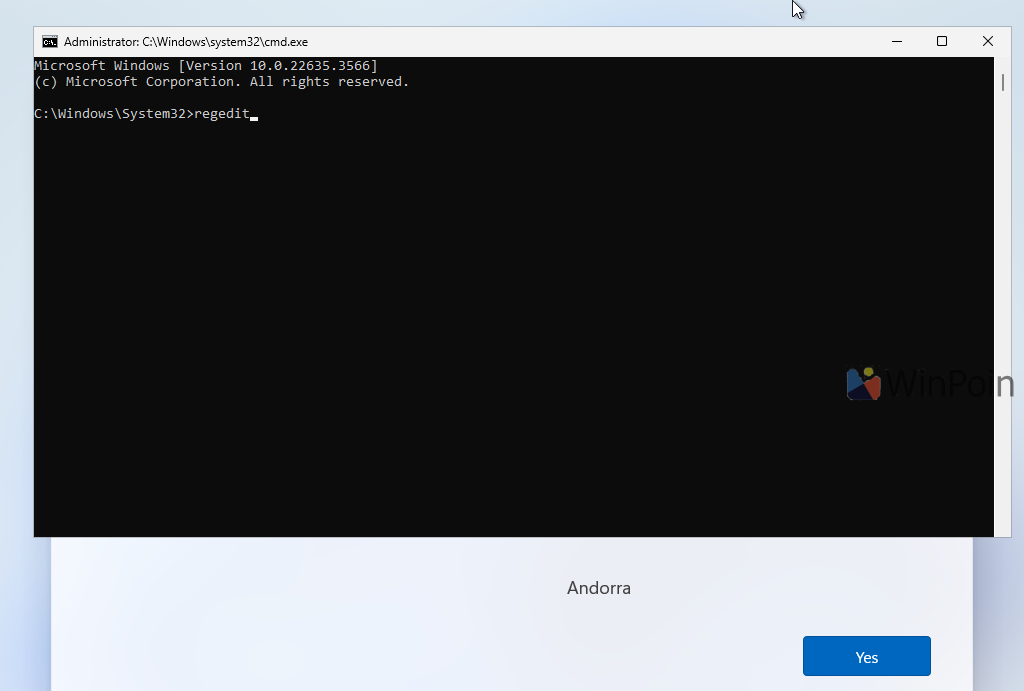
Step 1. Press Shift + F10 to open the command prompt and type regedit.
Step 2. Navigate to the following registry.
Next, right-click on the BitLocker section and add a new Dword (32-bit) Value named PreventDeviceEncryption.
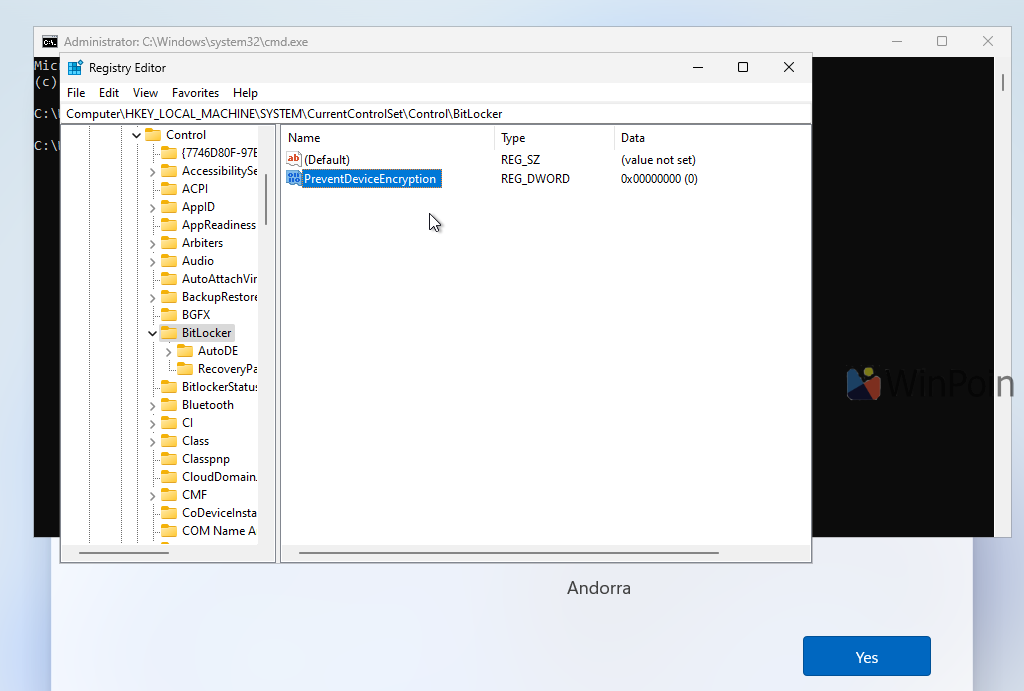
Step 3. Edit the value of PreventDeviceEncryption from 0 to 1.

Step 4. Once completed, close the command prompt and proceed with the OOBE setup until finished.
Step 1. First, download the Rufus application from the following page.
Step 2. Then, create a USB Drive Installation as usual.
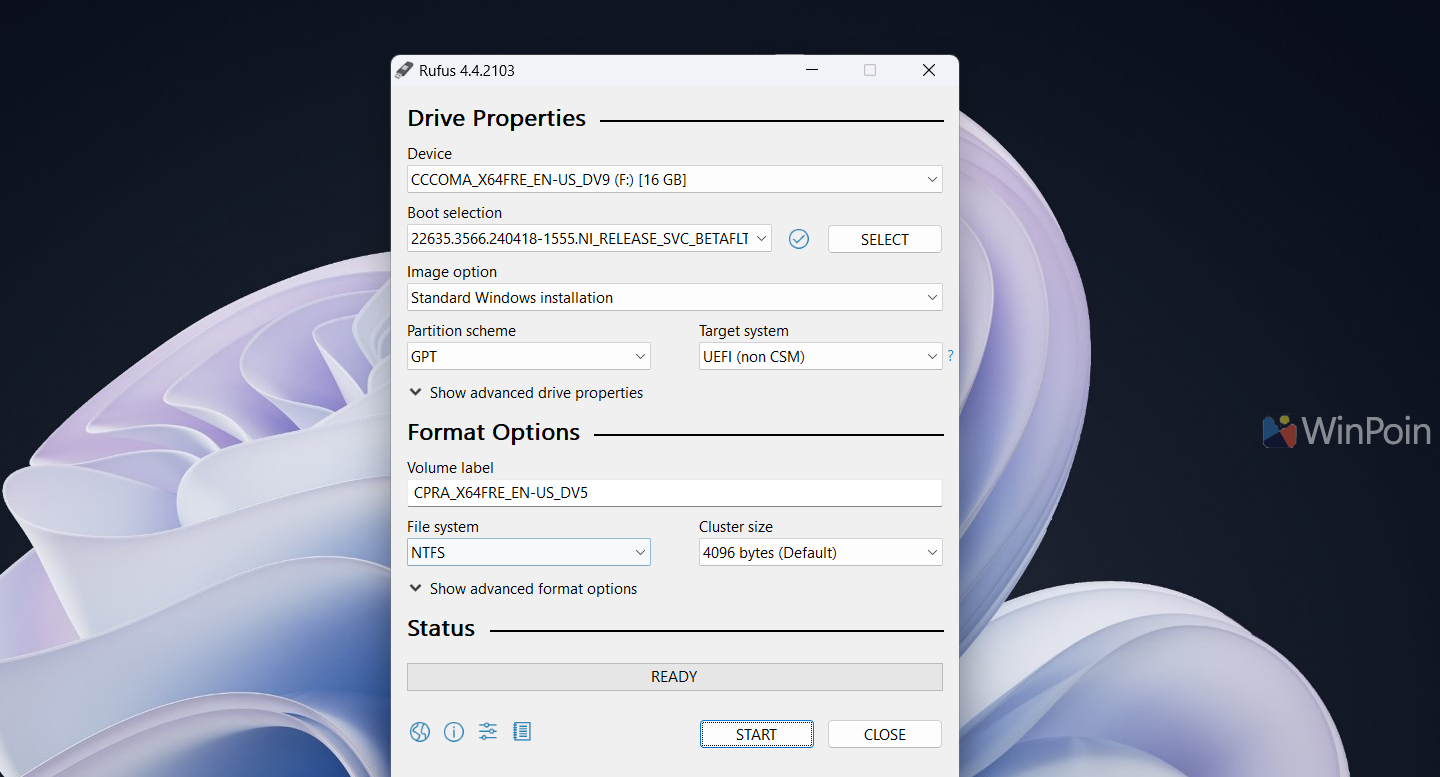
Step 3. When Rufus displays the Windows User Experience window, select Disable BitLocker automatic device encryption.
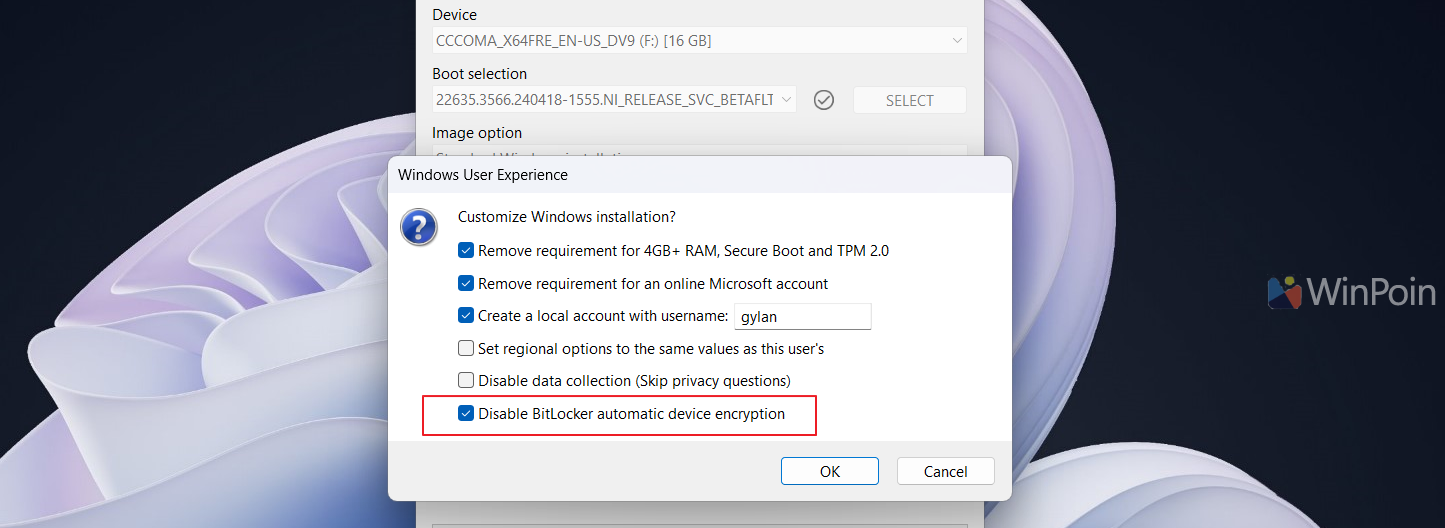
Step 4. Click OK and create the installation media as usual. Proceed with a clean install using the previously created installation media.
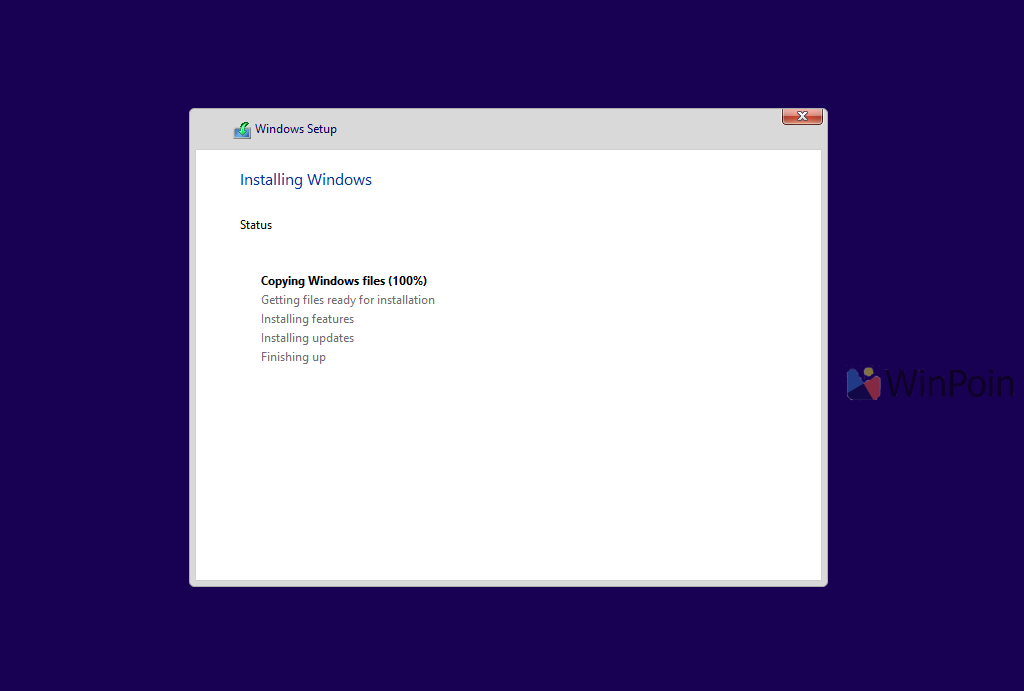
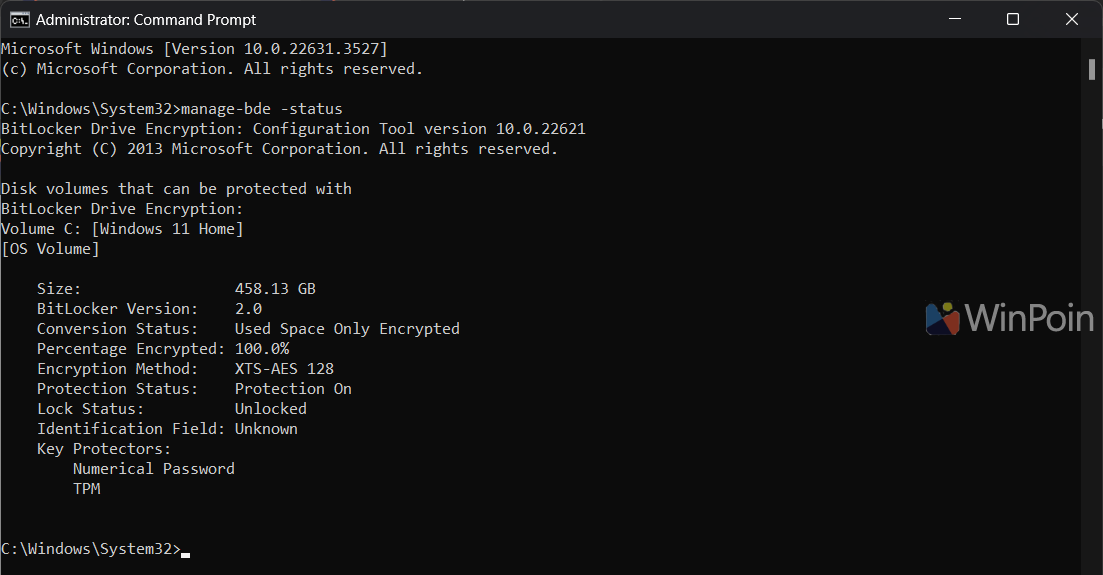
After the system is installed, the device encryption status will automatically be Fully Decrypted. To verify, open the command prompt as administrator and type the command manage-bde -status.
Read Also: How to Enable AES 256-bit Encryption in BitLocker for Windows 11
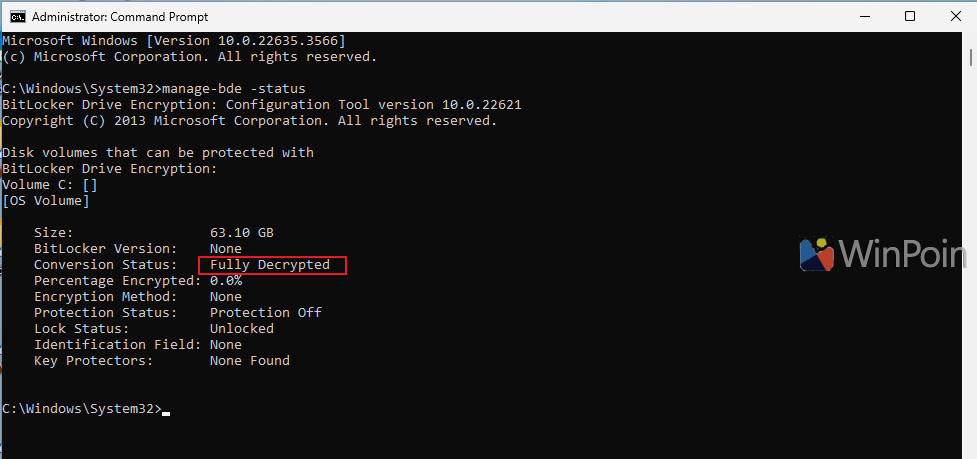
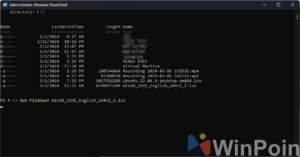
Using either of the two methods above will prevent the drive from being encrypted, as shown in the example image. Below is an example of what it looks like when the drive is encrypted.
Give it a try, and remember, even if drive encryption is disabled, you can still use BitLocker separately, as in Windows 7, 8, and 10.

