A few months ago, Microsoft began introducing a new feature in the Snipping Tool app that allows users to change the save location of screenshots to a folder other than the default (C:\Users\xxx\Pictures\Screenshots).
This change was initially rolled out to Windows Insider users who had updated the Snipping Tool to version 11.2408.13.0. Now that it’s being widely released, you can also change the screenshot save location.
So, how do you make this change? Here’s a quick guide summarized by dgdig.
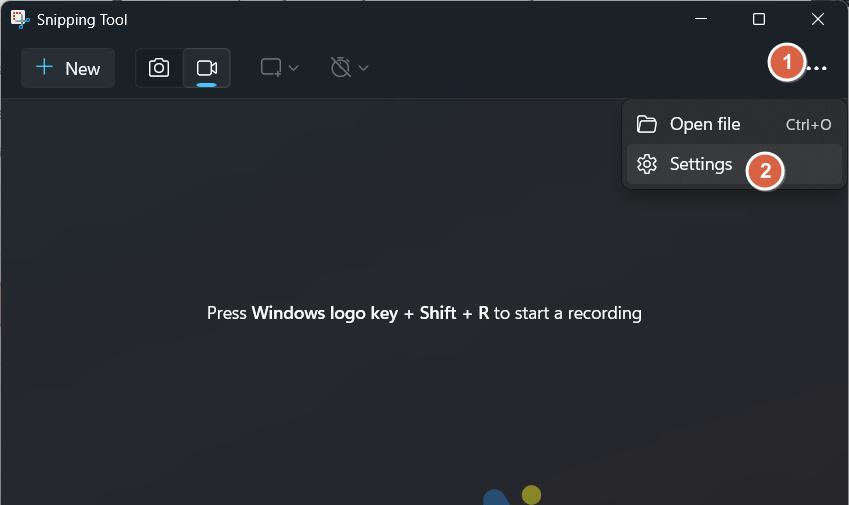
Step 1. First, open the Snipping Tool and click the settings icon.
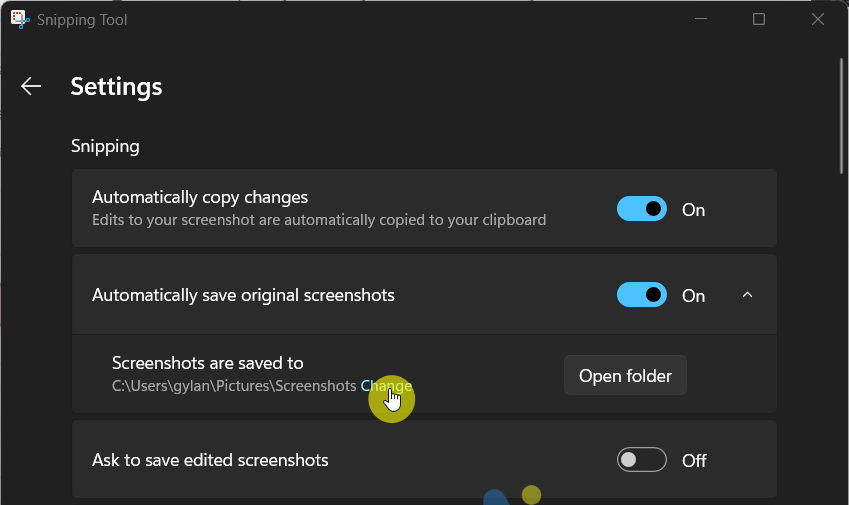
Step 2. Next, scroll down and select screenshots are saved to > click Change to modify the location.
Step 3. Then, choose the folder where you want to save your screenshots. For example, I’ll change it to C:\Screenshot.
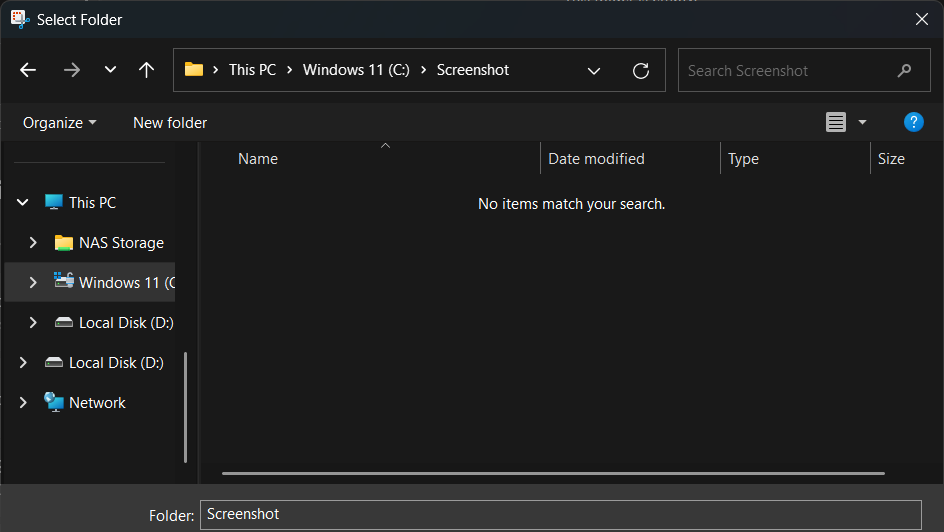
Click select folder to save the changes, and you’re done! Now, every time you take a screenshot, the file will be saved in your chosen folder.

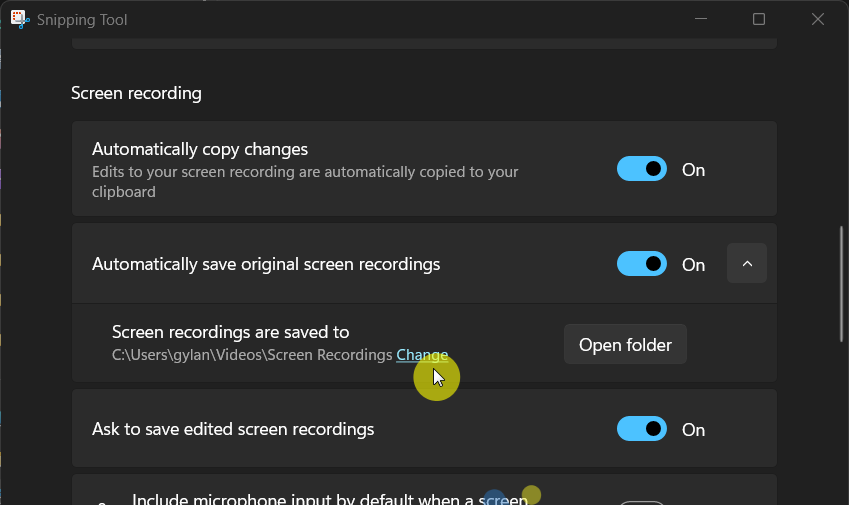
In the settings page, you can also change the save location for screen recordings from the Snipping Tool. The process is the same—just select screen recordings are saved to and choose your preferred default folder.
It’s super easy, right? Changing the location has its advantages, such as saving files to external storage or even local cloud storage like NAS, making it easier to use and share.
Give it a try, and I hope this article is helpful. Thank you!

