For those who frequently use Virtual Machines for testing, it’s advisable to create a clone of the VM you’ve set up. This ensures that if the VM encounters issues, you’ll have a backup ready to restore when needed.
So, how do you clone a VM? Below, dgdig outlines a quick step-by-step guide.
Before proceeding, make sure you’re using VMware Workstation Pro, which is now available for free for personal use.
Also Read: How to Register and Download VMware Workstation Pro for Free
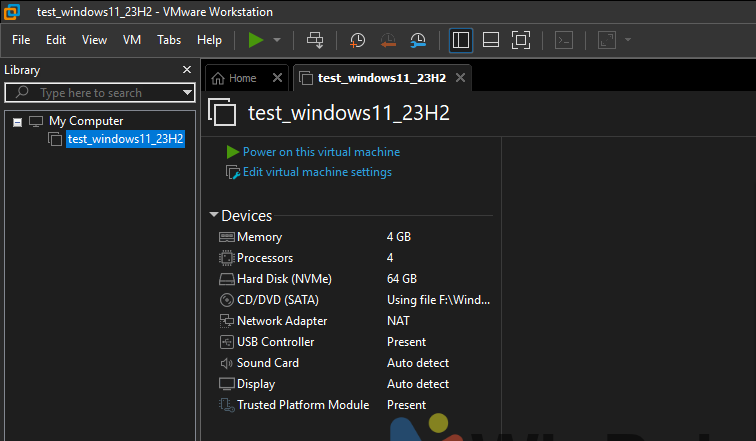
Step 1. First, ensure the VM you wish to clone is powered off.
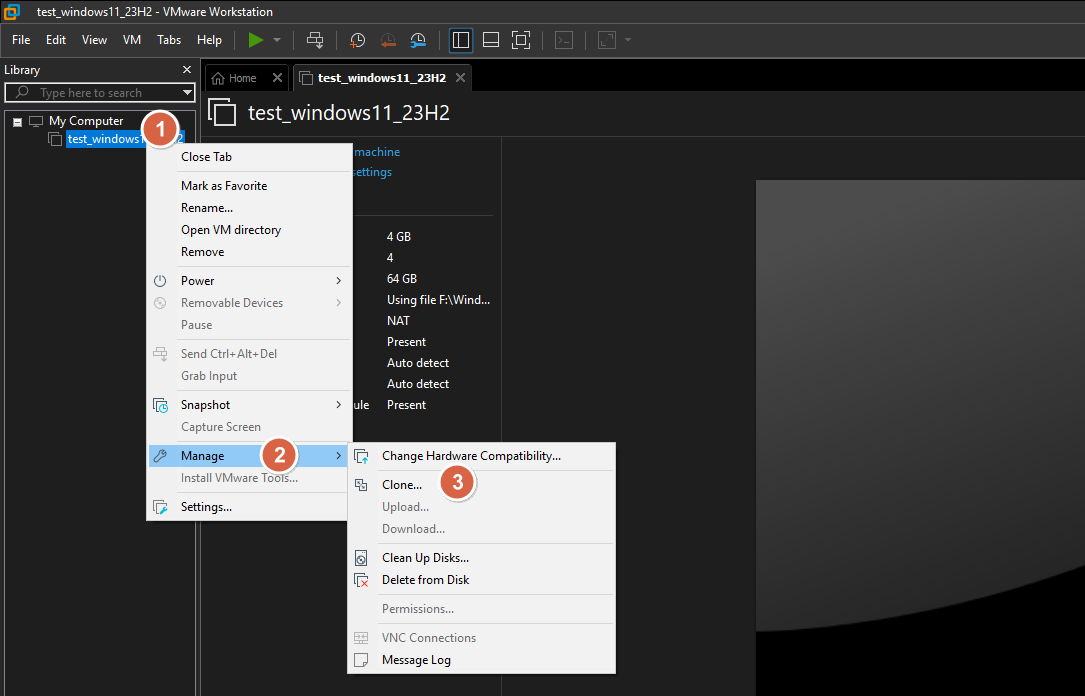
Step 2. In the left-hand library section, right-click on the VM you want to clone > then select Manage > Clone.
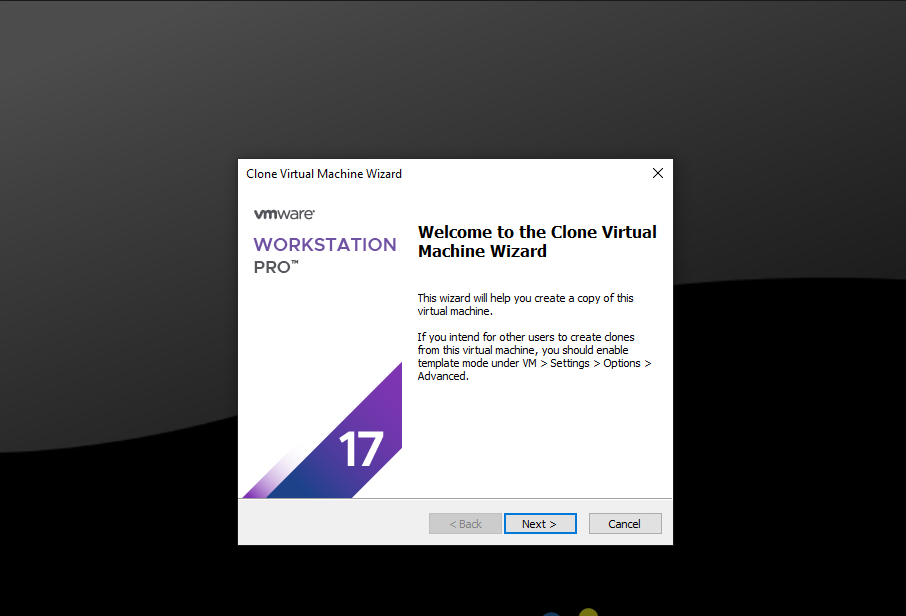
Step 3. Next, click Next on the Clone Virtual Machine Wizard page.
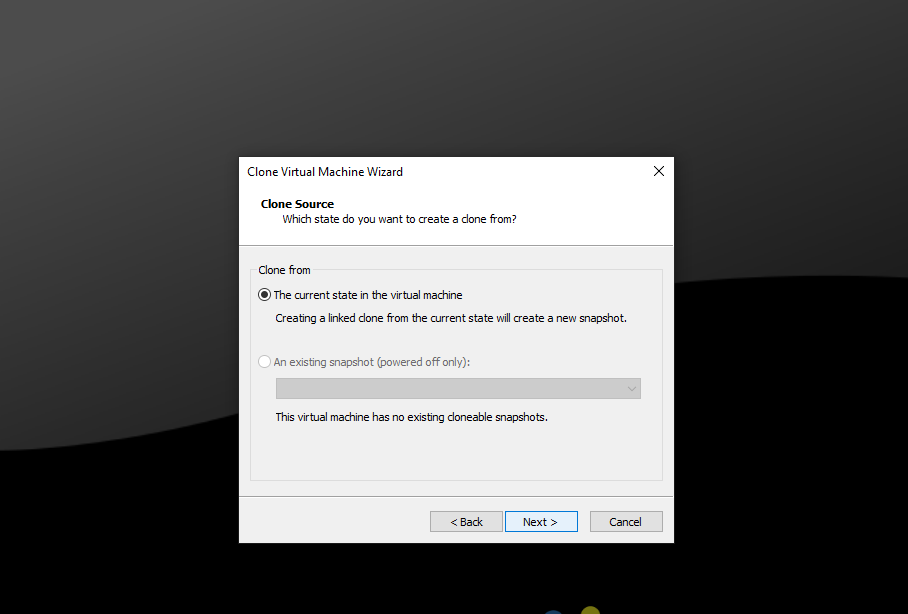
Choose the current state in the virtual machine
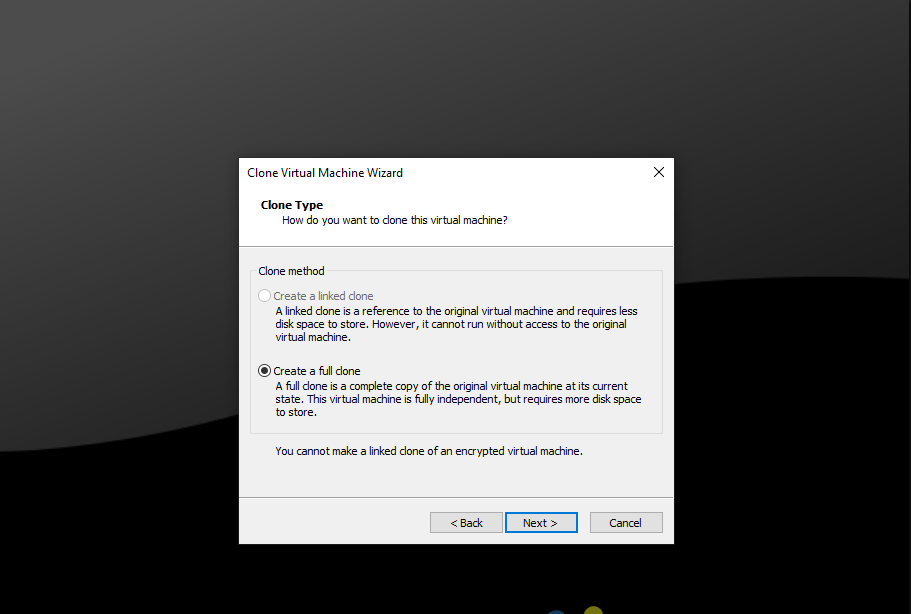
Select Create a full clone
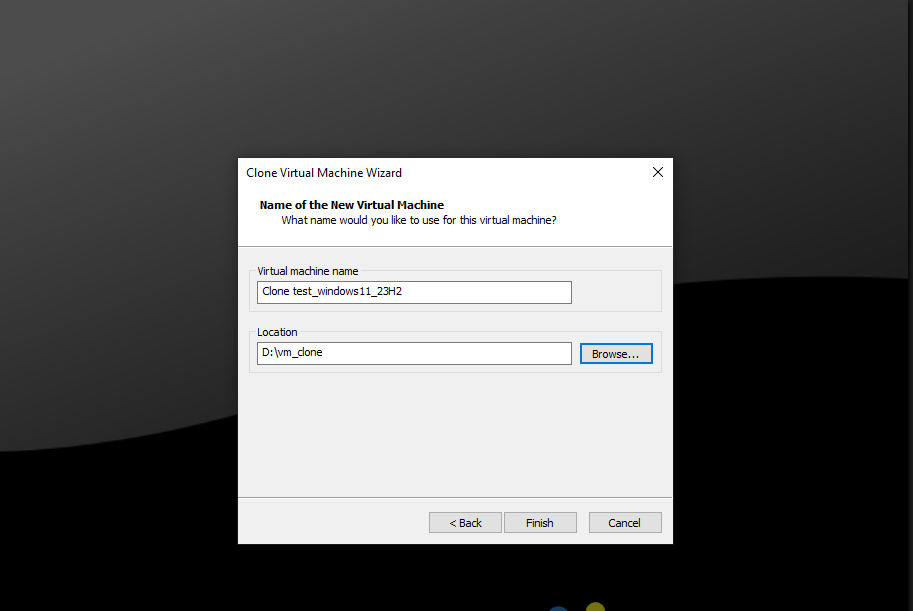
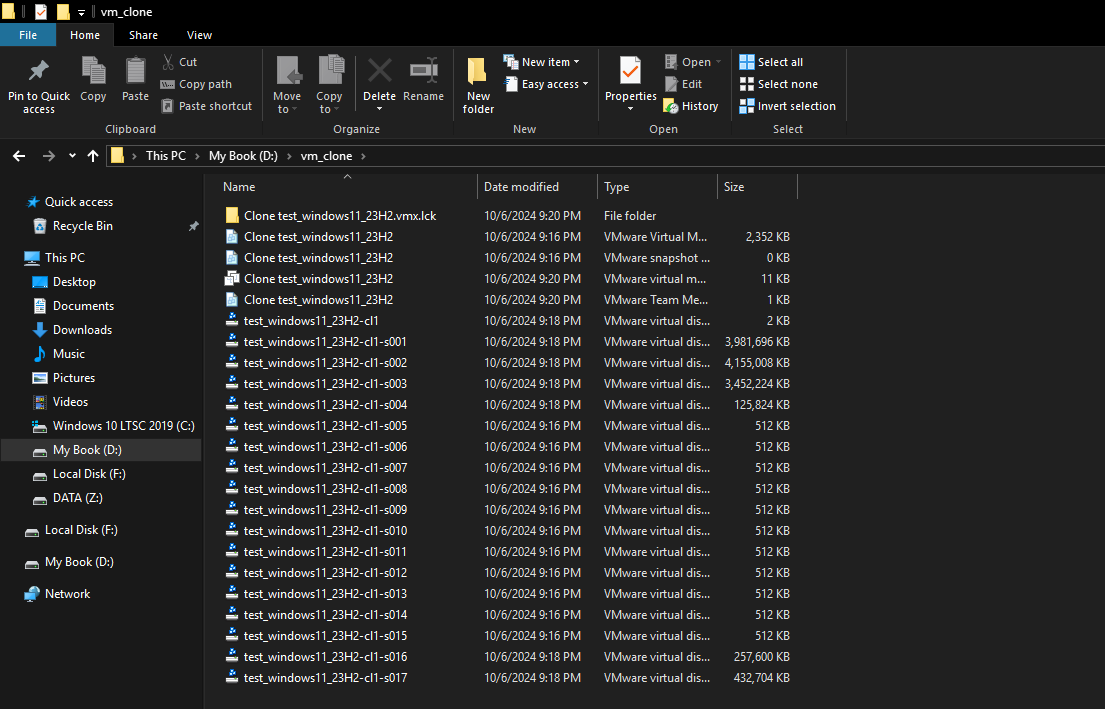
Specify the name and location where the clone will be saved, then click finish.
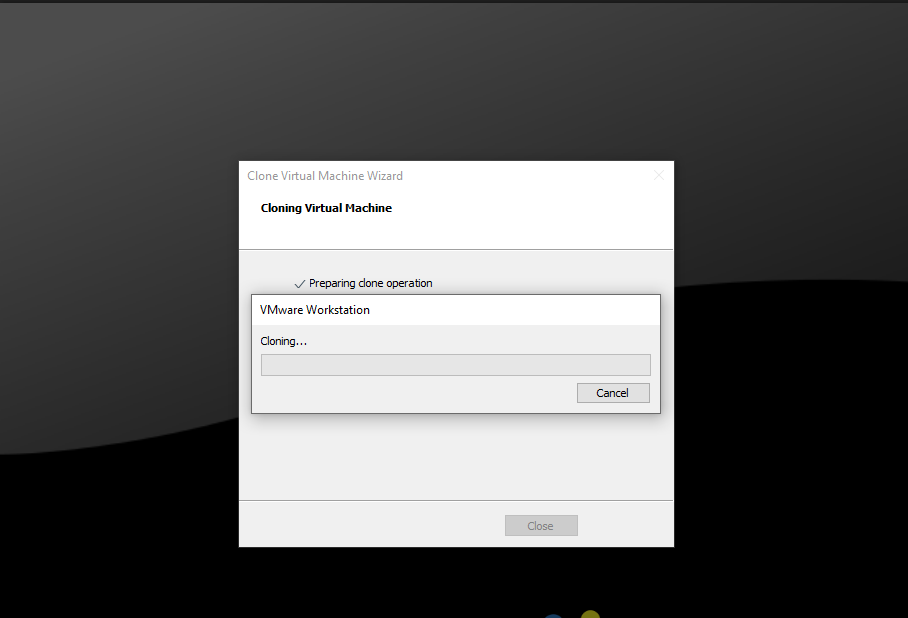
VMware will automatically clone the VM and save it to the designated location.
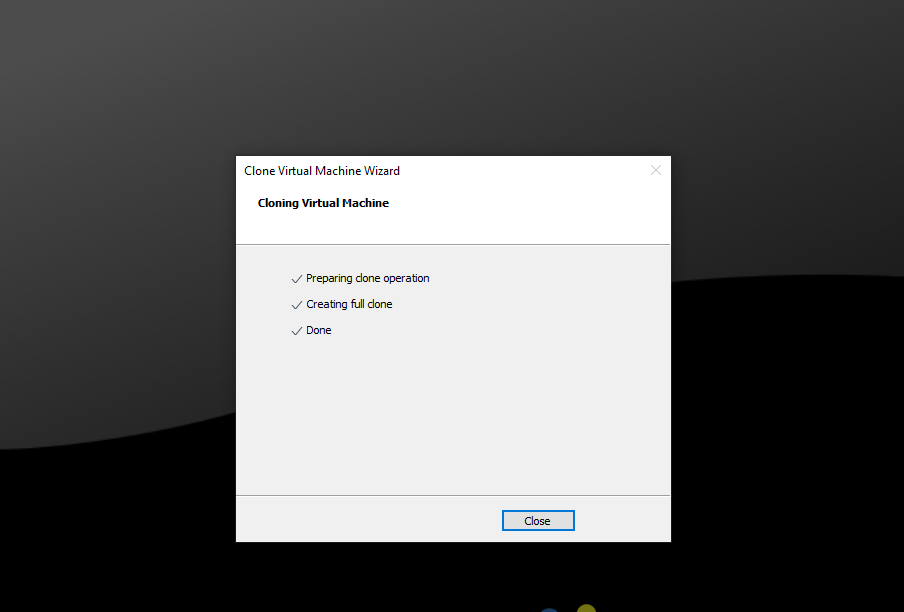
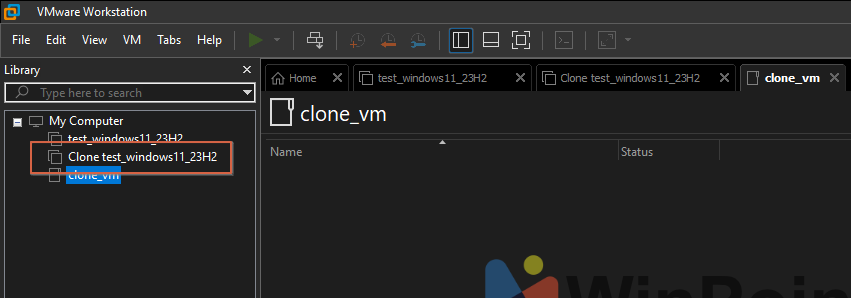
Once complete, the cloned VM will appear in the library section, as shown in the following image.
In my experience, cloning is the most effective way to minimize errors during the copying process, especially with encrypted access control where passwords are automatically generated and could be lost during manual copy-pasting.

Additionally, this method is highly efficient for quickly duplicating a VM without disrupting the main application.
What do you think? Are there better alternatives? Share your thoughts in the comments below.