One of the features that is unfortunately disabled by default in Windows Defender / Microsoft Defender on Windows 10 and Windows 11 is Memory Integrity.
For those unaware, this feature generally helps prevent malware from attempting to exploit the Windows kernel by executing kernel mode code integrity within the isolated virtual environment of VBS.
However, despite enhancing security, it’s reported that this feature can negatively impact gaming performance on Windows 11. If you’re using a gaming device, it’s highly recommended to disable this feature. On the other hand, if you’re using your device for work purposes and don’t have additional antivirus software, enabling this feature is strongly advised.
So, how can you activate Memory Integrity? Here’s a quick guide summarized by dgdig.
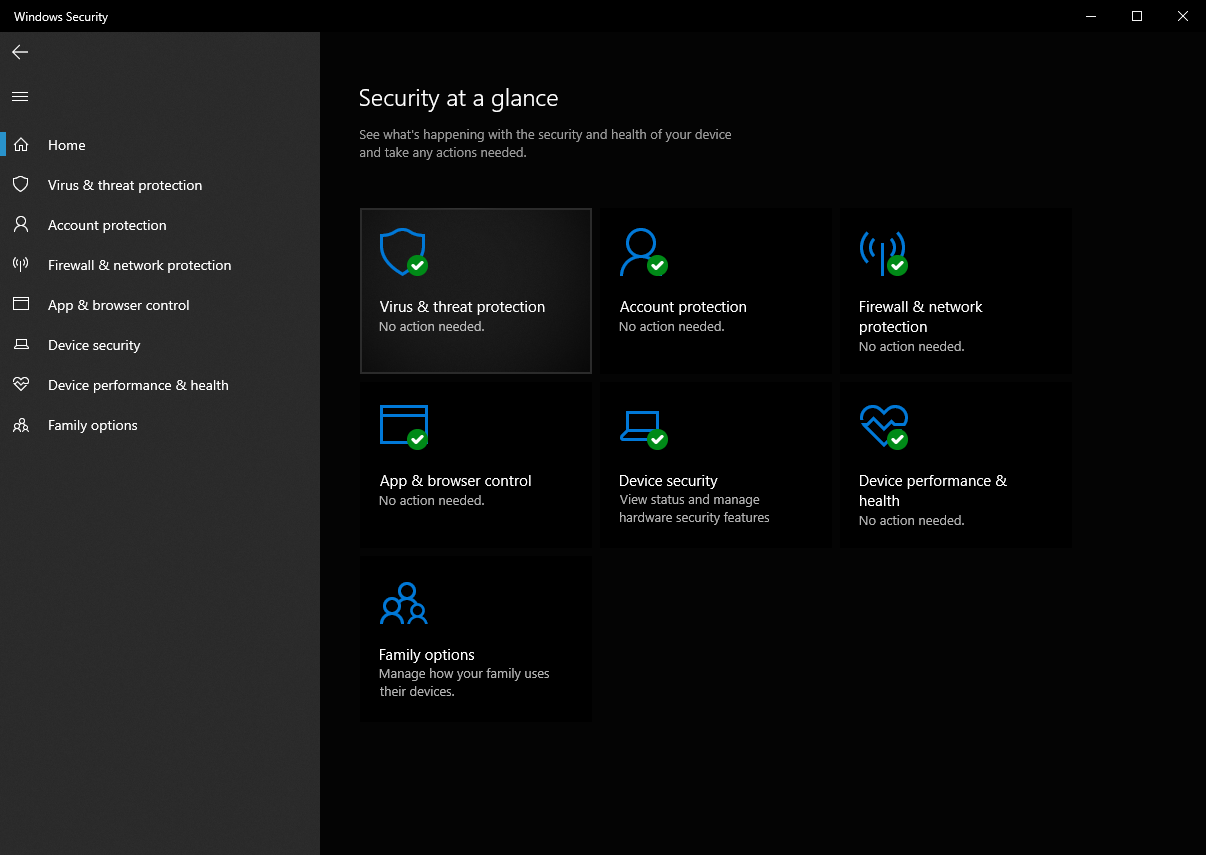
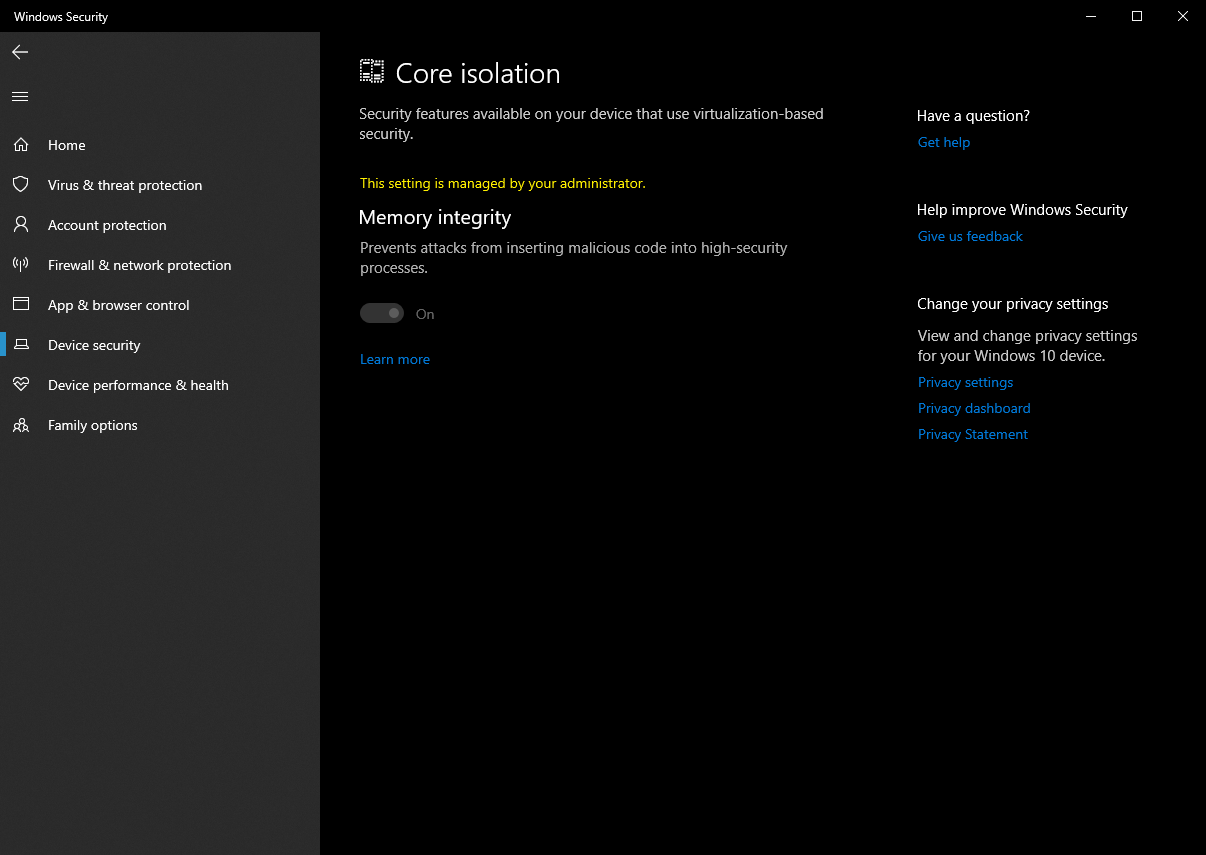
Step 1. First, open Windows Security.
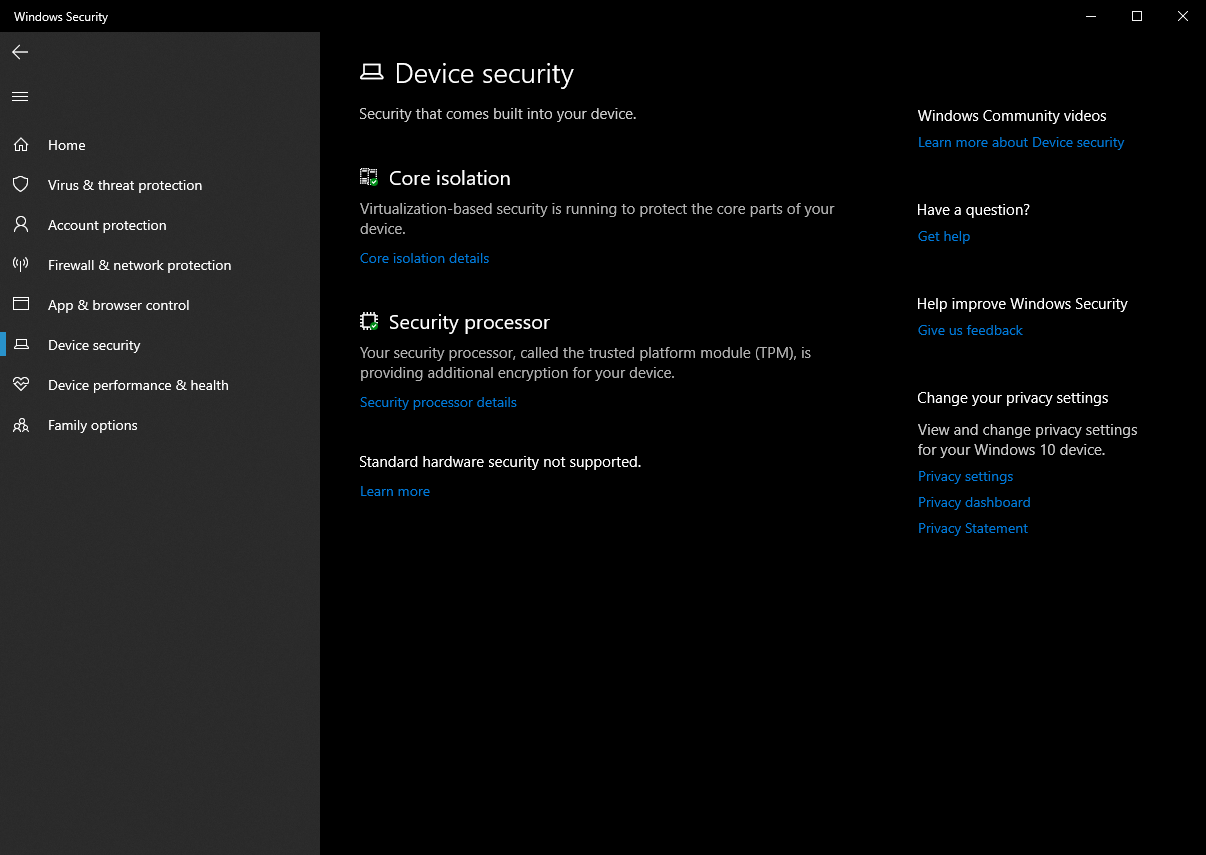
Step 2. Next, navigate to Device Security > Core Isolation.
Then, enable Memory Integrity.
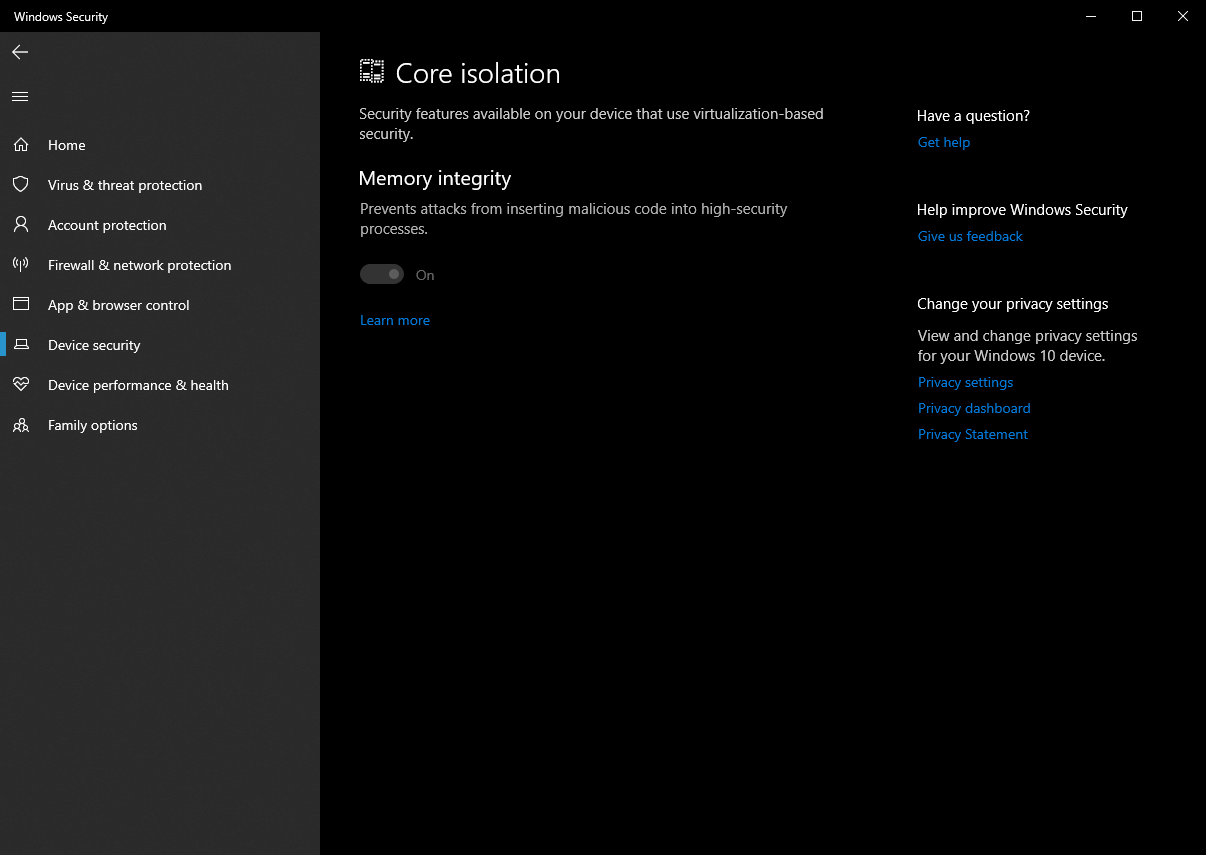
Once activated, the feature will enhance your device’s security against malware attempting to exploit the Windows kernel.
What if the feature can’t be activated?
In some cases, the feature may be difficult to activate. However, there’s no need to worry—you can force its activation using the following trick.
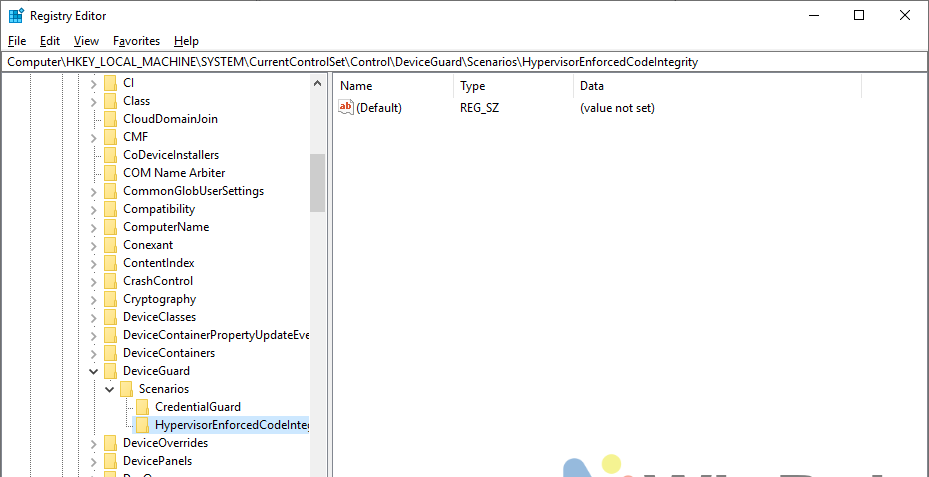
Step 1. First, open the Registry Editor.

Step 2. Next, navigate to the following registry key:
If the HypervisorEnforcedCodeIntegrity key is not available, you can create it by right-clicking New > Key.
Step 3. Then, create a DWORD 32-bit value named “Enabled” and change its value from 0 to 1.
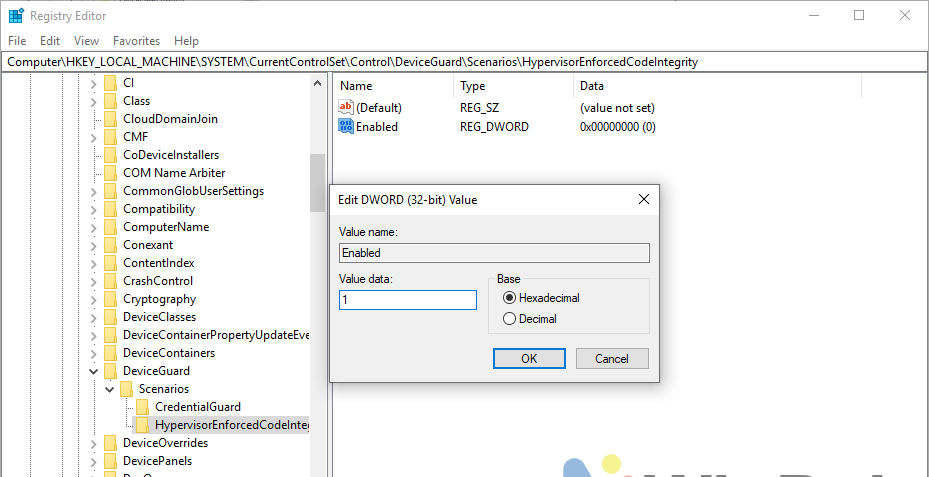
Click OK and restart your Windows. After rebooting, the Memory Integrity feature will be forcefully activated as shown in the image below.
This method can be tried on both Windows 10 and Windows 11, so give it a go.
Are you relying solely on Windows Defender? Share your go-to antivirus in the comments below.