Deleting partitions is typically done through Disk Management or even the Command Prompt. However, did you know that in Windows 11, you can easily remove partitions directly from the Settings page?
Removing a partition is often useful when you want to resize another partition. For example, if a hard drive has two partitions, each 250 GB, and you want one partition to be 400 GB, one partition will need to be sacrificed. Unless, of course, you use third-party software, which offers a better alternative for resizing partitions.
Let’s explore how to delete a partition from the Settings page. Is it quick? Keep in mind that this process will erase all data on the partition, so ensure you back up important files beforehand.
Step 1. First, navigate to Settings > System > Storage.
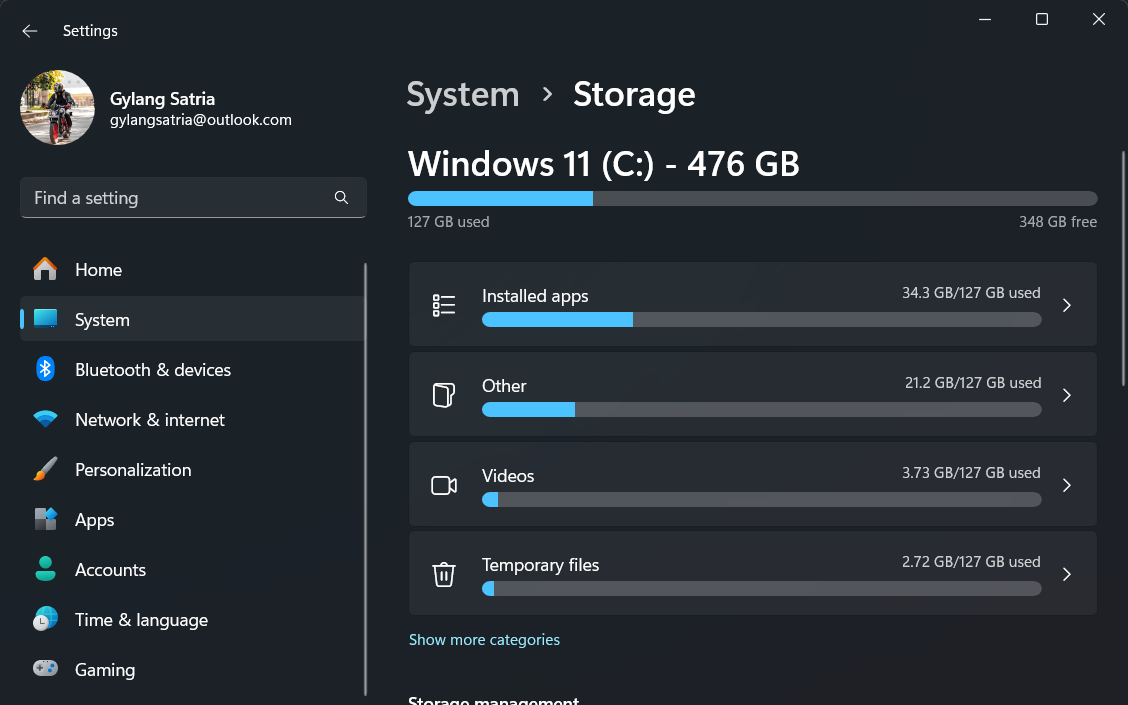
Step 2. Next, go to Advanced storage settings > Disk & volumes.
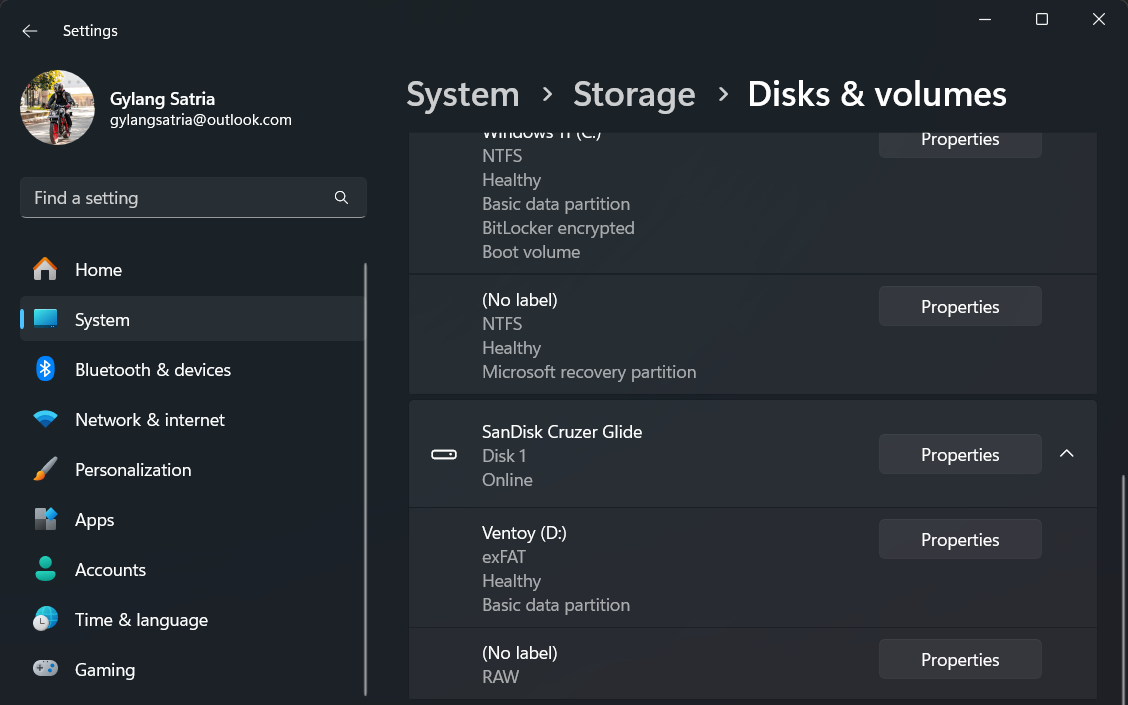
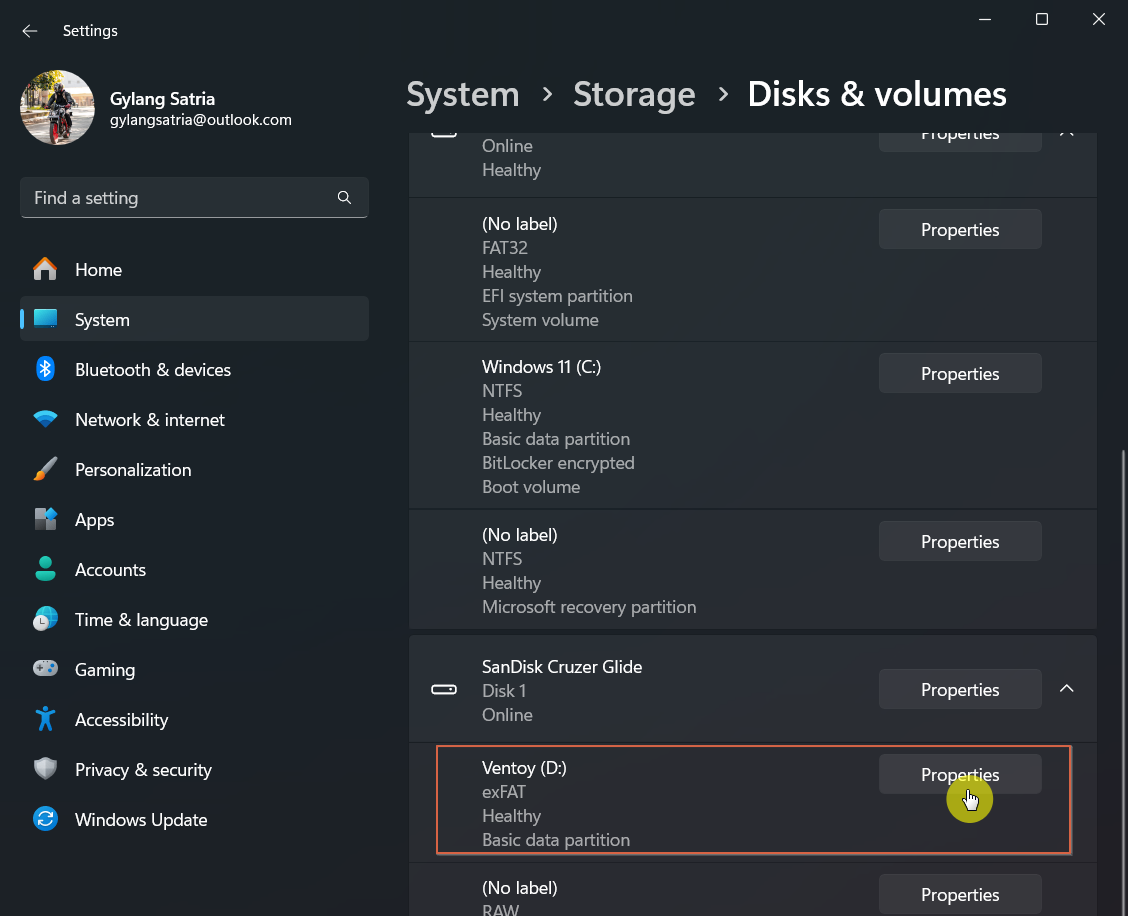
Step 3. Select the partition you wish to delete, then click Properties.
Step 4. Choose Delete under the Format section.
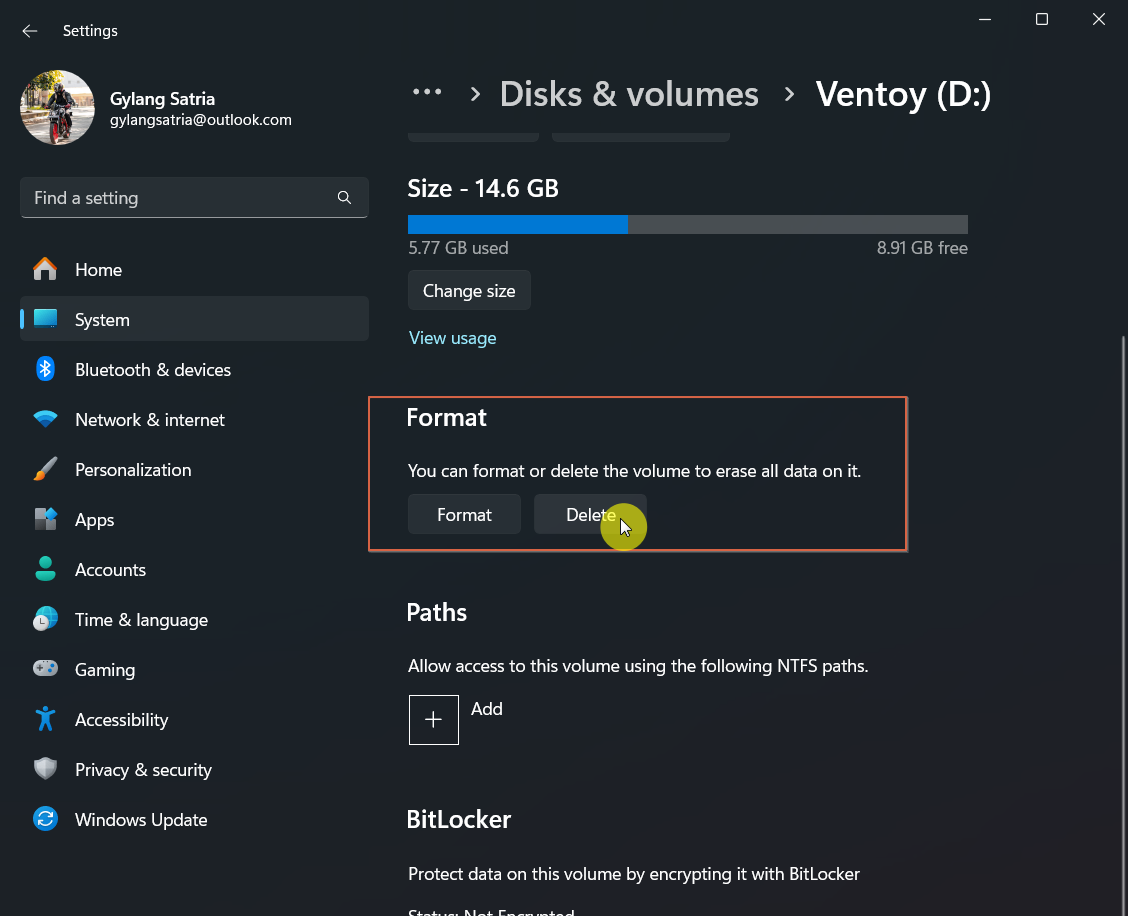
Step 5. Finally, click Delete volume.
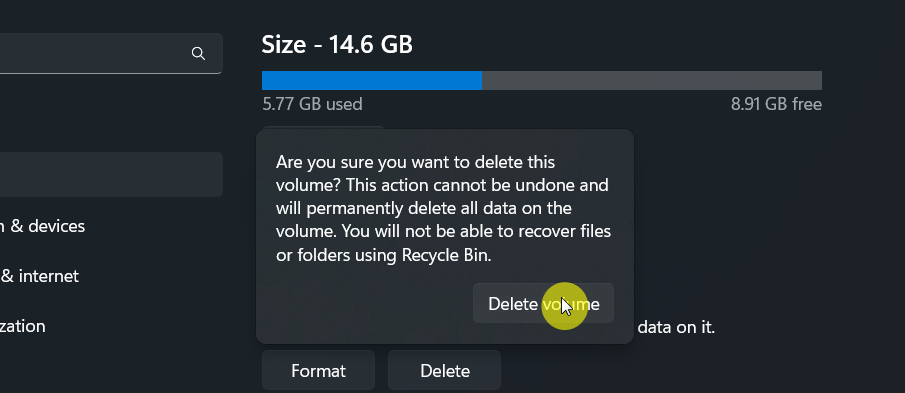
Once completed, the partition will be removed, allowing you to create a new partition tailored to your needs.

This method is quite similar to the one available in Disk Management.
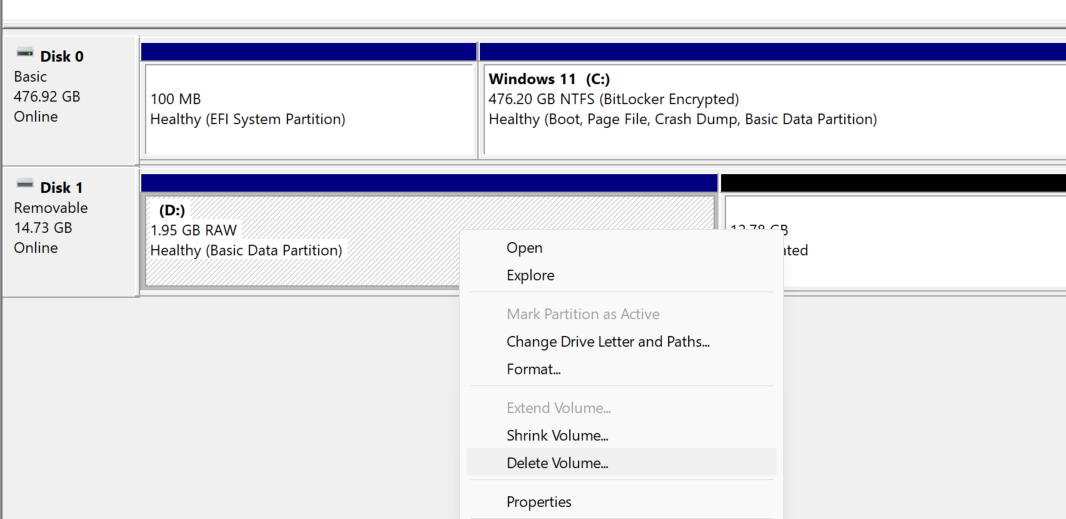
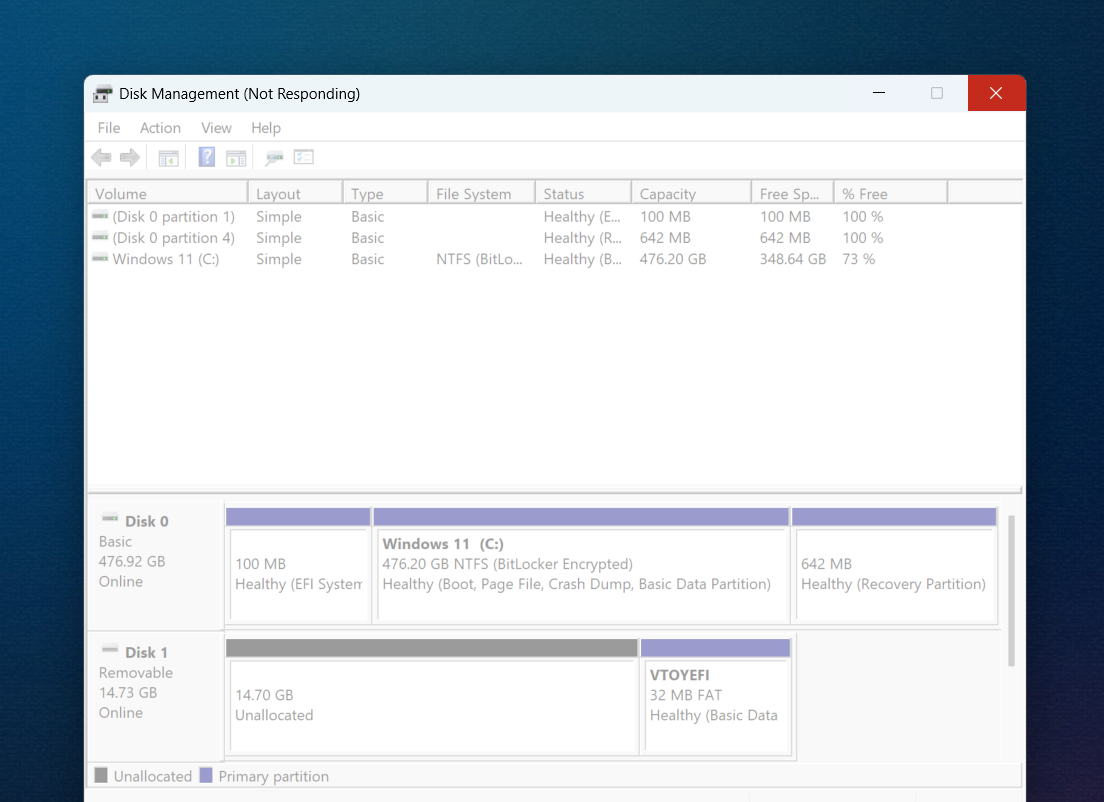
However, when deleting a partition from Settings, ensure you do not have Disk Management open, as it may cause Disk Management to become unresponsive.
We hope this article proves helpful. Thank you!

