Similar to Windows 10, in Windows 11, you can create metered connections to limit the internet bandwidth consumed by the system. This helps conserve bandwidth and even disable certain features that users may not prefer under specific conditions.
For your information, when Metered Connection is enabled, some Windows 11 features are automatically disabled, including:
So, how do you activate and set up metered connections in Windows 11? Here are the steps:
Step 1. First, open Settings > Network & internet.
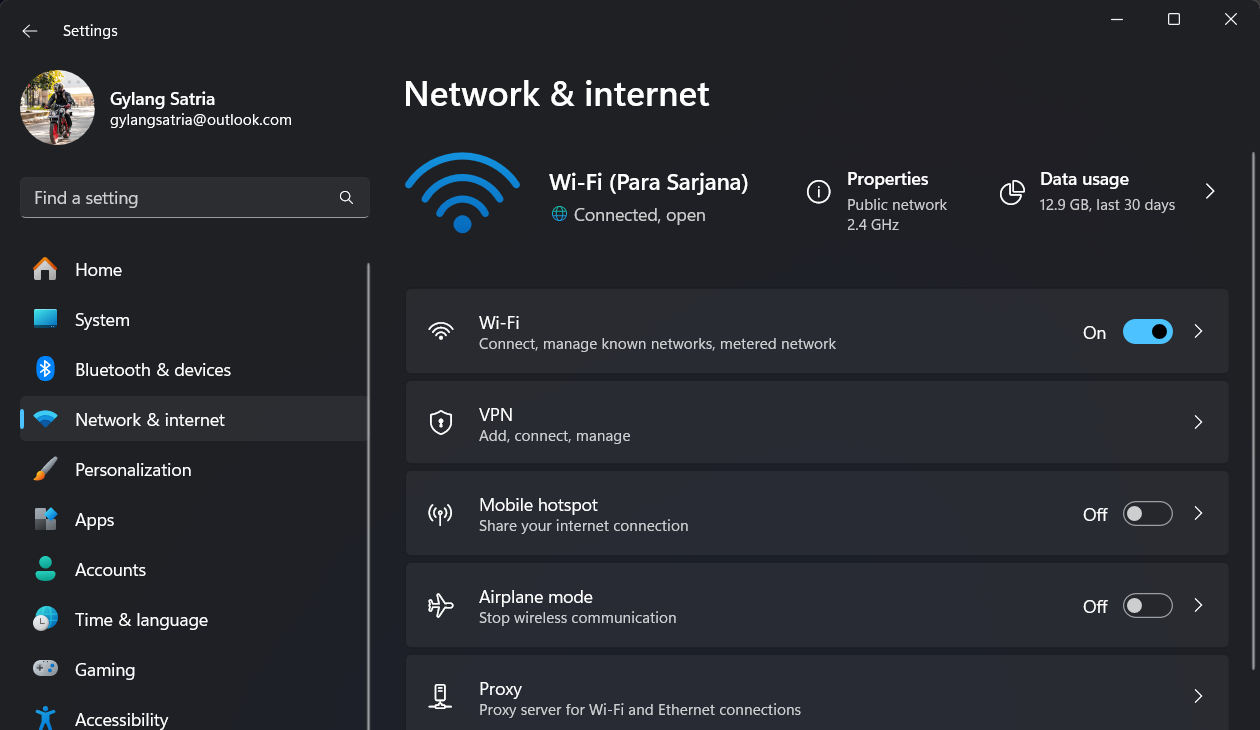
Step 2. Next, select the device you’re using to access the internet, such as WiFi in this example.
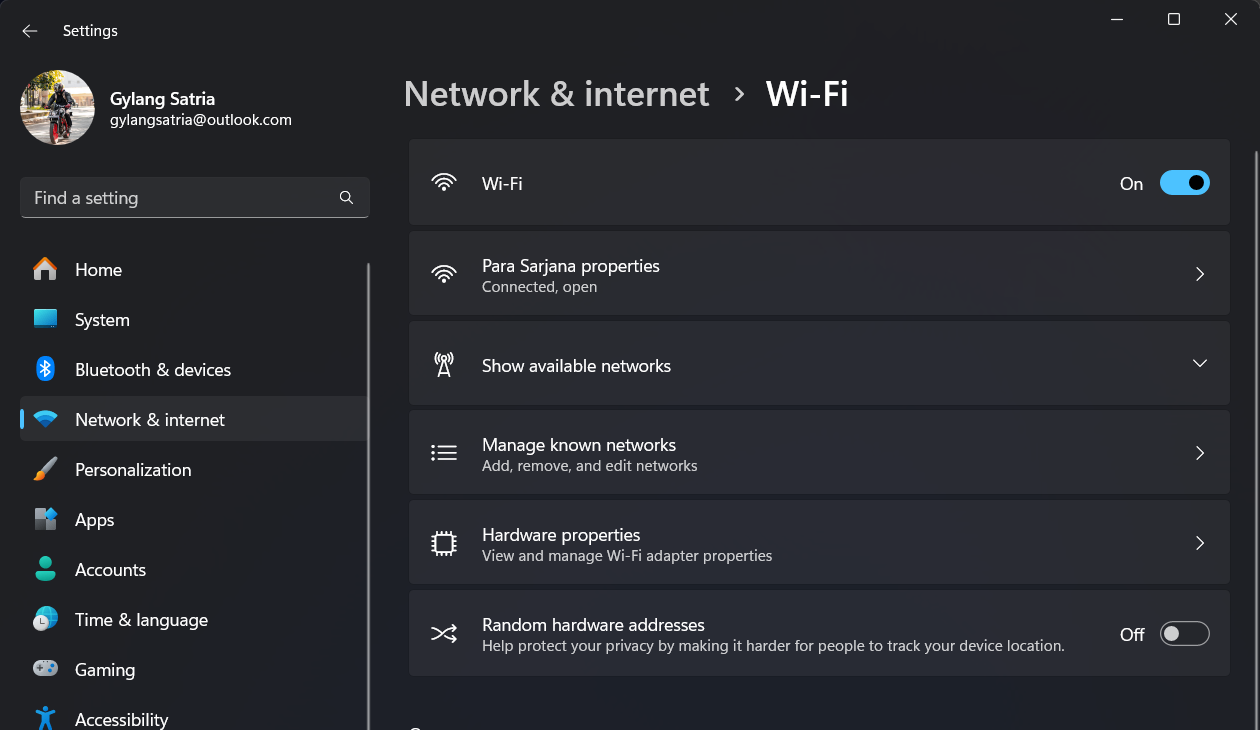
Step 3. Then, choose the WiFi Properties corresponding to the SSID you’re using. For instance, in my case, it’s “Para Sarjana properties.”
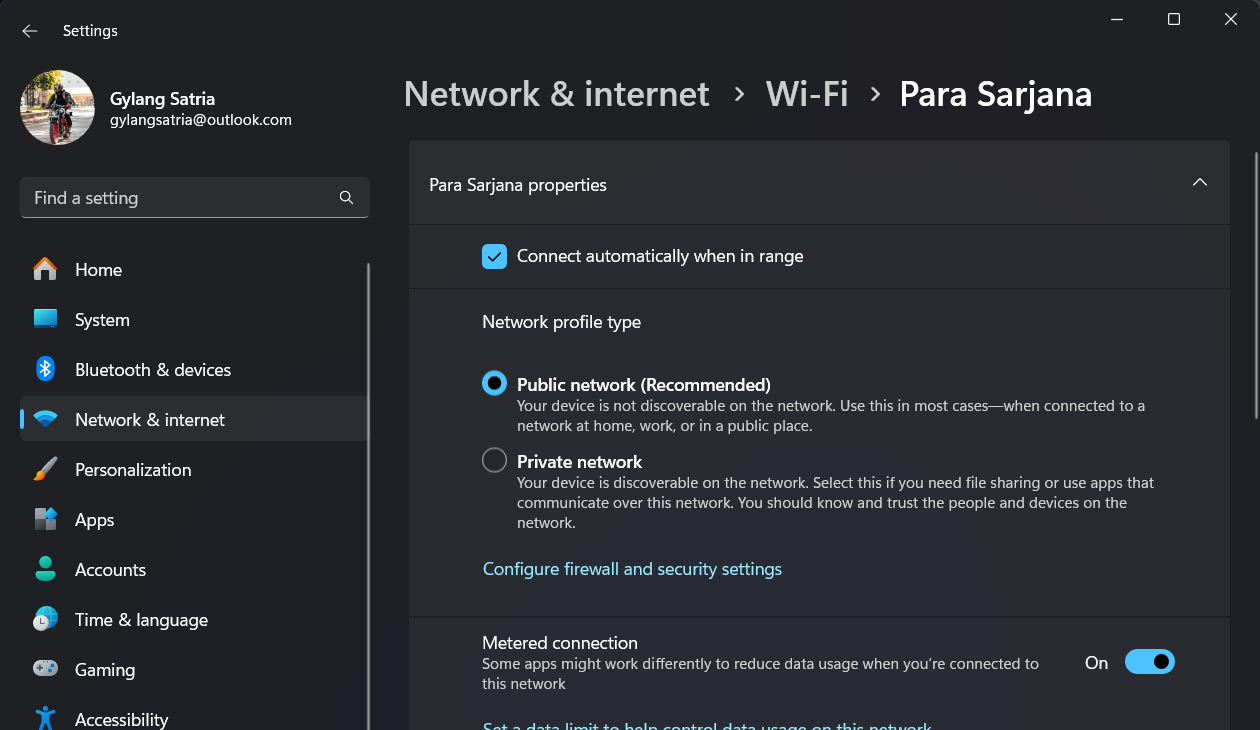
Inside, enable the “Metered Connection” option as shown in the image above.
Once done, Metered Connections will be active, and bandwidth usage on your device will be restricted. This is also a solution for those who dislike automatic updates on their system.
Give it a try, and I hope this article is helpful. Thank you.