Similar to Windows 10, Windows 11 allows you to configure a Virtual Private Network (VPN) through the Settings app using its built-in VPN Client. This means you don’t need to rely on third-party applications to connect to a secure network.
So, how do you set up a VPN on Windows 11? In this guide, dgdig will outline the quick steps to configure a VPN on Windows 11. Here’s how:
#Before you begin, ensure you have VPN settings ready, including the DDNS hostname, Username, and Password. If you’re trying a free VPN, you can usually find such details on https://www.vpngate.net/en/. However, if you’re configuring VPN for your workplace, your employer will likely provide specific settings, including a unique username and password.
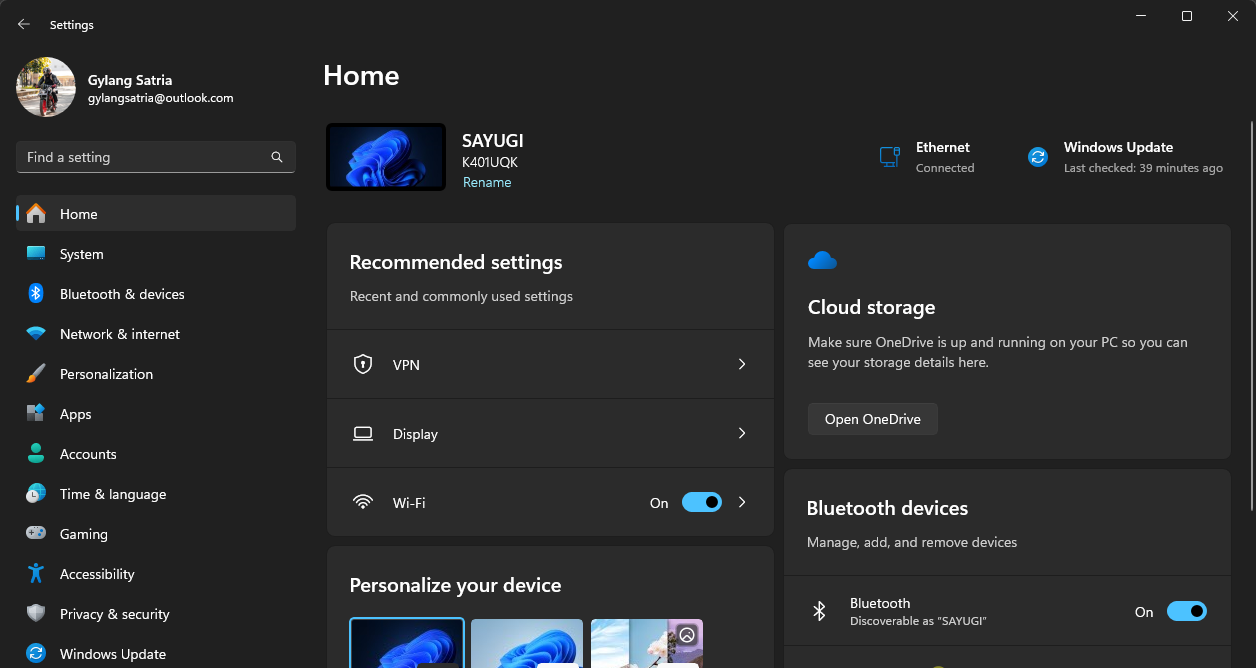
Step 1. First, open Settings.
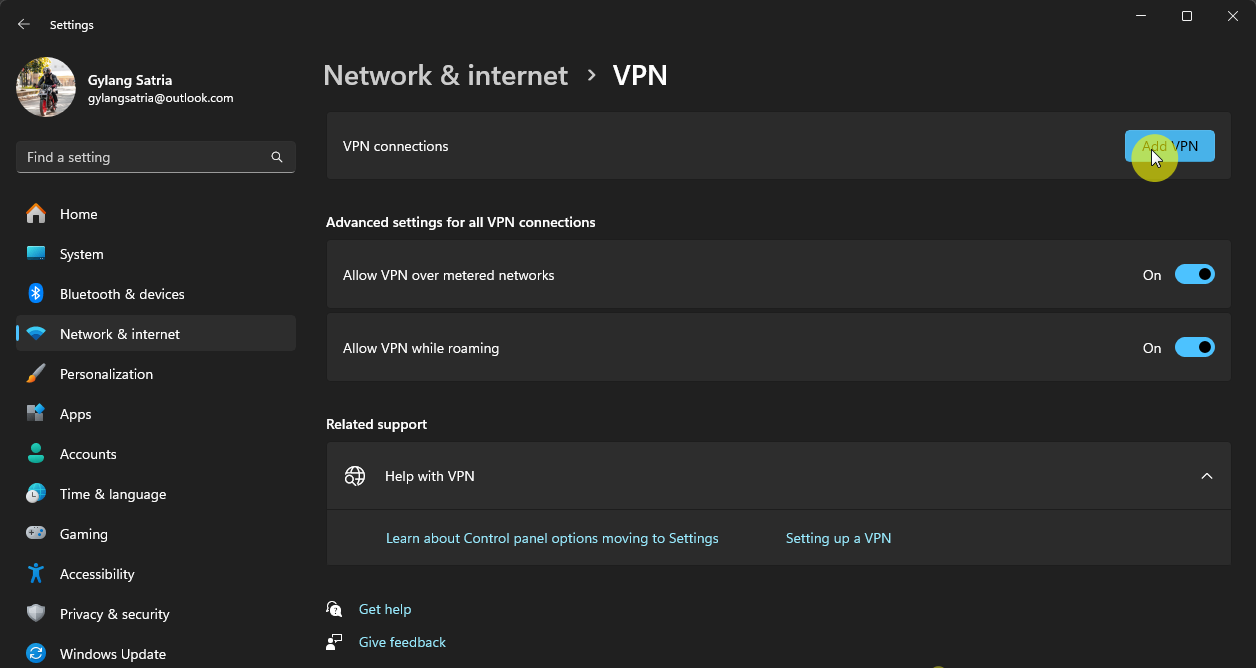
Step 2. Next, navigate to Network & internet > VPN.
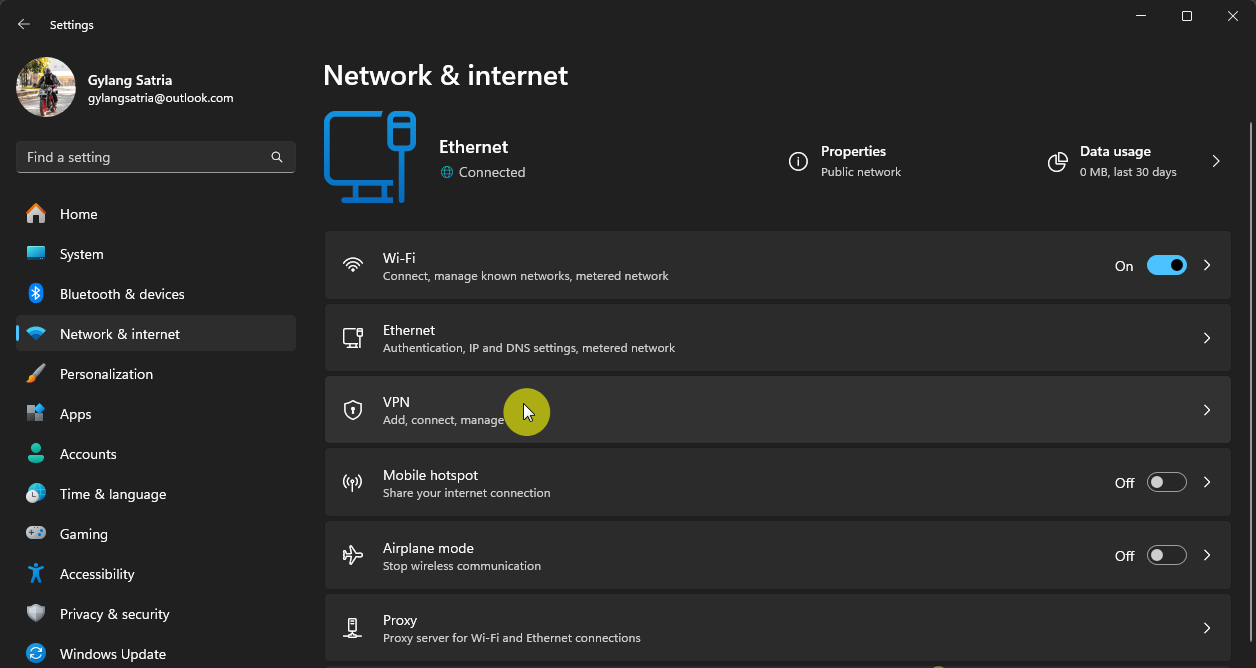
Step 3. Click Add VPN.
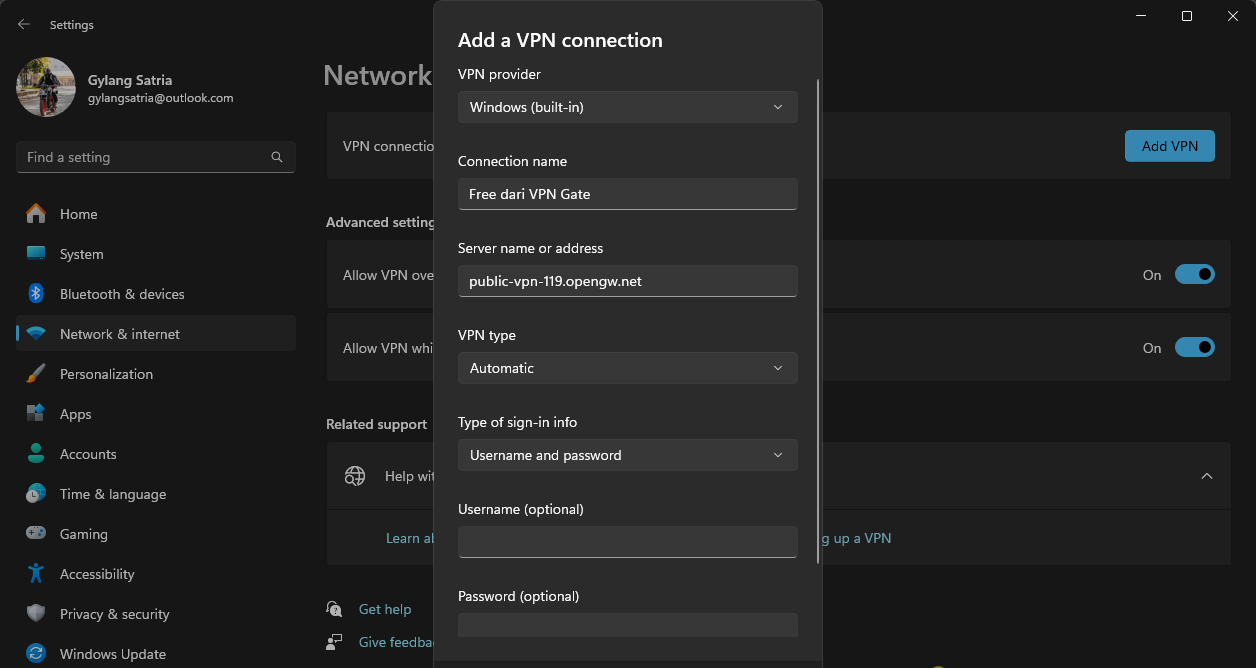
Then, enter your VPN details and click Save.
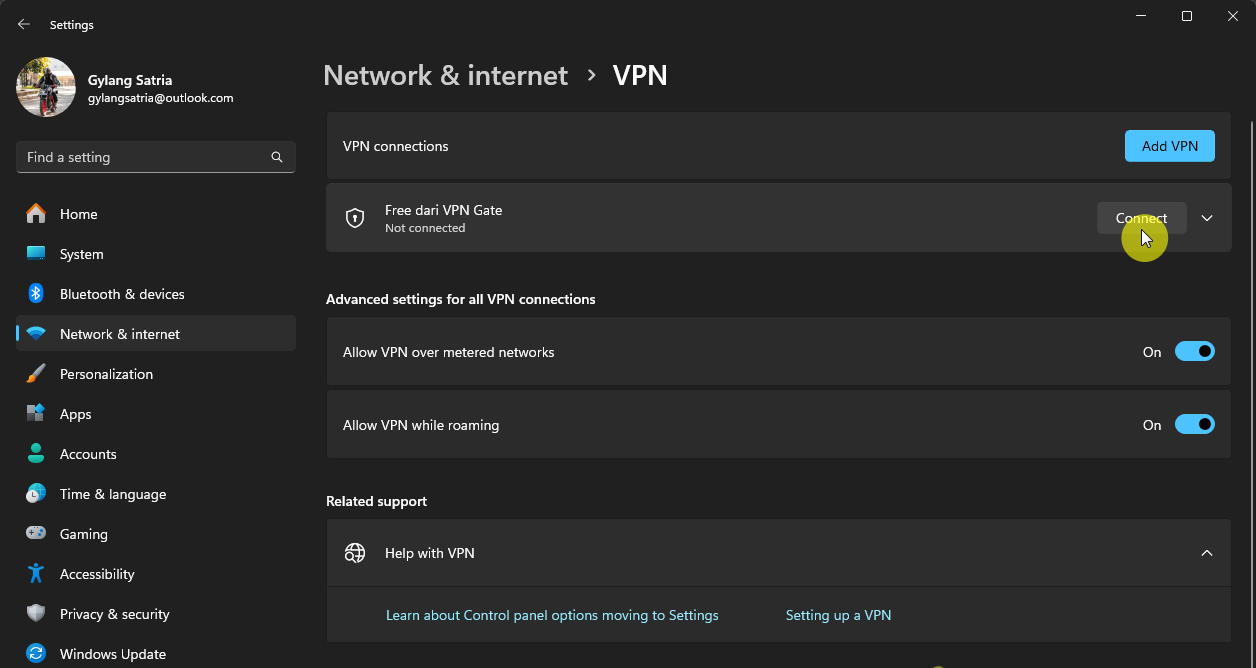
Step 4. To connect to the VPN, click Connect and input your username and password.
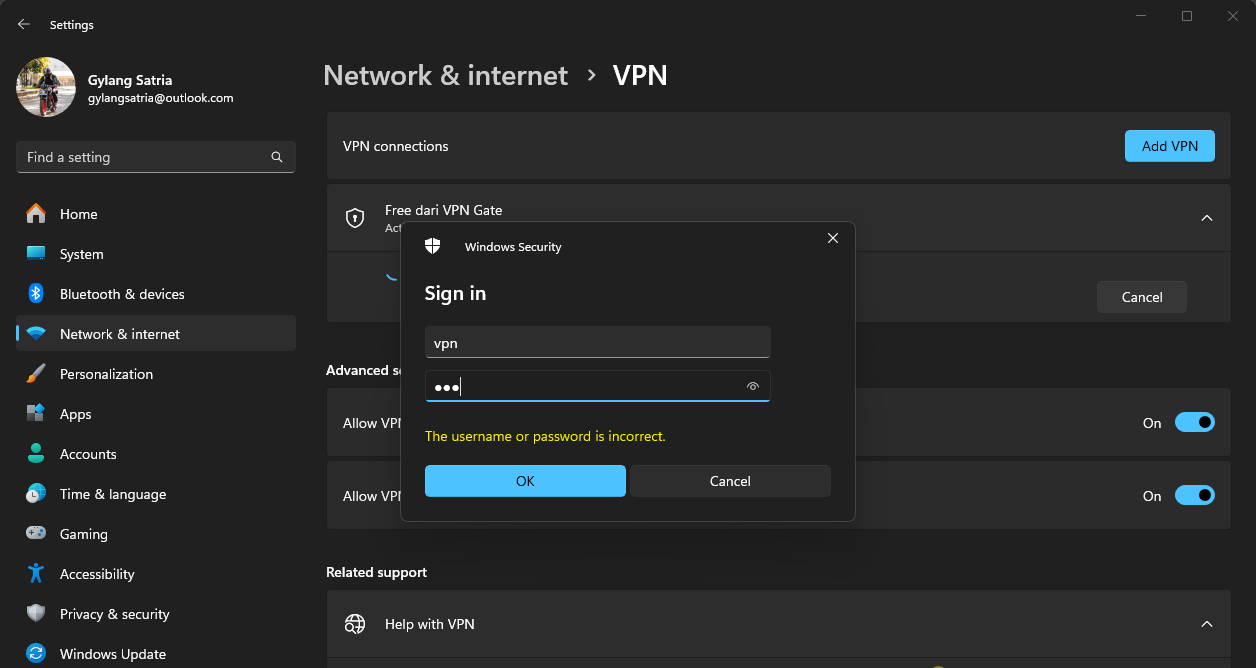
Click OK, and if the VPN configuration is correct, your connection will be established as shown in the image below.
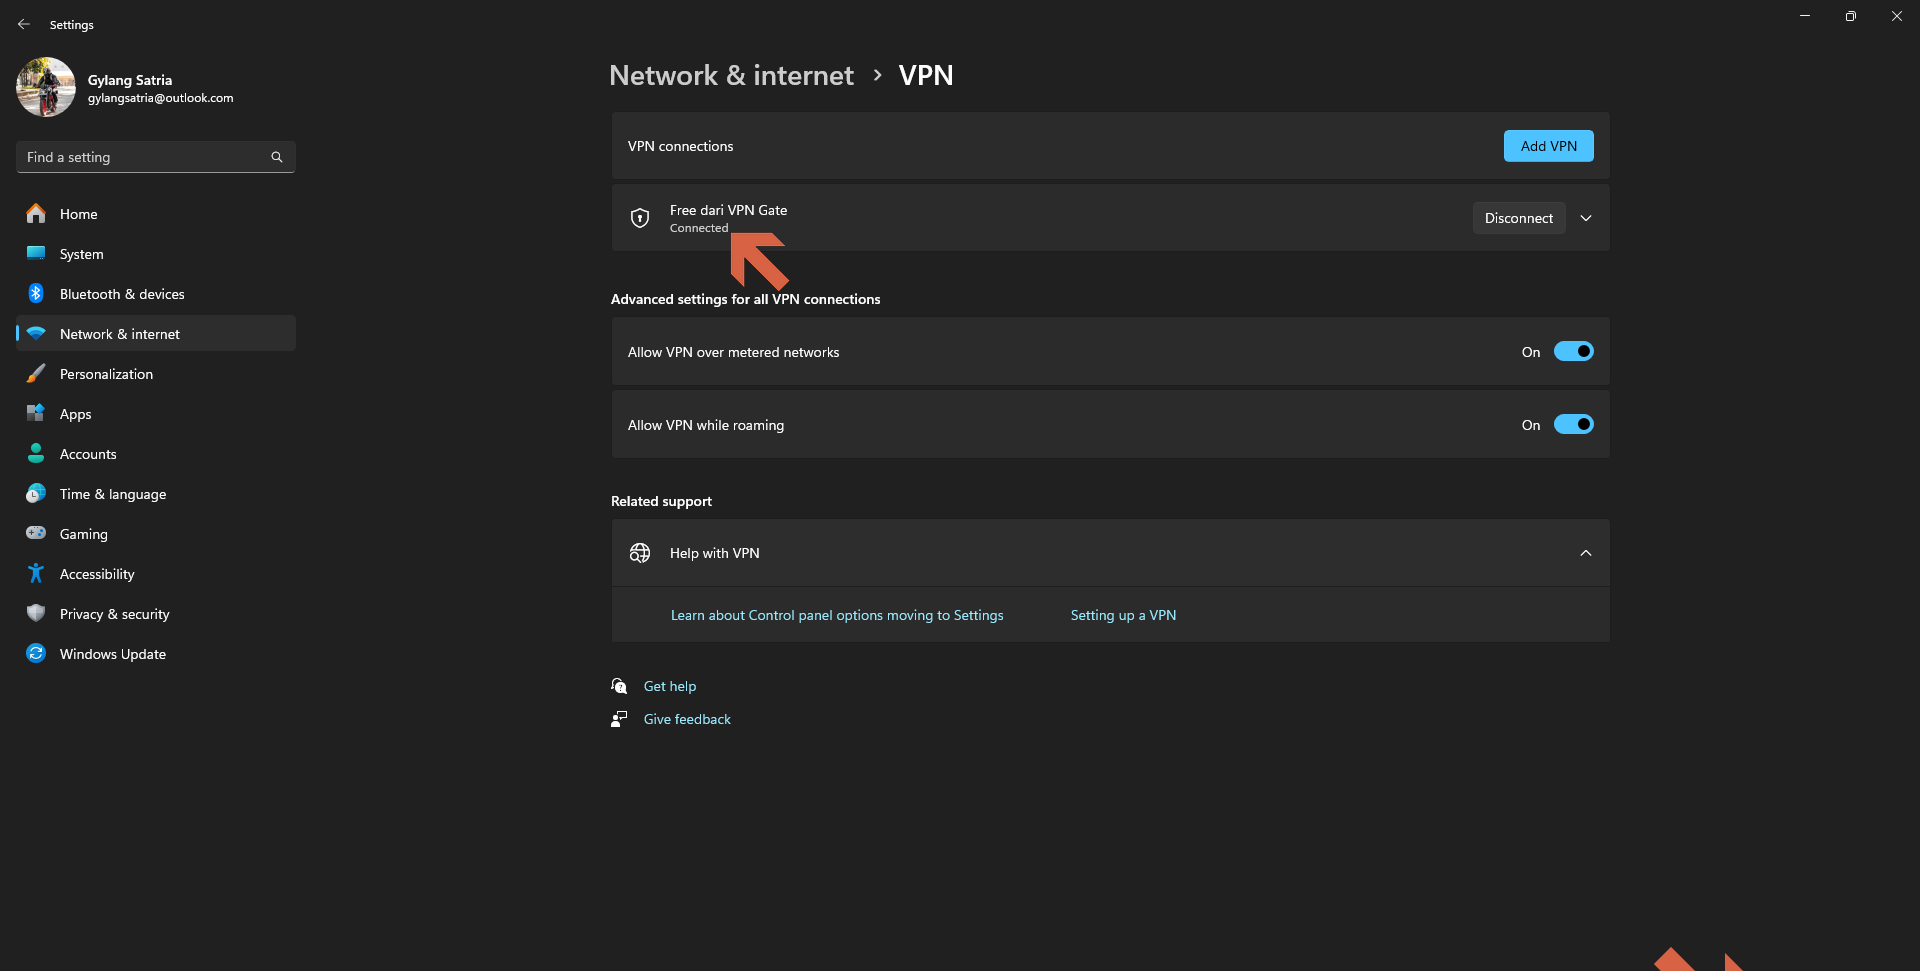
And that’s it! You’re now connected to the VPN you just set up.

To disconnect, simply click Disconnect, and the VPN connection will end immediately.

Easy, right? However, keep in mind that if you’re using a free VPN configuration, it’s advisable to avoid accessing sensitive sites (such as banking portals, important accounts, or other critical platforms) as your activity logs may be stored on the VPN server.
Give it a try, and we hope this article proves helpful!