Similar to Windows 10, Windows 11 also features a Kiosk Mode, which allows users to access only one application while restricting access to other elements like the Start Menu, Desktop, and more.
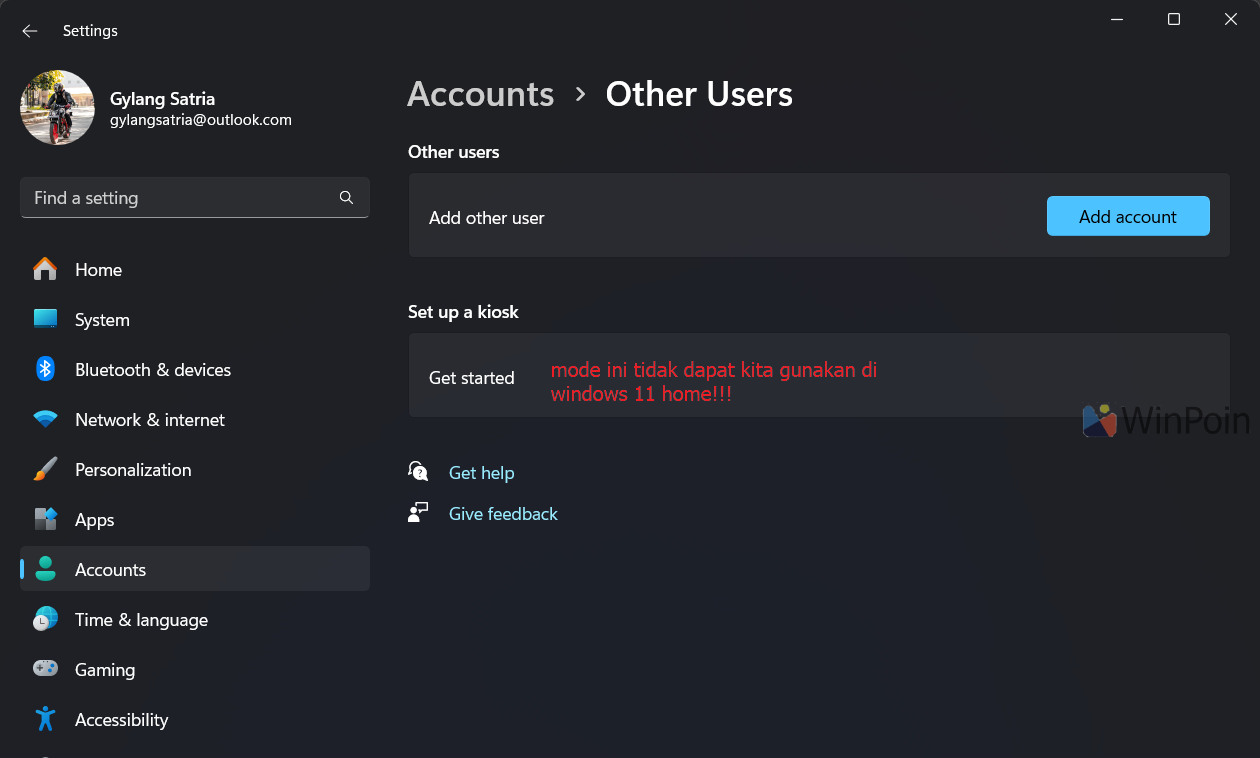
Before proceeding, it’s important to note that to enable and configure Kiosk Mode, you must be using Windows 11 Professional, Enterprise, or Education editions.
Read Also:
Read Also:
Once you’ve confirmed that your Windows 11 version is Professional or a non-Home Edition, follow these steps.
Step 1. First, open Settings > Accounts.
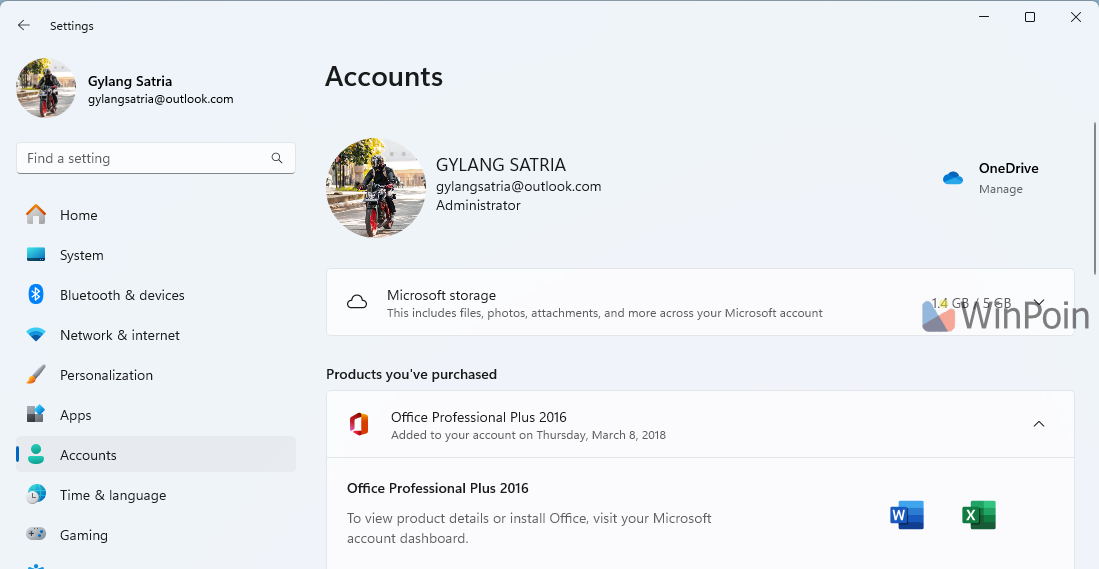
Step 2. Navigate to Other users.
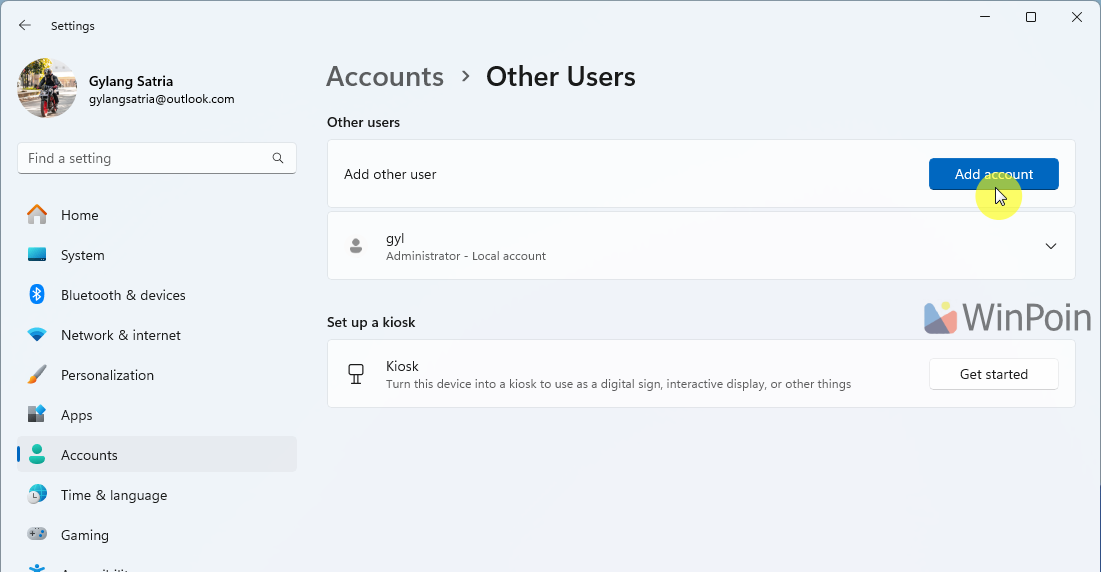
Step 3. Under Set up kiosk, click the Get started button > then create a username for the new kiosk account.
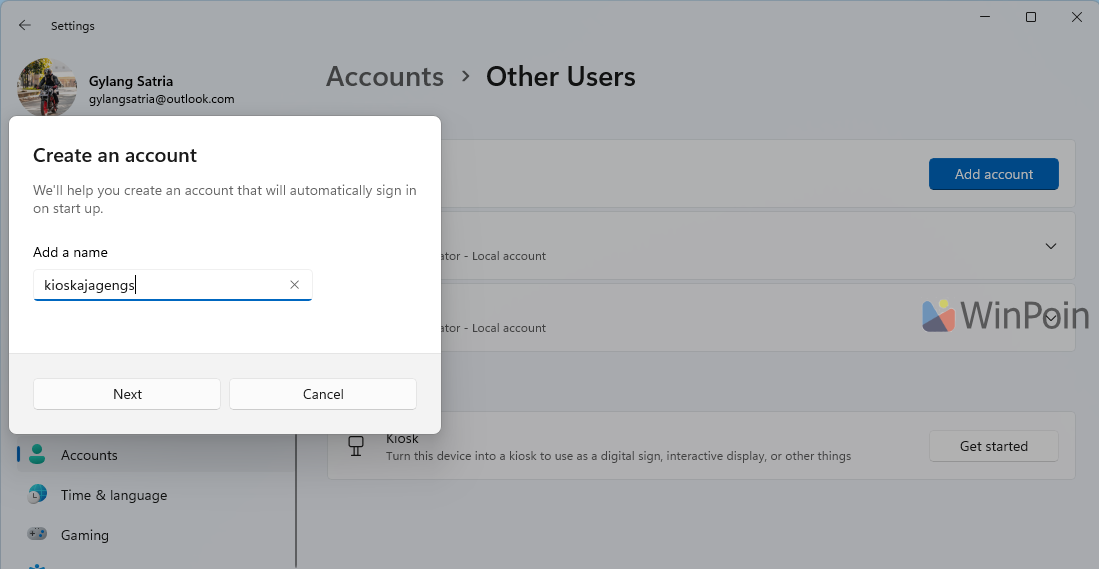
Enter a name for the user and click Next.
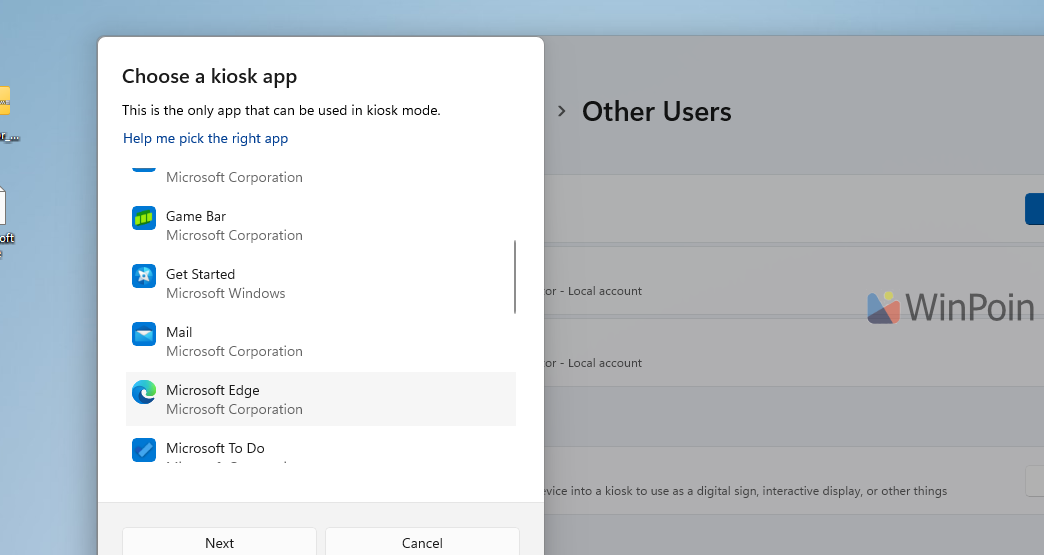
Step 4. Next, select the application to be used in Kiosk Mode. Here, I’ve chosen Microsoft Edge. (Typically, in corporate settings, specialized applications like cashier or inventory systems are selected).
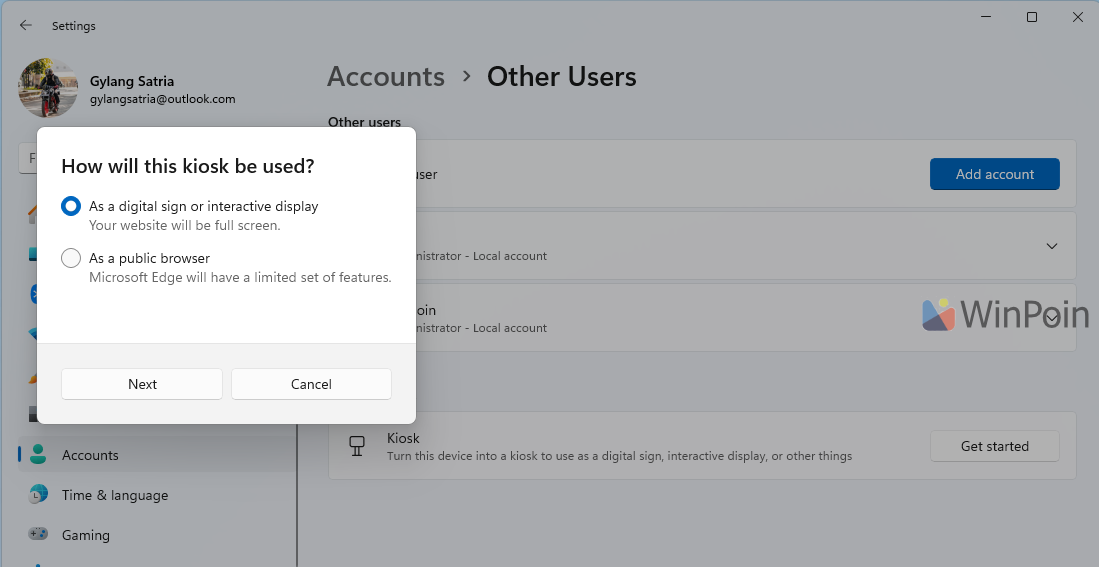
Since I’ve selected a browser, there’s an additional option to open it in full screen or in a standard browser mode with limited features.
I’ve chosen the second option, but if you have a company-specific web-based application, you can opt for the first.
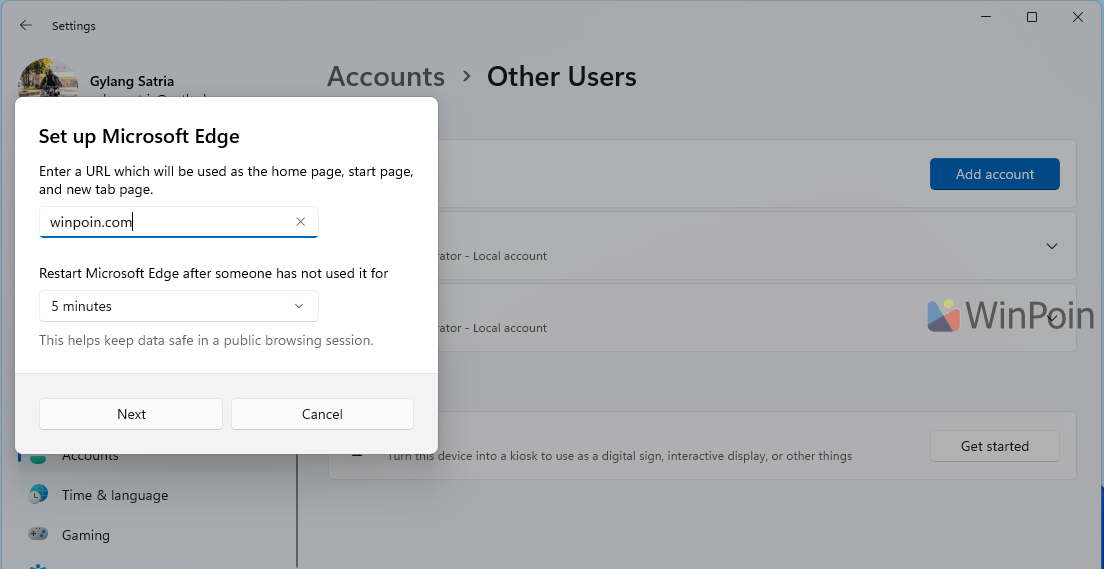
Step 5. After creating the kiosk account, sign out of your Microsoft account. Then, on the lock screen, sign in to the account you just created.
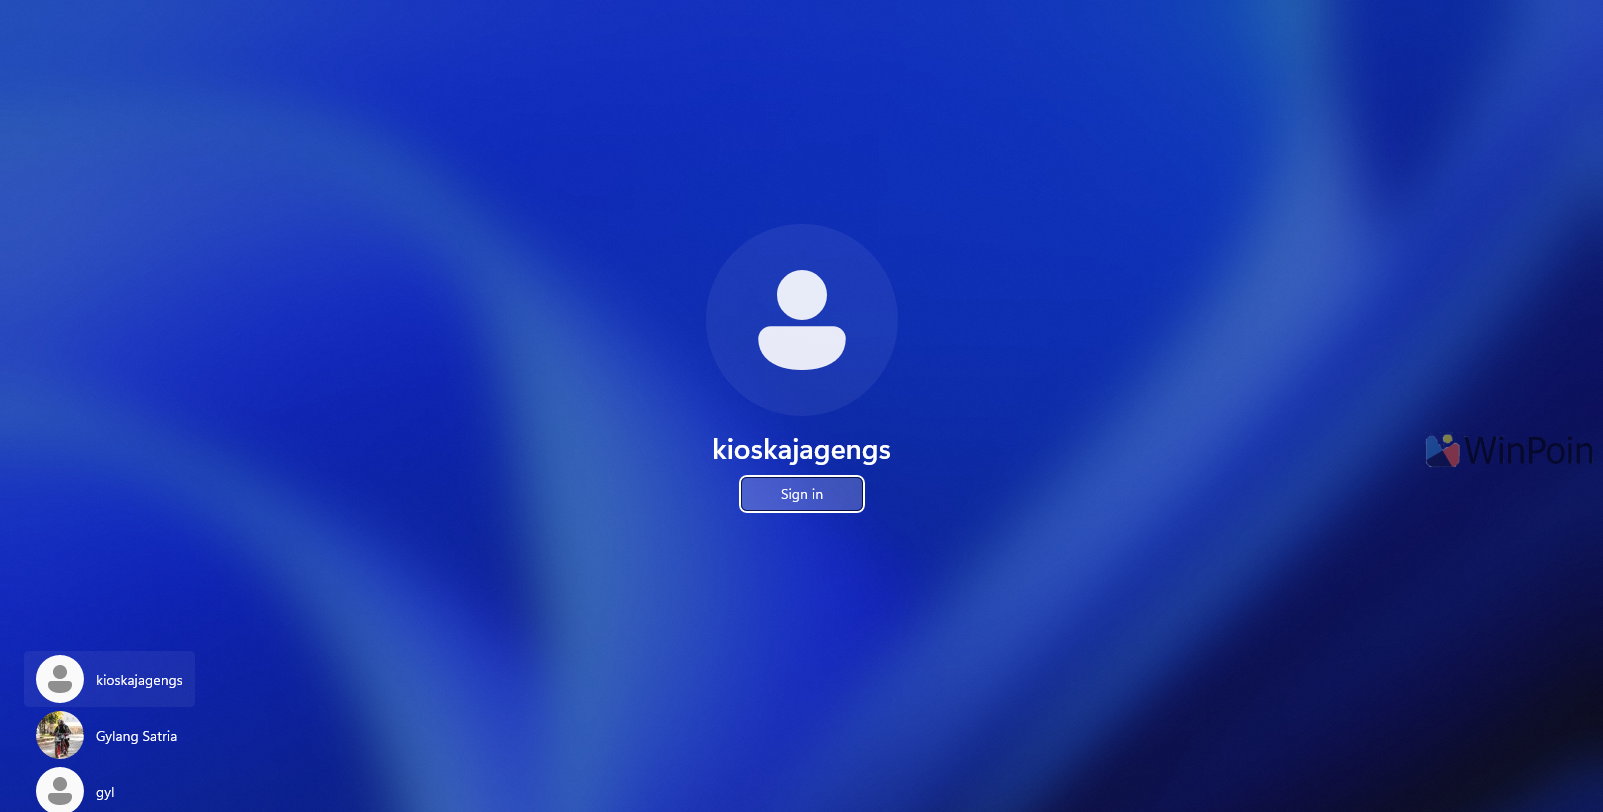
Here’s an example of what Kiosk Mode looks like once activated.
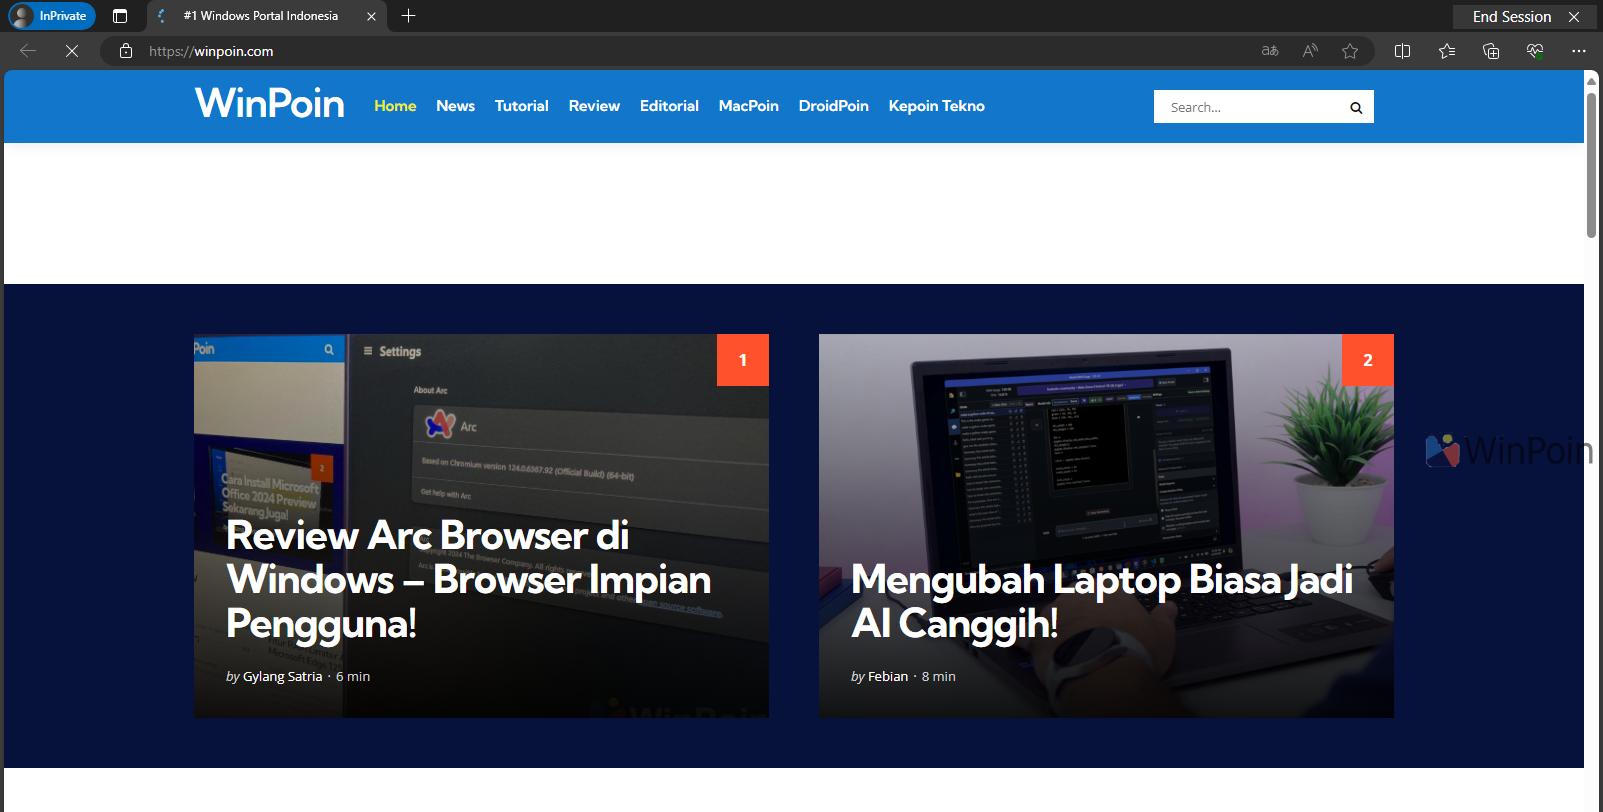
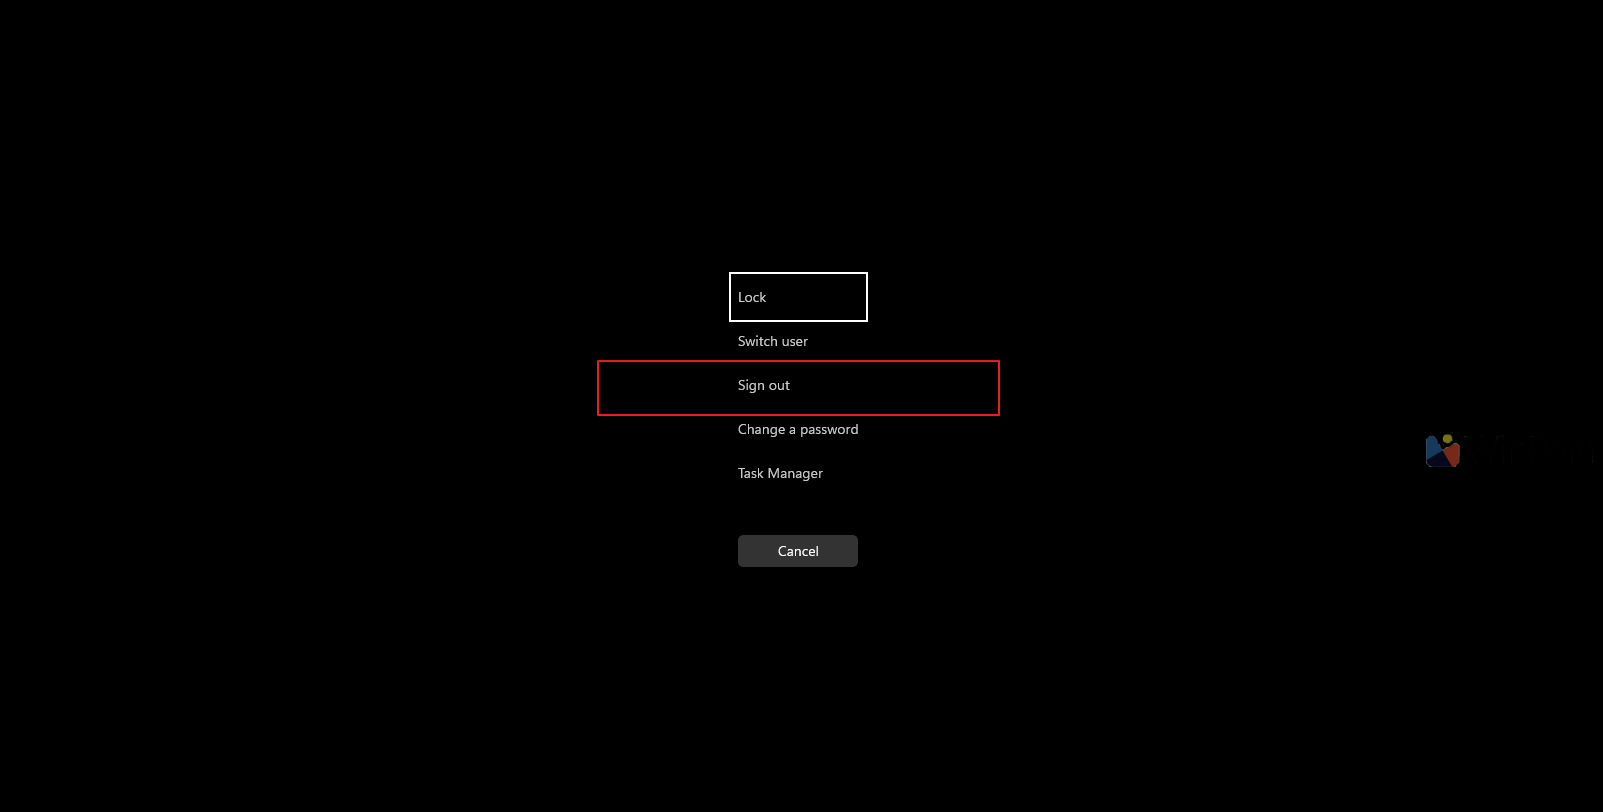
Impressive, right? To exit this mode, press CTRL + ALT + DELETE and select sign out.
This mode is highly beneficial for devices designed for specific purposes, such as attendance systems, cash registers, or other general applications, as it prevents users from tampering with the device and keeps them focused on their tasks.
Give it a try and I hope this article proves useful. Thank you!

