After performing a clean install or a Windows 11 reset, the system will start fresh with the OOBE process that needs to be set up again. In Windows 11 24H2, this process varies with additional steps that must be selected, especially concerning offers or advertisements for various Microsoft products and services.
Read Also: How to Reset Windows 11
In this guide, dgdig will summarize a quick method for setting up OOBE in Windows 11 24H2. Keep in mind, the steps outlined are standard, and users must log in with a Microsoft account. If you wish to bypass this, you can follow these steps: How to Bypass OOBE Setup in Windows 11
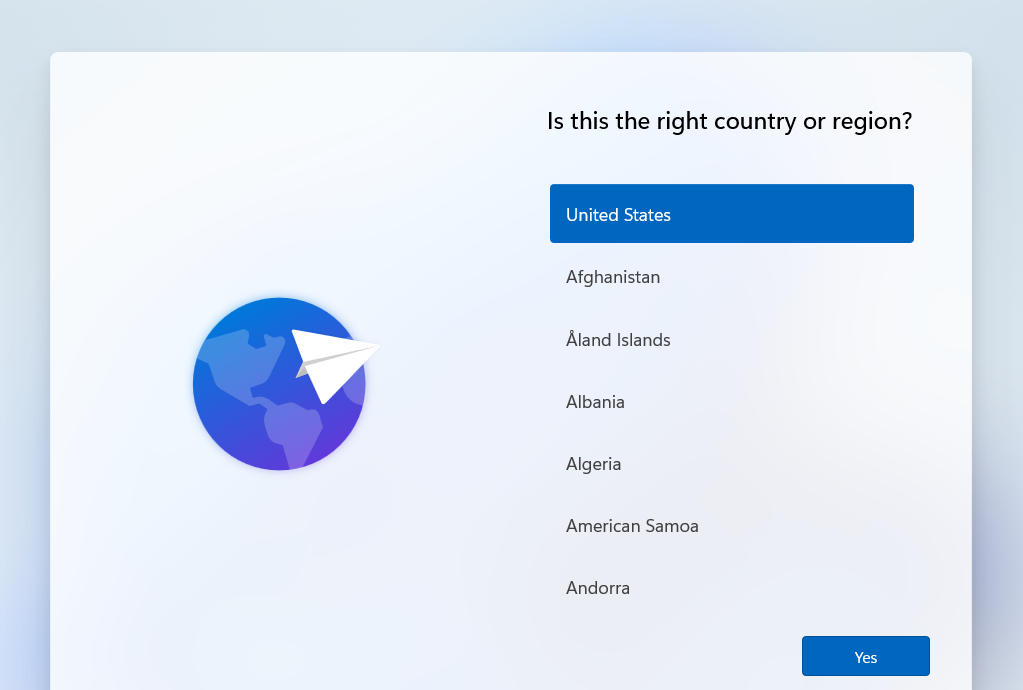
Step 1. On the initial OOBE or Out of Box Experience page, you must choose your preferred language.
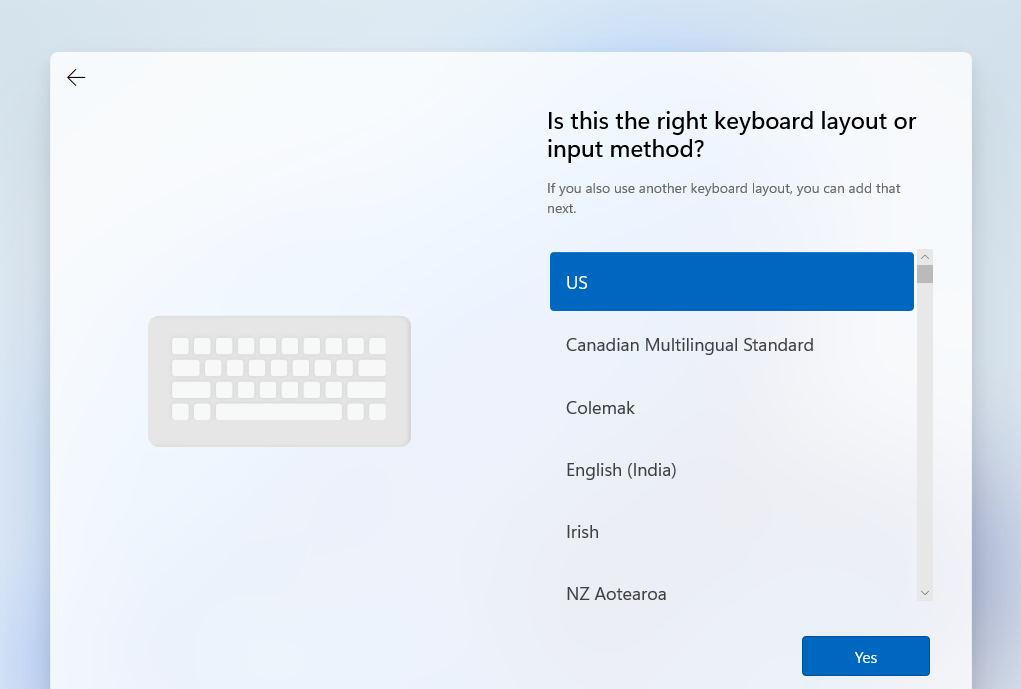
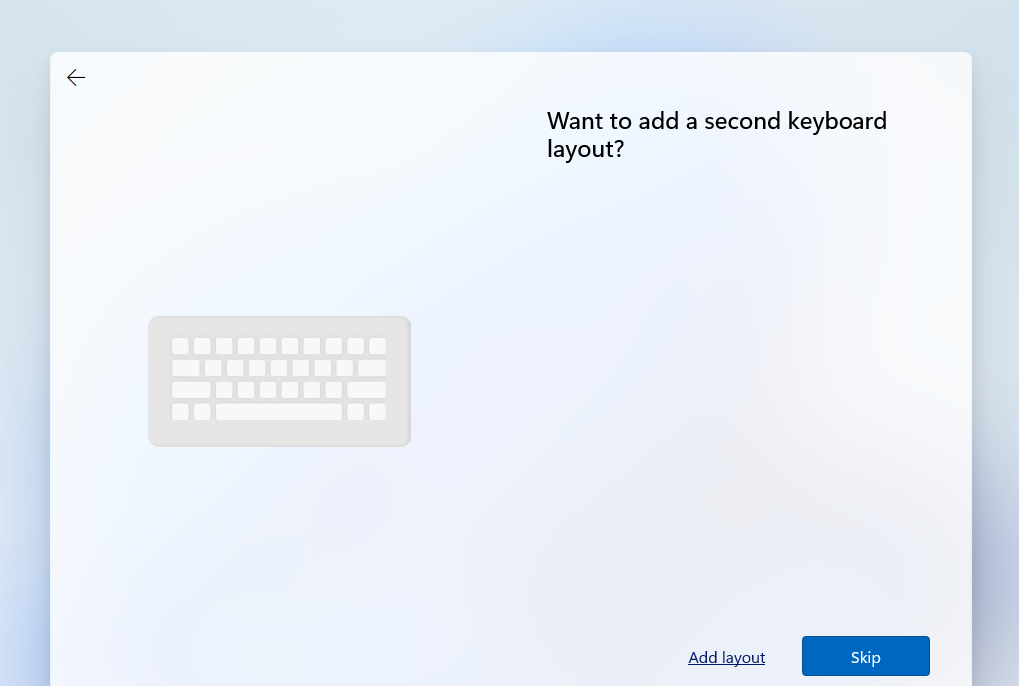
Step 2. Next, adjust the system’s keyboard layout to match the one you’re using. Typically, the keyboard region ID aligns with the US region. Click Next and Skip if you don’t wish to add an extra keyboard layout.
Step 3. The system will then perform a check for updates.
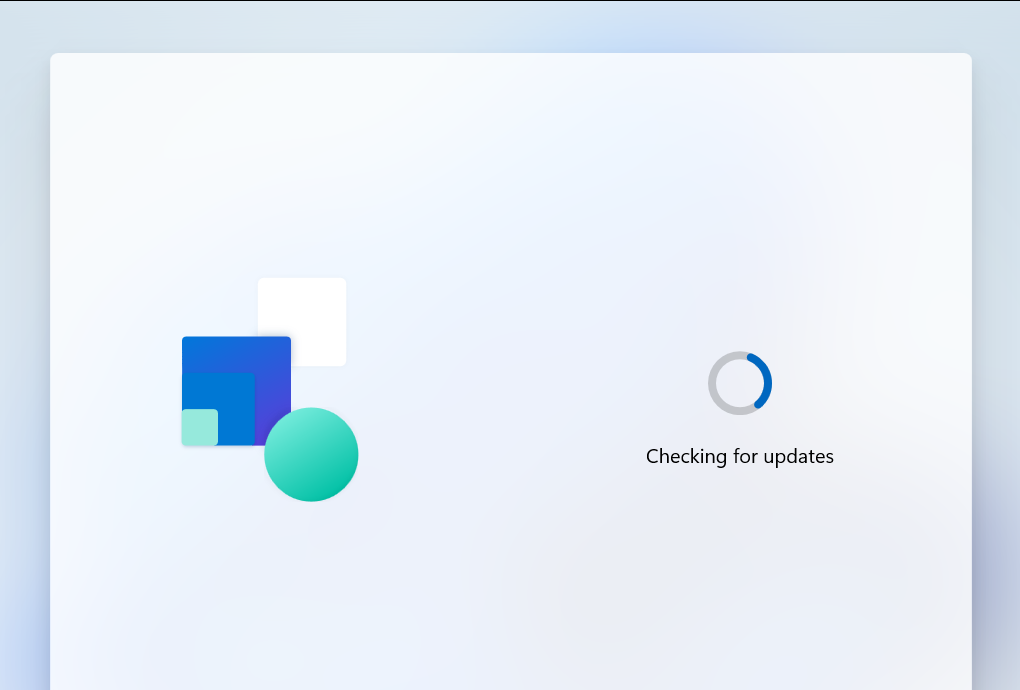
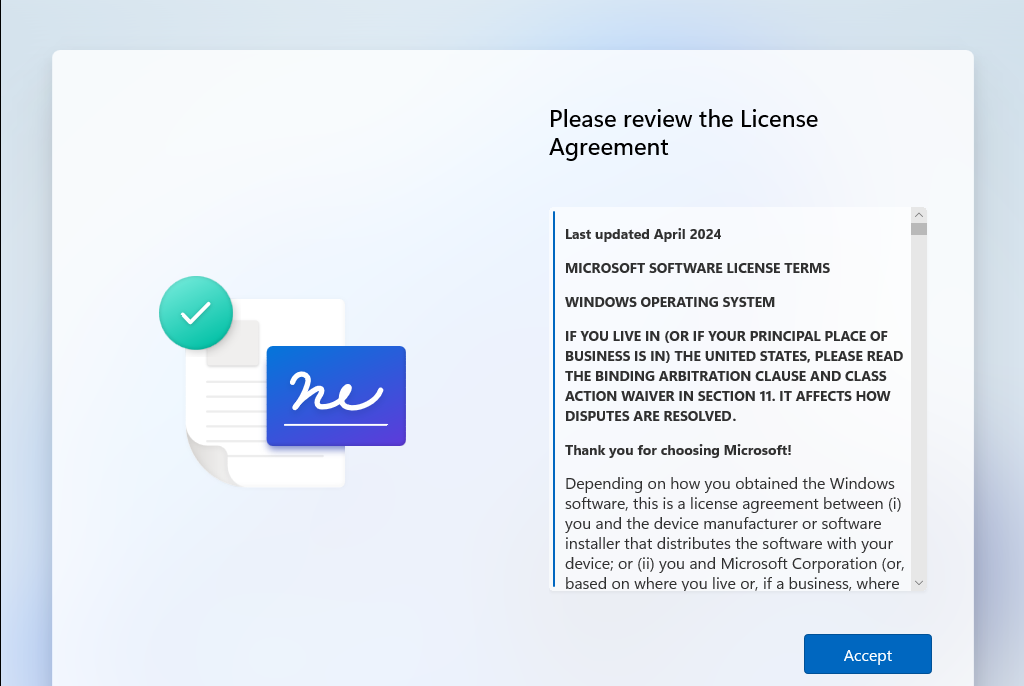
Afterward, you’ll encounter a license agreement page, which is likely to be skipped, so simply click Accept.
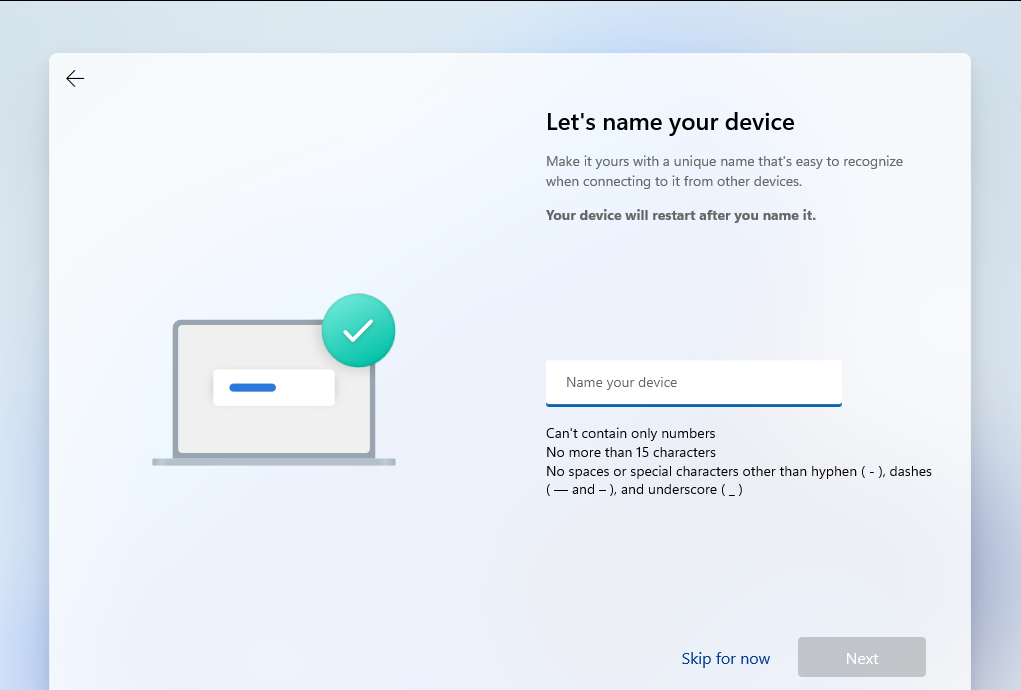
Step 4. Proceed to enter the device name for the system you’re using. If none is needed, leave it as default by clicking the available skip button.
Step 5. Next, configure the Microsoft account you wish to use, whether it’s a Personal account or a Work & School account provided by your workplace.
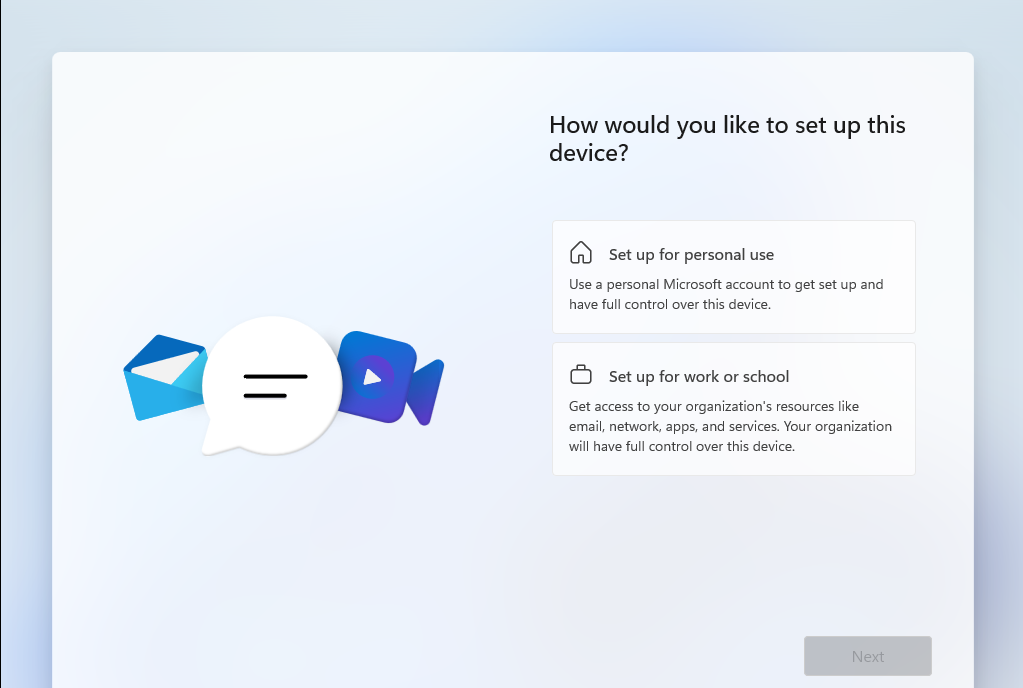
Since this device is for personal use, I selected Set up for personal use. If the device is for work purposes and requires access to workplace resources, choose Set up for work or school.
Step 5. The system will then perform another check for Windows updates, which may take considerable time, especially if major updates are available.
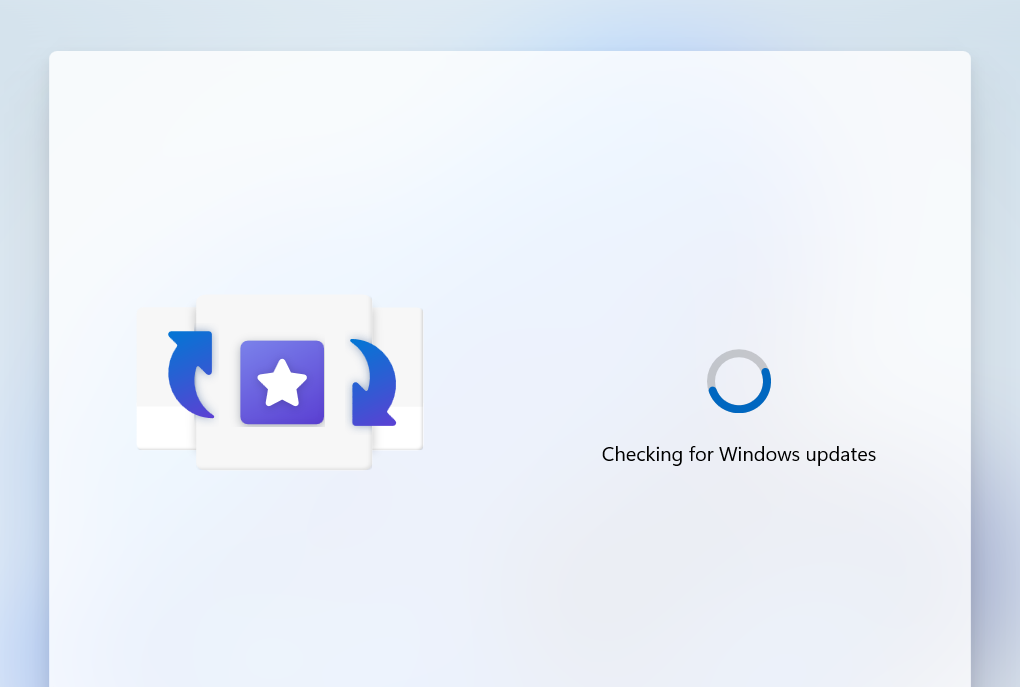
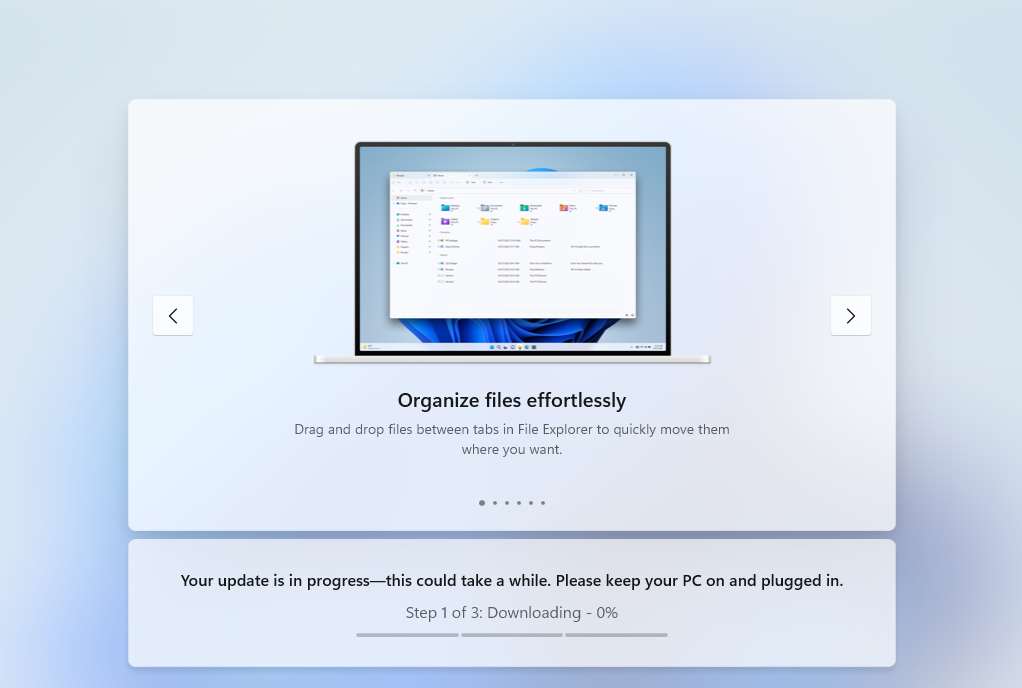
Step 6. After this, log in with your Microsoft account to continue the setup process.
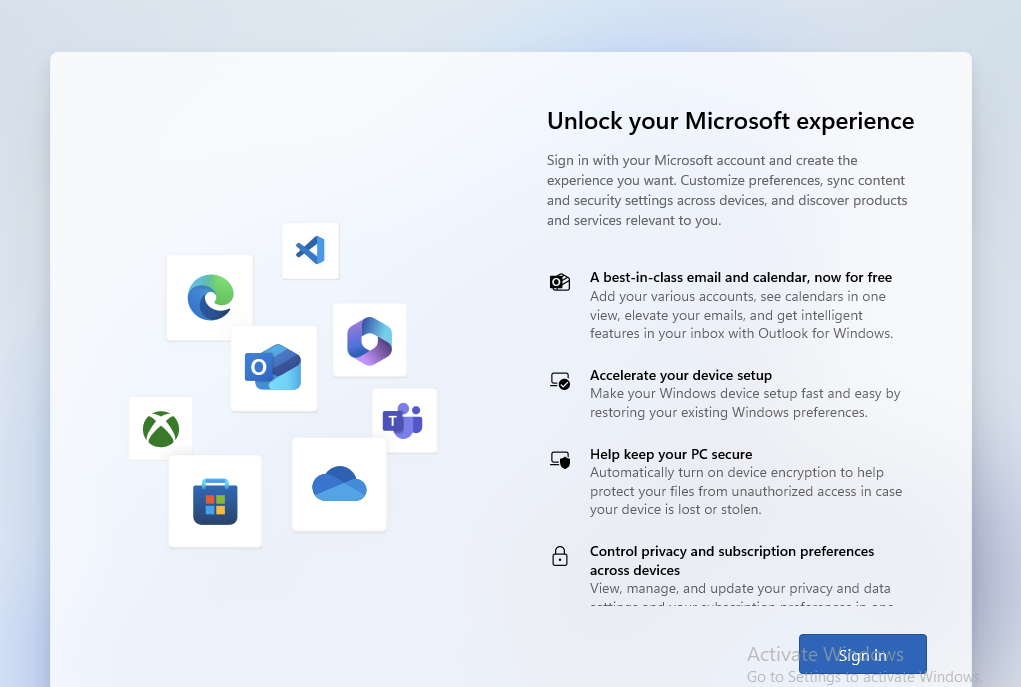
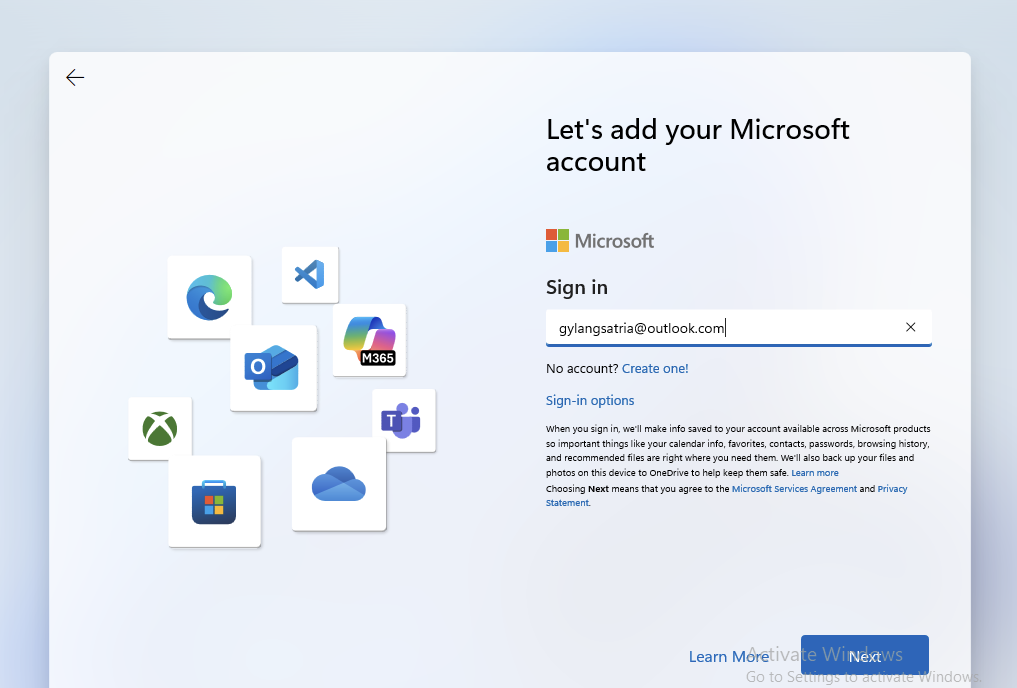
Once logged in, proceed to create a PIN.
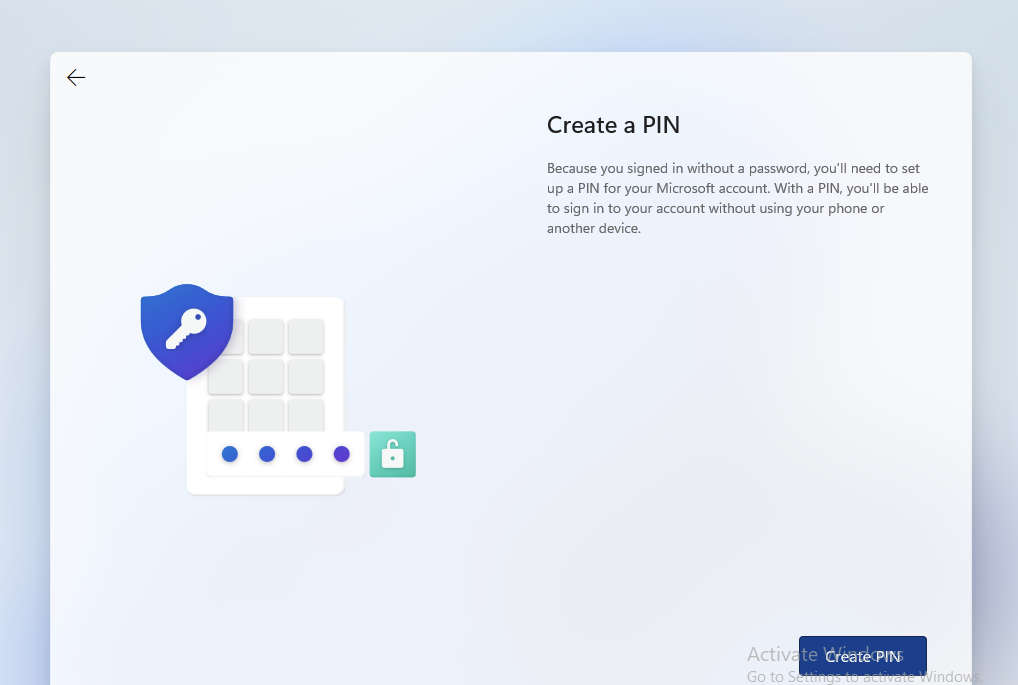
To skip this login process, you can apply a bypass technique detailed in this article: How to Bypass OOBE Setup in Windows 11
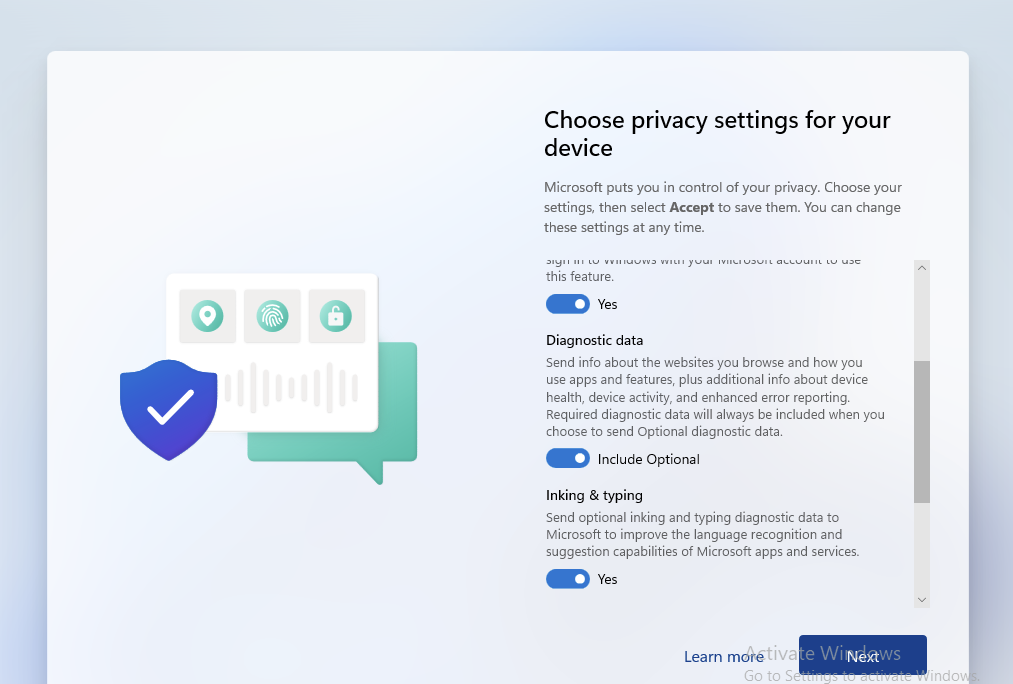
Step 7. Adjust the privacy settings as needed, then click Next and Accept to use the default settings.
Step 8. Decide whether you want to restore settings from a Windows Backup.
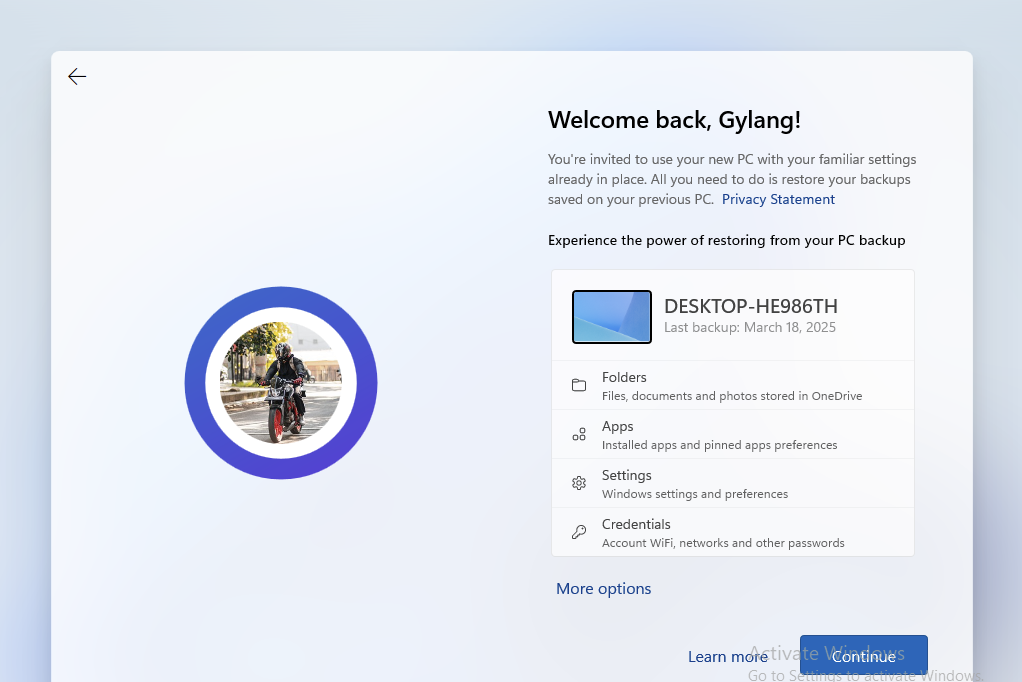
If yes, click Continue; otherwise, select More options and then Set up as new PC.
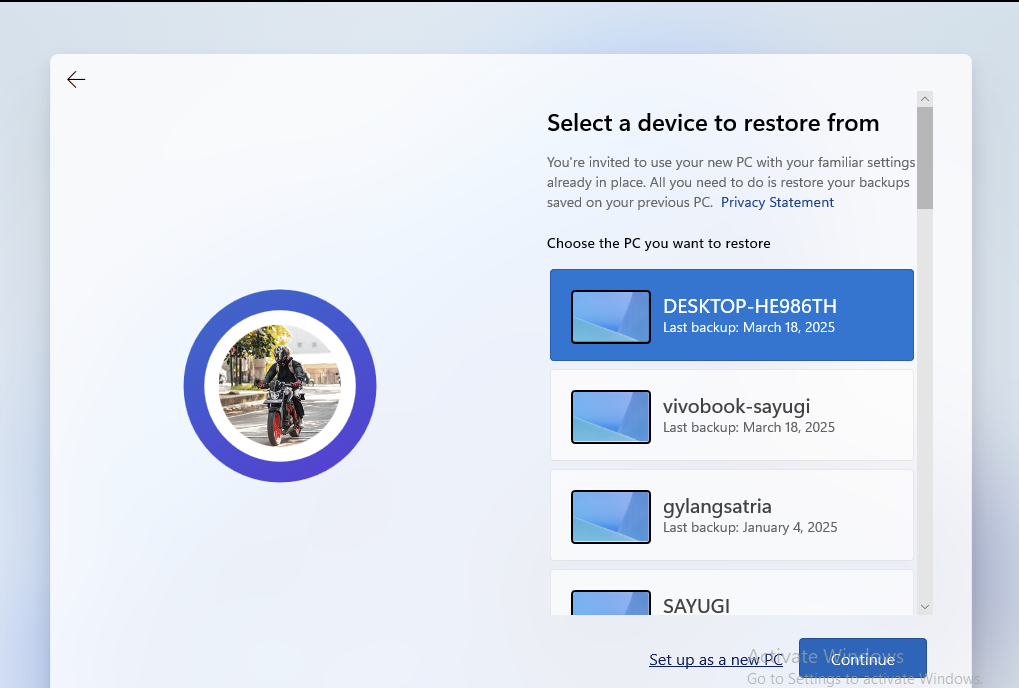
If you choose Set up as new PC, confirm your choice by clicking Set up as new PC again.
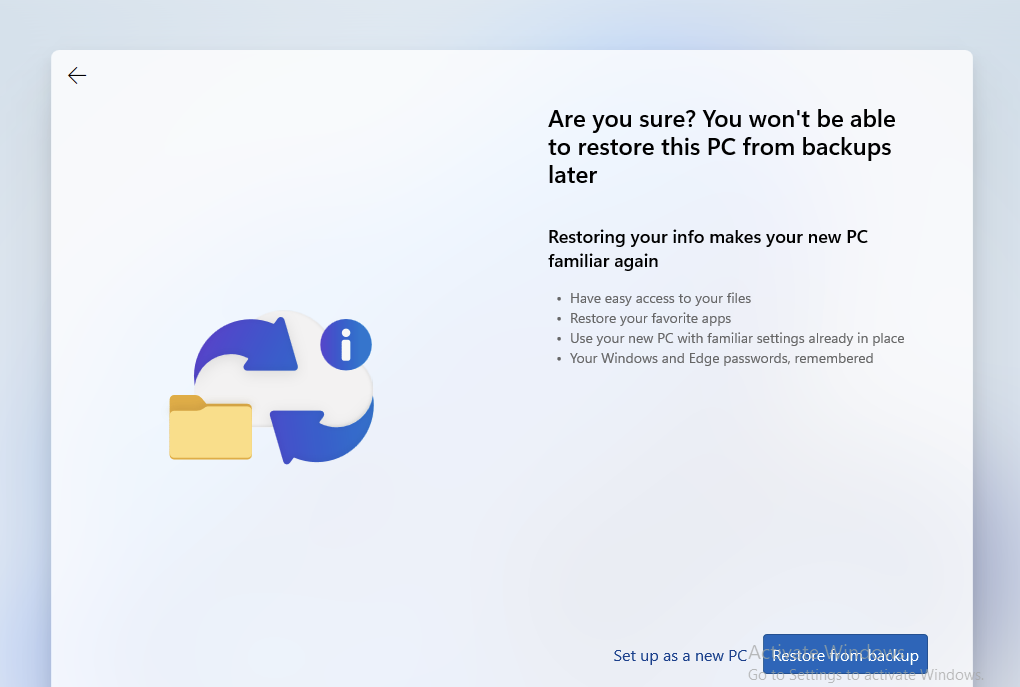
Afterward, the setup process will begin.
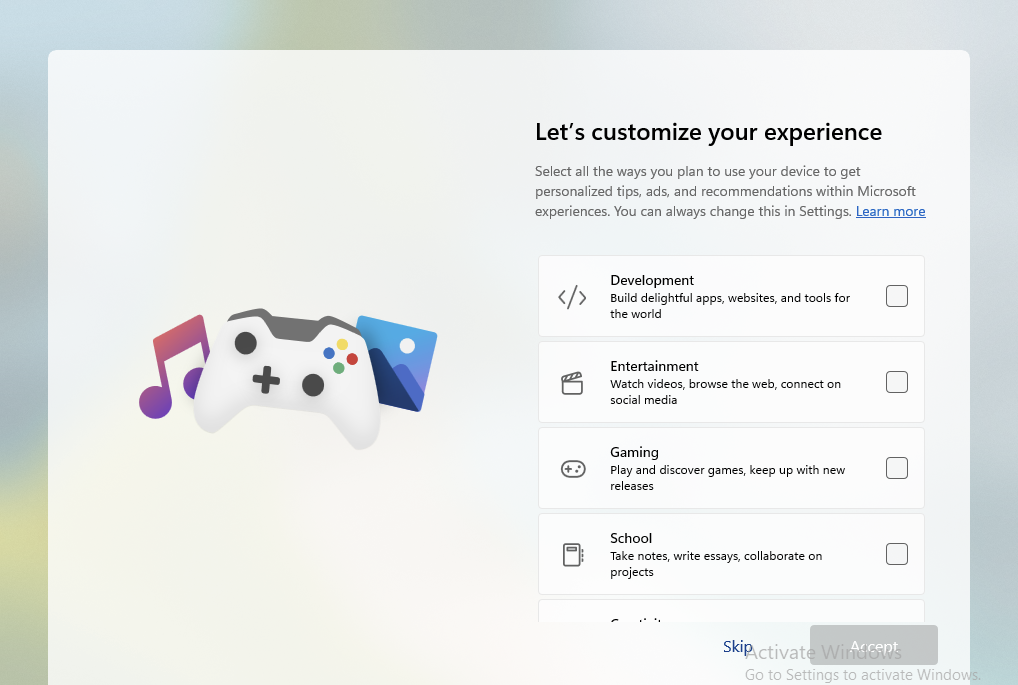
Step 9. Configure the experience you desire for your system, or click Skip to bypass this step.
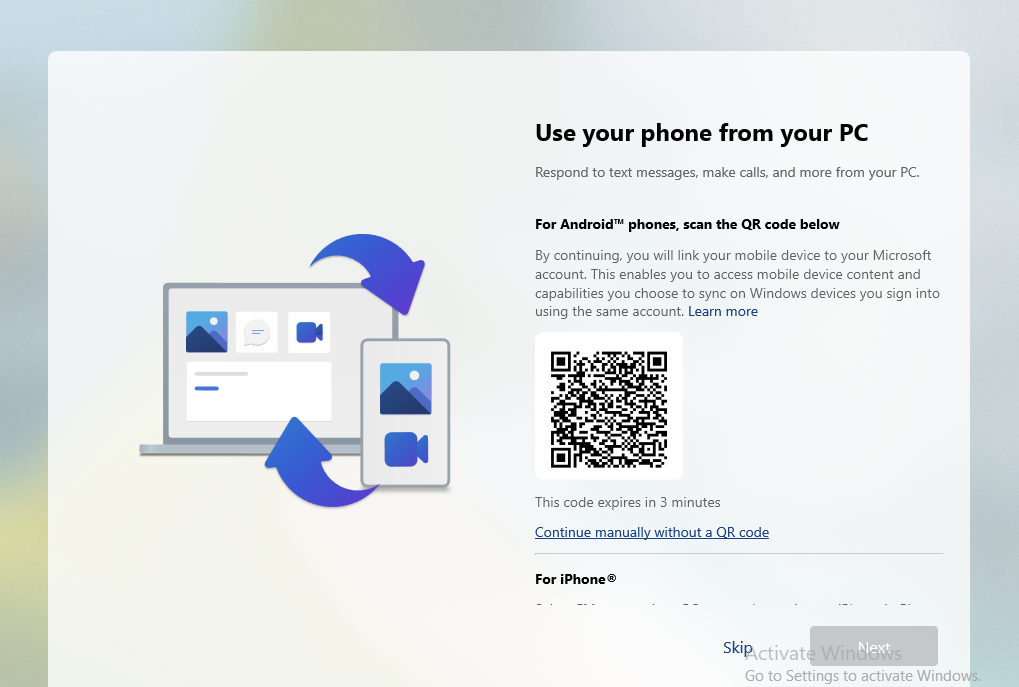
Next, scan the barcode on the Link to Windows app on your smartphone to connect to the Link to PC / Your Phone app. Click Skip if you prefer not to use this feature.
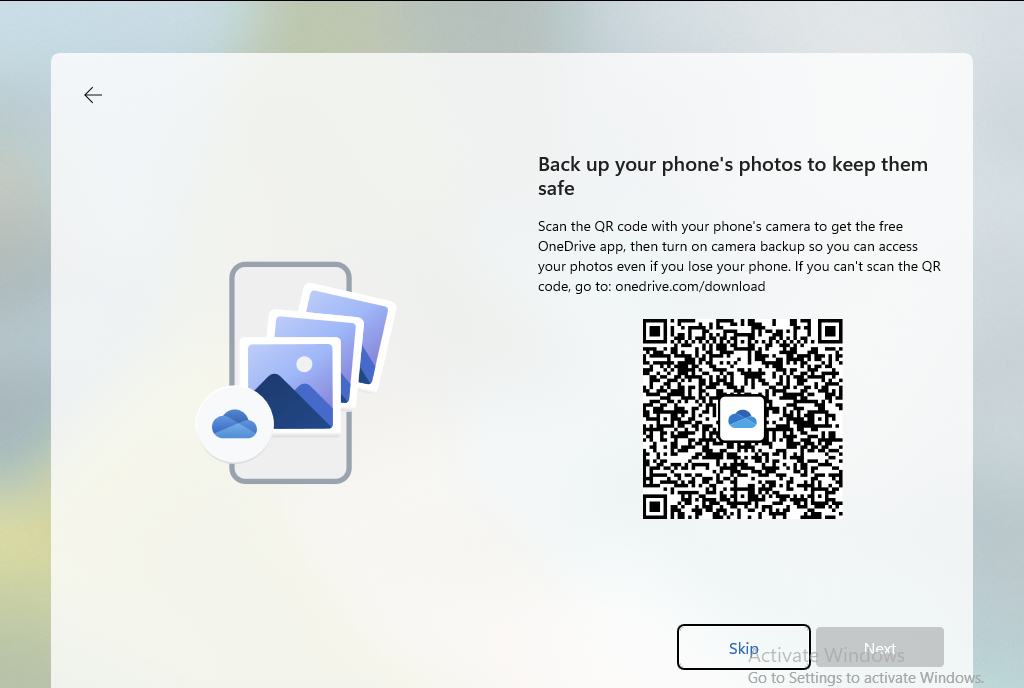
Then, scan the barcode if you wish to download OneDrive on your smartphone. Click Skip to skip this step.
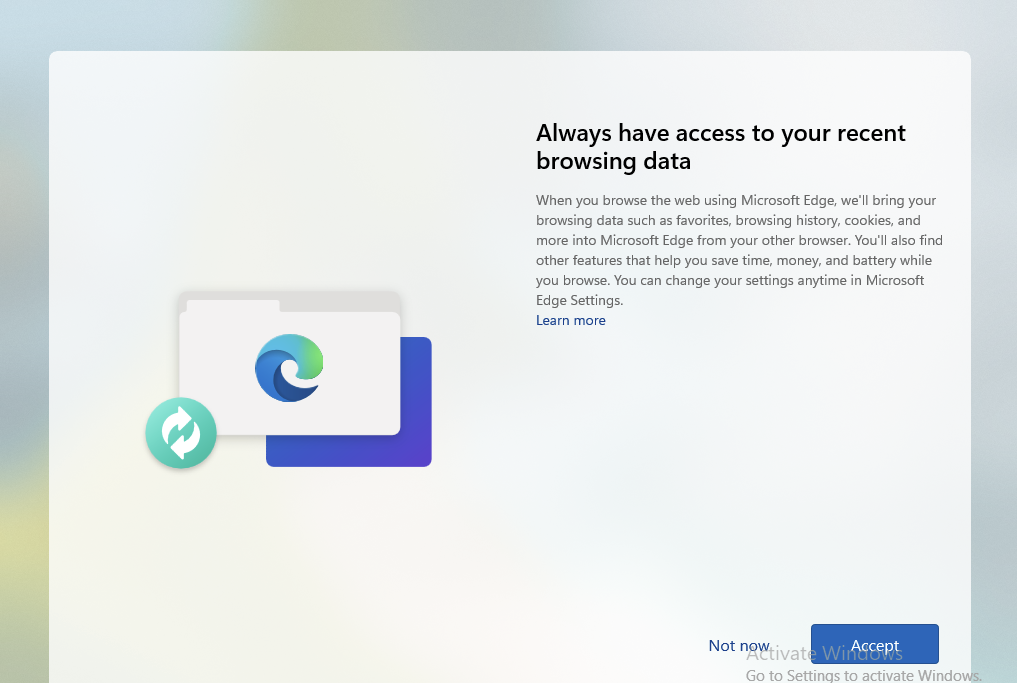
Adjust privacy settings related to Microsoft Edge, clicking Accept to proceed or Not now to configure later.
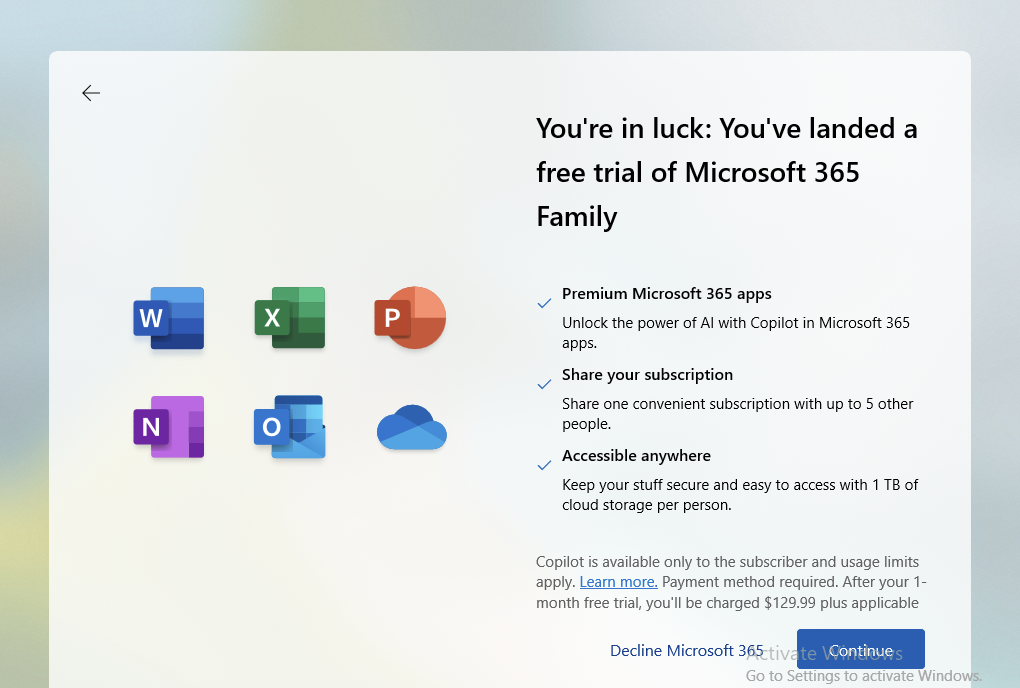
Decide whether to purchase a Microsoft 365 package, clicking Decline if not interested.
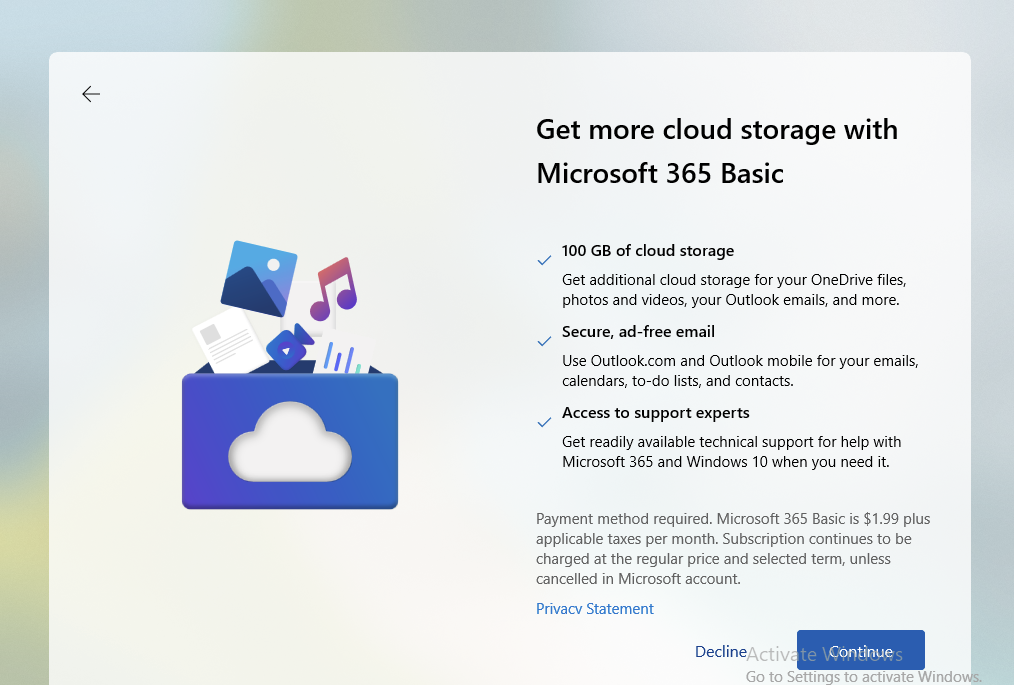
Click Decline again if you don’t want the 100 GB OneDrive cloud storage package.
Click Continue and then Next to finish the process.
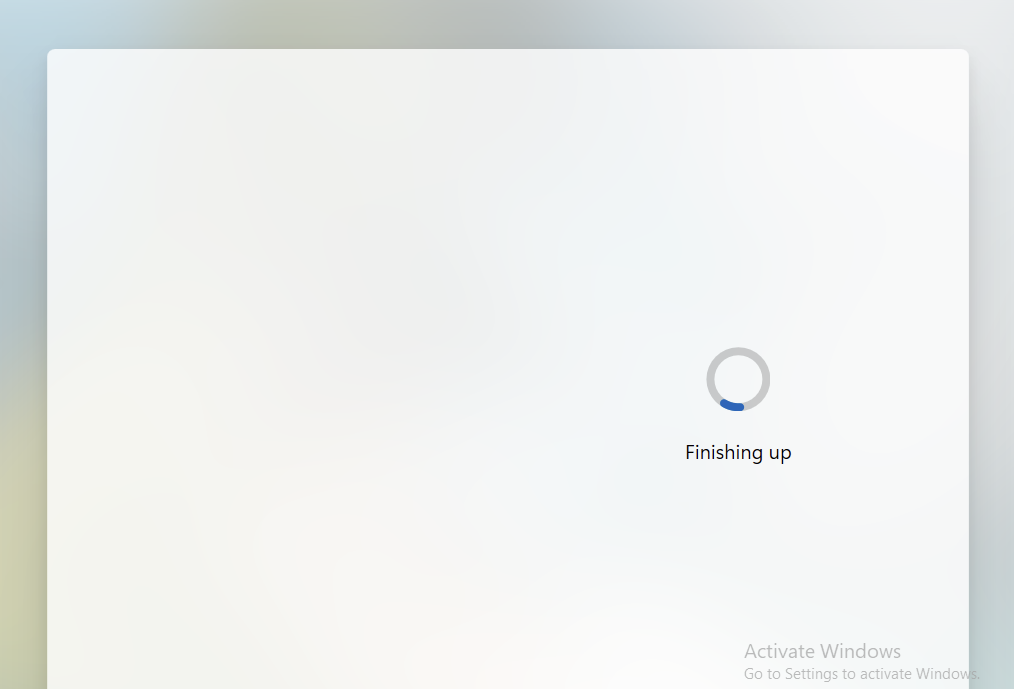
You’re all set! You’ve now arrived at the Windows 11 desktop.
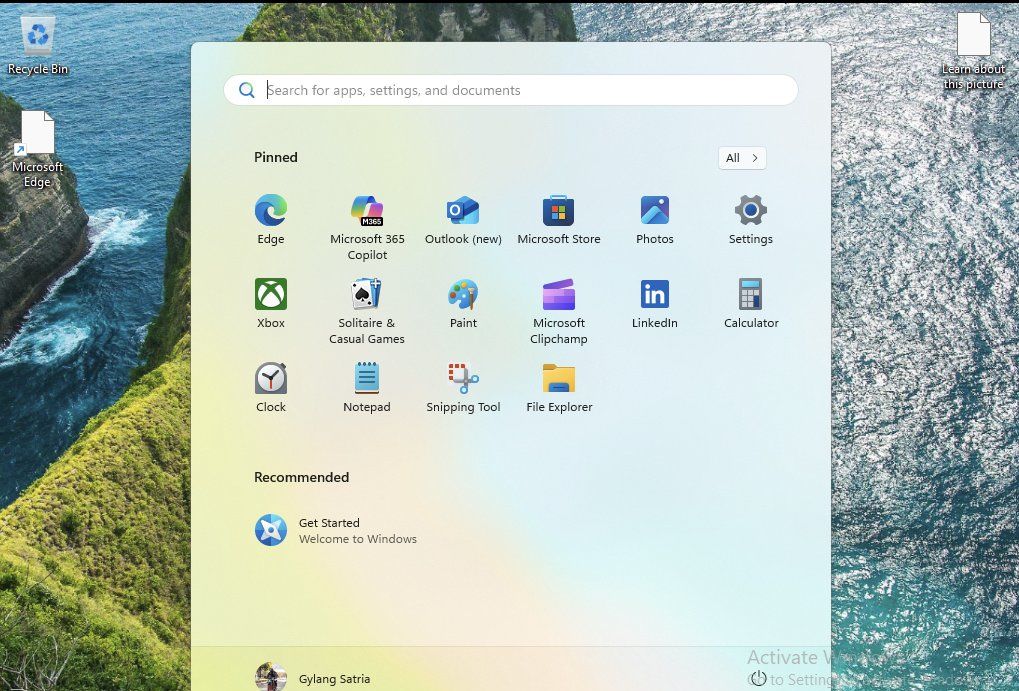
Honestly, compared to Windows 10 or even earlier versions of Windows 11, the OOBE process is quite time-consuming, filled with offers and unnecessary steps.
This means the process can’t be completed instantly, requiring additional clicks to navigate through. Frustrating, isn’t it? In some cases, you might even encounter Xbox offers (depending on your region).
For the most efficient method, my colleagues at dgdig and I always recommend bypassing the OOBE using Rufus. This skips lengthy processes and takes you directly to the desktop.
What’s your take? Share your thoughts in the comments below.

