Often, multiple Wi-Fi networks are available in a single room, and among them, there is usually one that stands out as the most reliable and stable option for usage.

So, how can we configure the priority of these Wi-Fi networks to ensure that whenever we are in a specific location, only the most dependable network we’ve set up is used?
The solution lies in configuring automatic connections in Windows 11. Similar to previous Windows versions, it allows us to specify which Wi-Fi network should connect automatically. Below, we’ve outlined a quick guide on how to set up Wi-Fi priority connections in Windows 11.
Read Also:
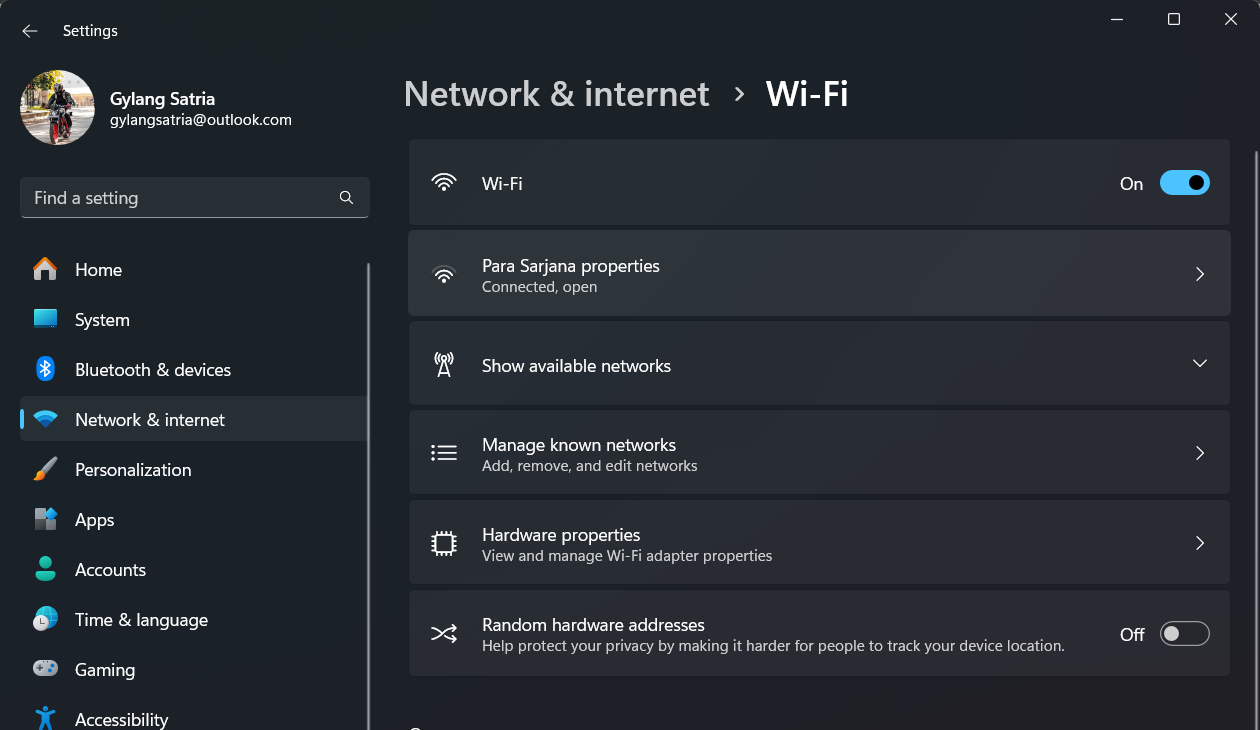
Step 1. First, navigate to Settings > Network and Internet > Wi-Fi.
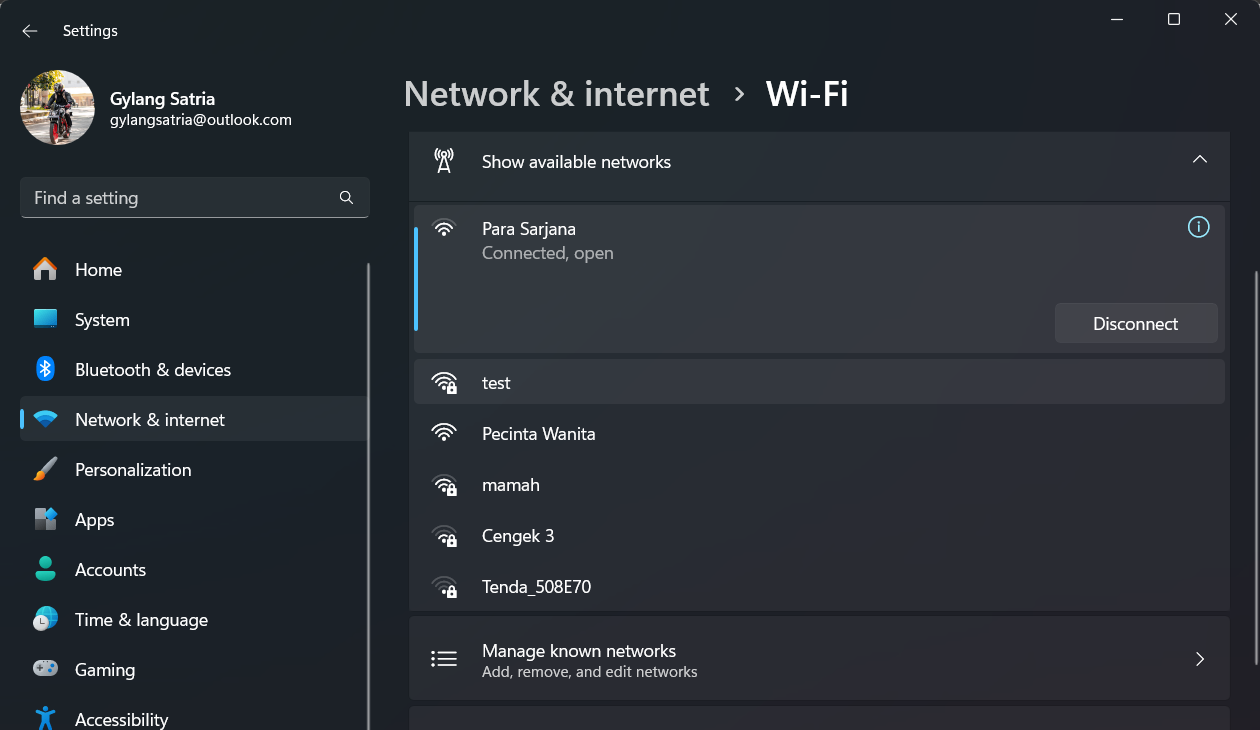
Step 2. Next, go to Show available network.
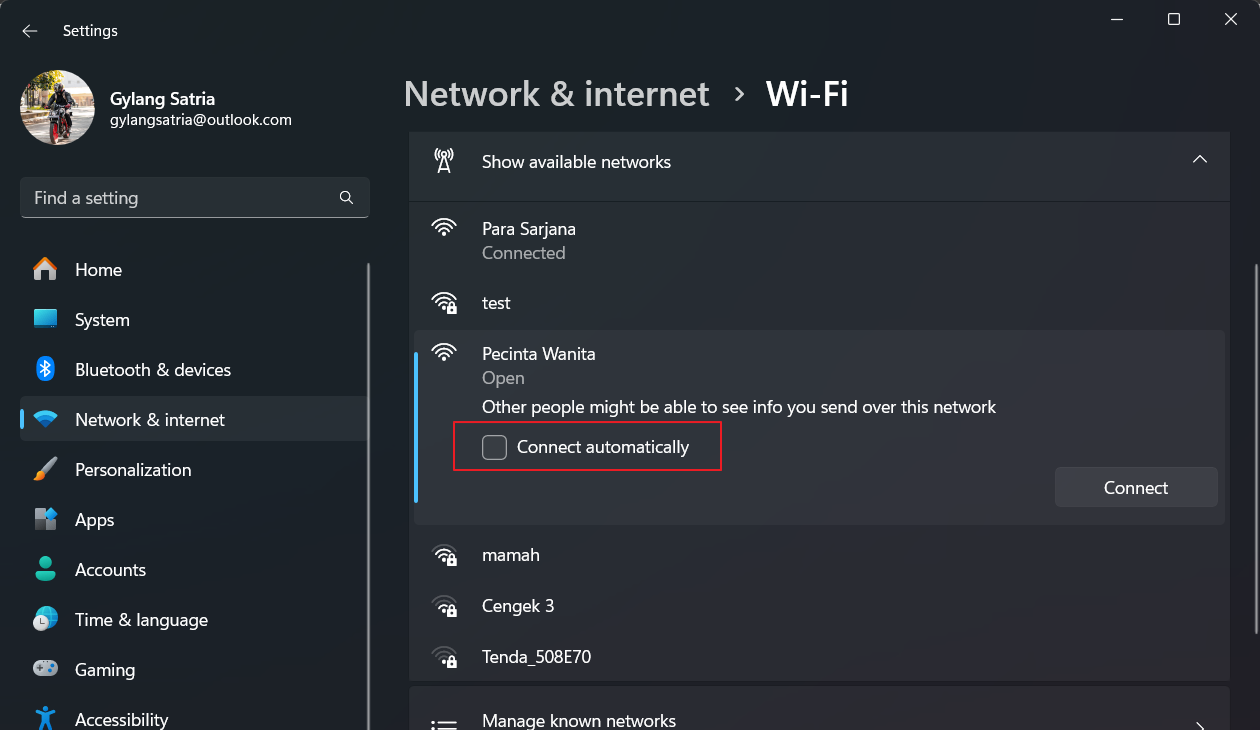
Step 3. Then, select the Wi-Fi network you want to prioritize. For example, in my case, it’s “Pecinta Wanita.” Click on it and choose Connect Automatically.
Once done, your device will automatically connect to the prioritized network whenever it’s detected. This eliminates the need for manual connections, as the system handles it seamlessly.
That’s it! Hopefully, this article proves helpful. Thank you.