Bloatware and Potentially Unwanted Applications (PUAs) are among the aspects of Windows 11 that I find particularly bothersome. Across various system setups I’ve used, if there’s an application I no longer need, I always remove it, whether on Windows or even Linux.
The reason is straightforward: to maximize storage capacity. The more applications I uninstall, the more storage space I free up.
Typically, we want to remove multiple applications at once, and deleting them one by one is time-consuming. In the past, I relied on tools like Revo Uninstaller or iObit Uninstaller. However, the lack of portable options often led to installing new software just to remove existing ones.
The Solution?
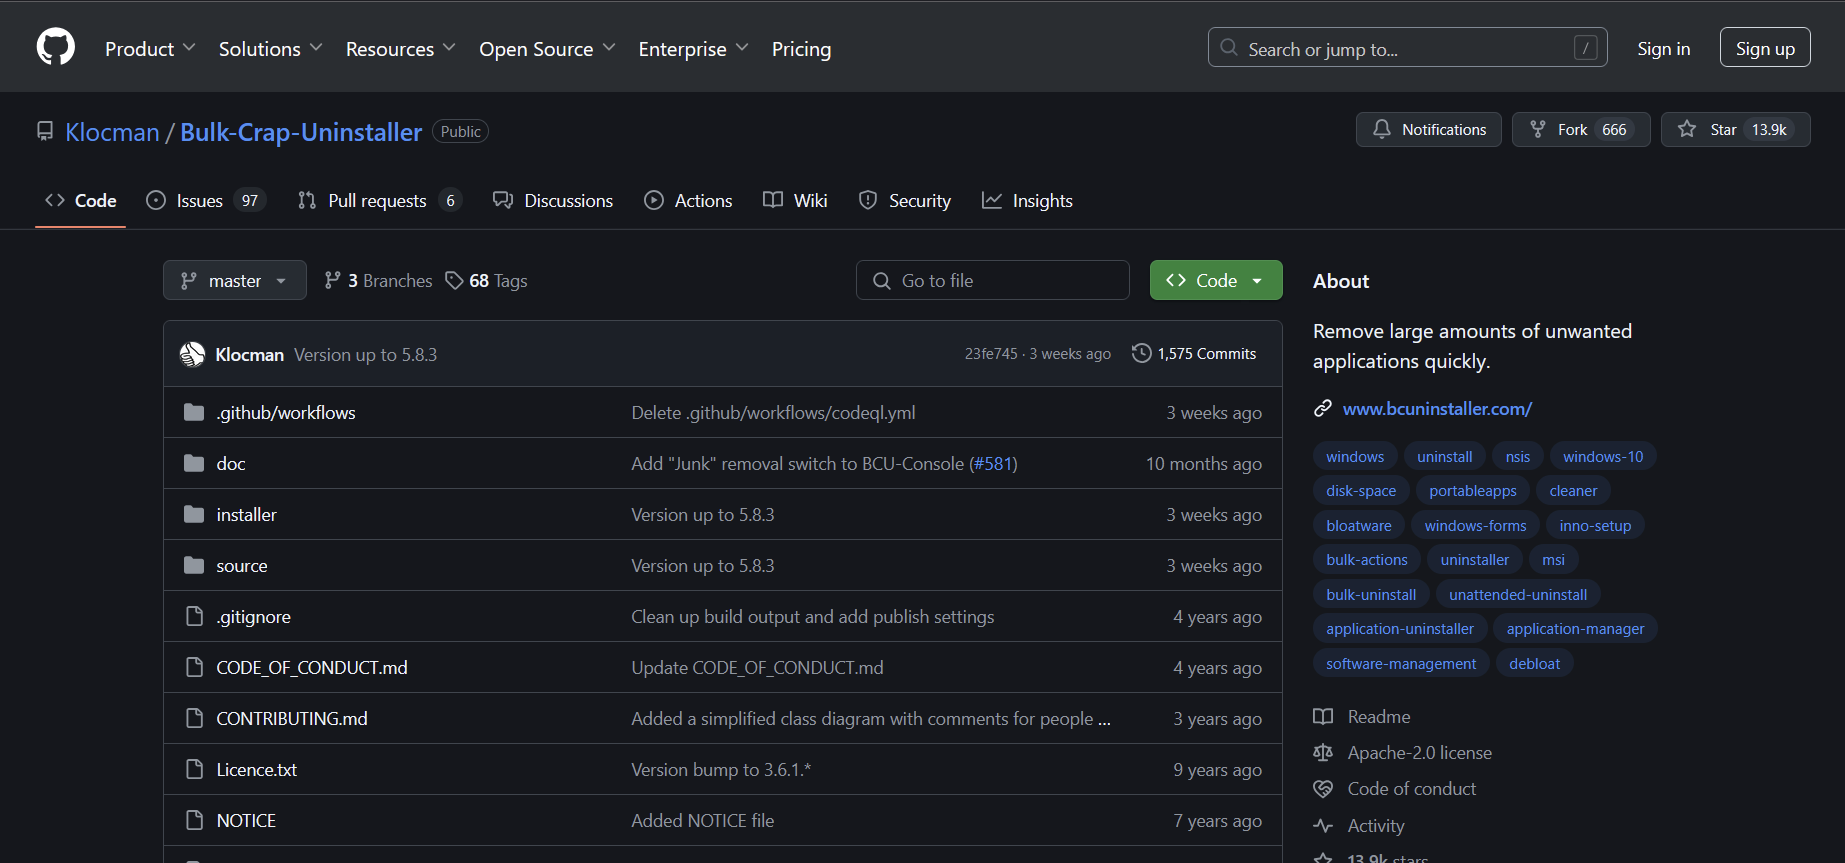
In this regard, there’s a new application I’ve been using for a while, and honestly, it’s fantastic. It’s called Bulk-Crap-Uninstaller, available on GitHub.
This tool is open-source, free, and portable, yet it delivers exactly what I need: the ability to uninstall multiple applications quickly and simultaneously.
So, how do you use this application, and how can you uninstall multiple apps at once on Windows 11? Here’s a step-by-step guide.
Step 1. First, download Bulk-Crap-Uninstaller from its GitHub page or the official website.
Step 2. Next, download and extract the files. I prefer the portable version since it doesn’t require installation on the system you’re cleaning.
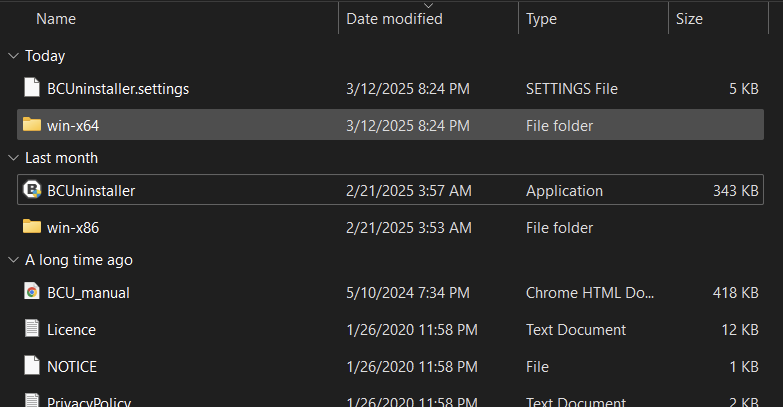
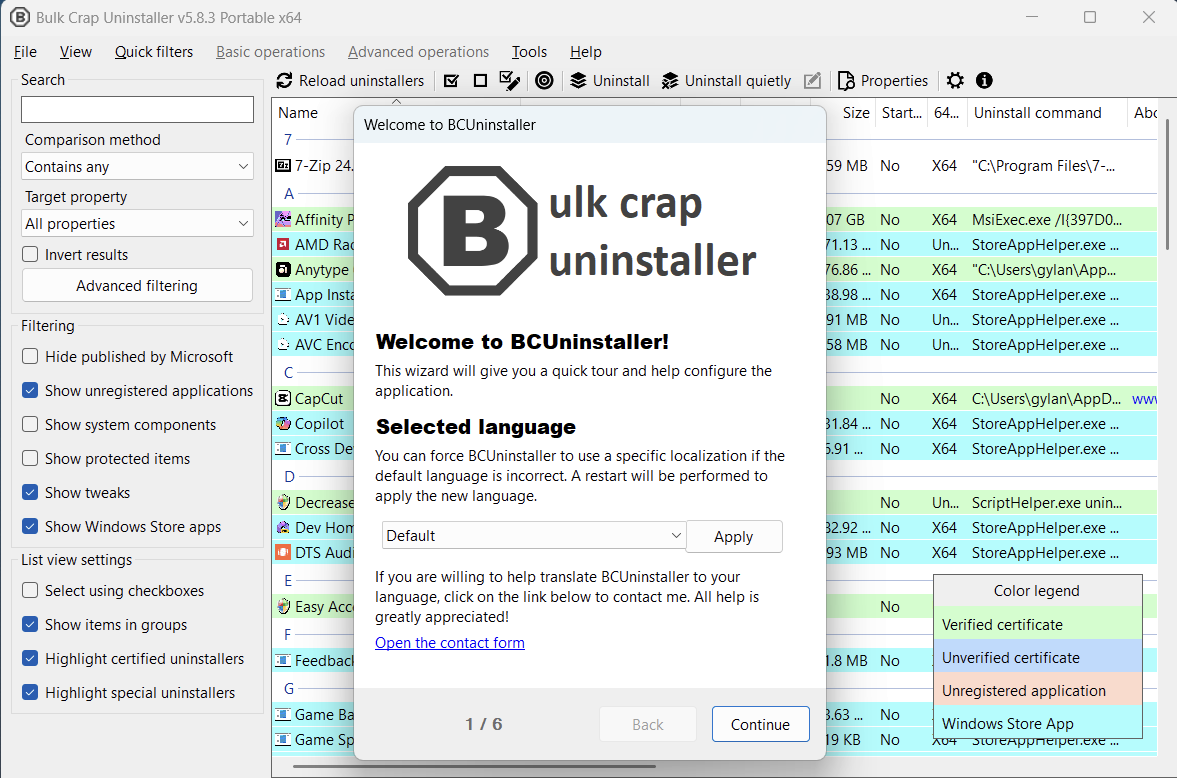
Launch the application named BCUninstaller, then complete the initial setup, such as changing the language. Personally, I just click Next until Finish.
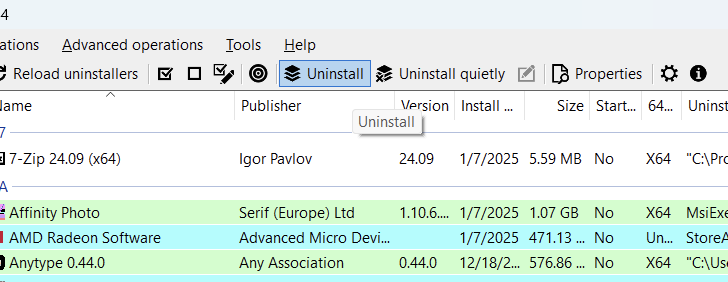
Step 3. Now, select the applications you want to remove. You can do this by holding the Ctrl key while clicking on the apps.
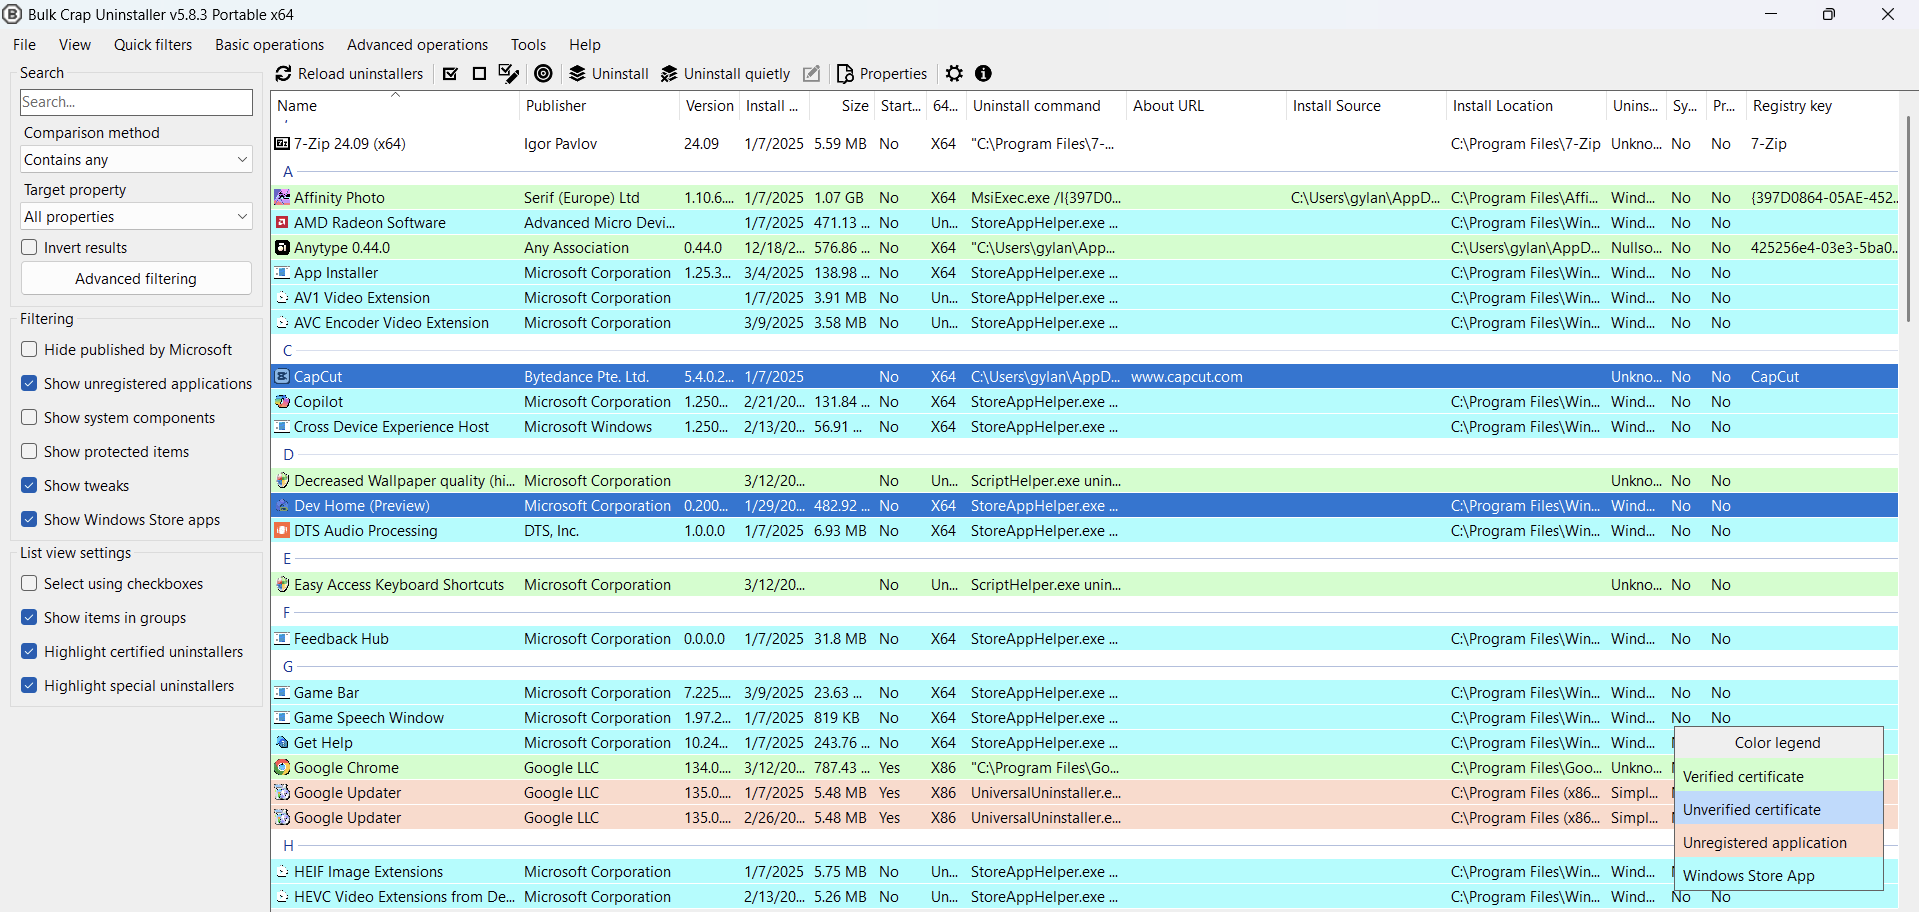
Once selected, click the Uninstall button.
The application will ask for confirmation to proceed with the uninstallation. If you’re sure, click Continue.
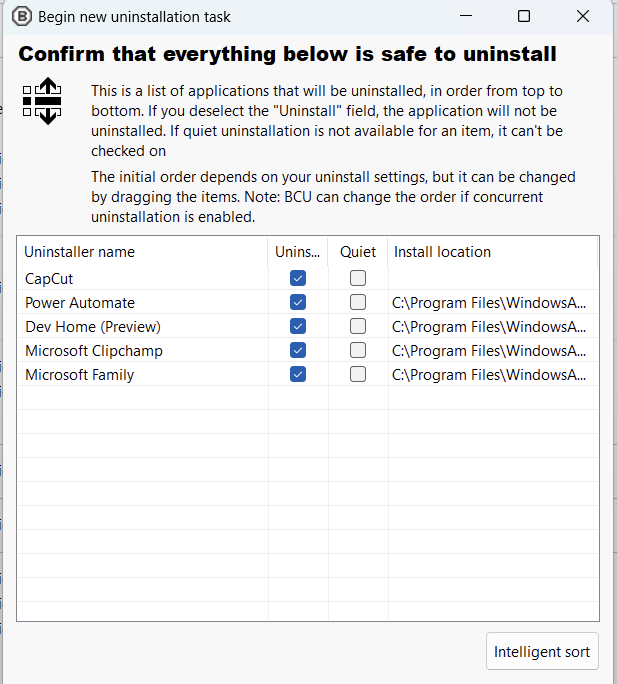
Next, choose the uninstall settings. I usually stick with the default options.

Finally, click Begin Uninstallation.
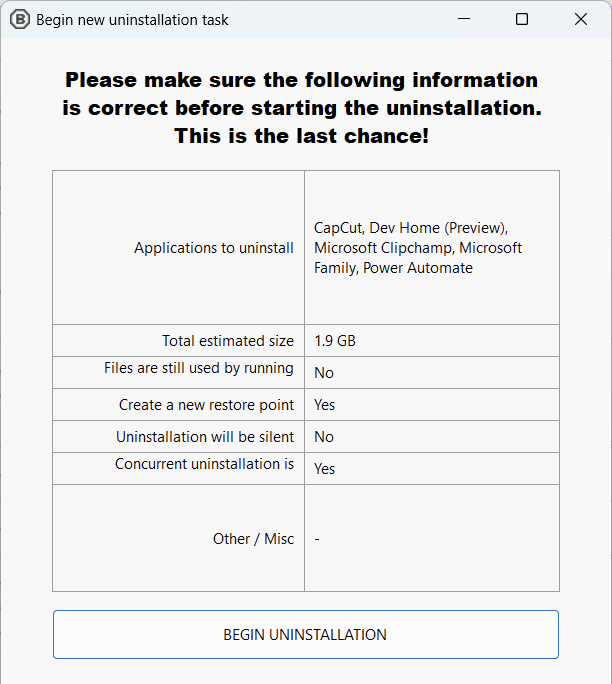
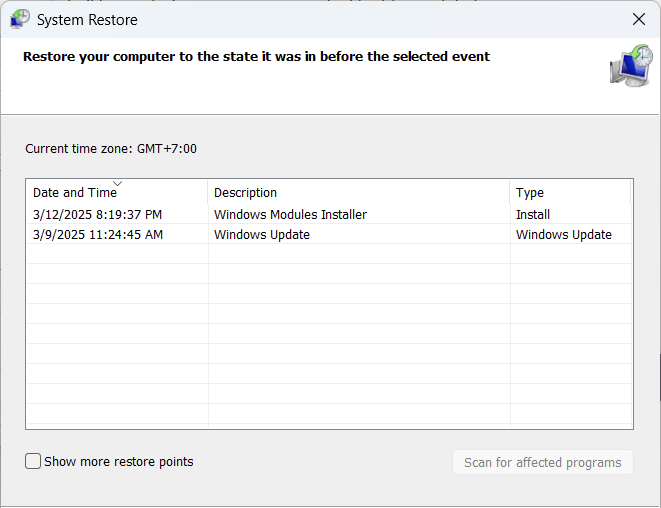
Automatically, the tool creates a system restore point, which is crucial for avoiding potential issues. If the system gets stuck at the Windows logo or encounters a BSOD, you can roll back to this restore point.
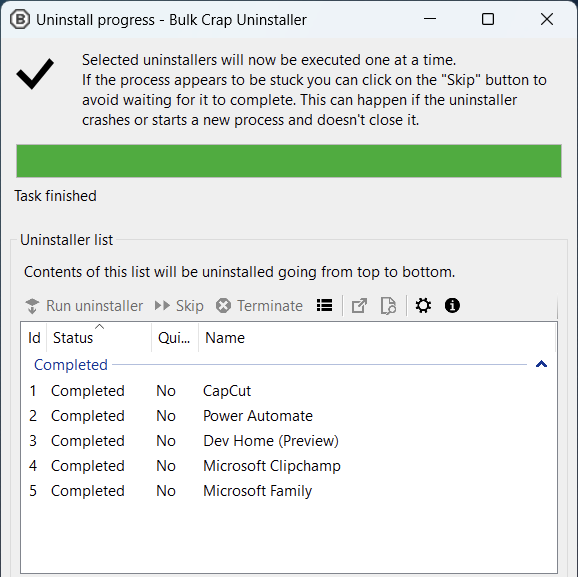
After that, the uninstallation process will begin. Here’s what it looks like once completed.
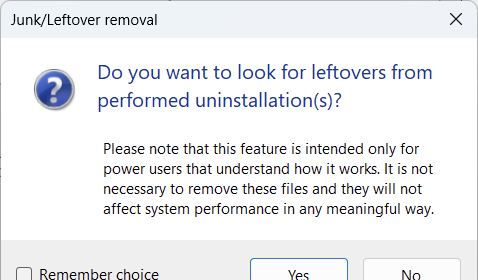
You’ll also have the option to remove leftover files. Select Yes to clean them up.
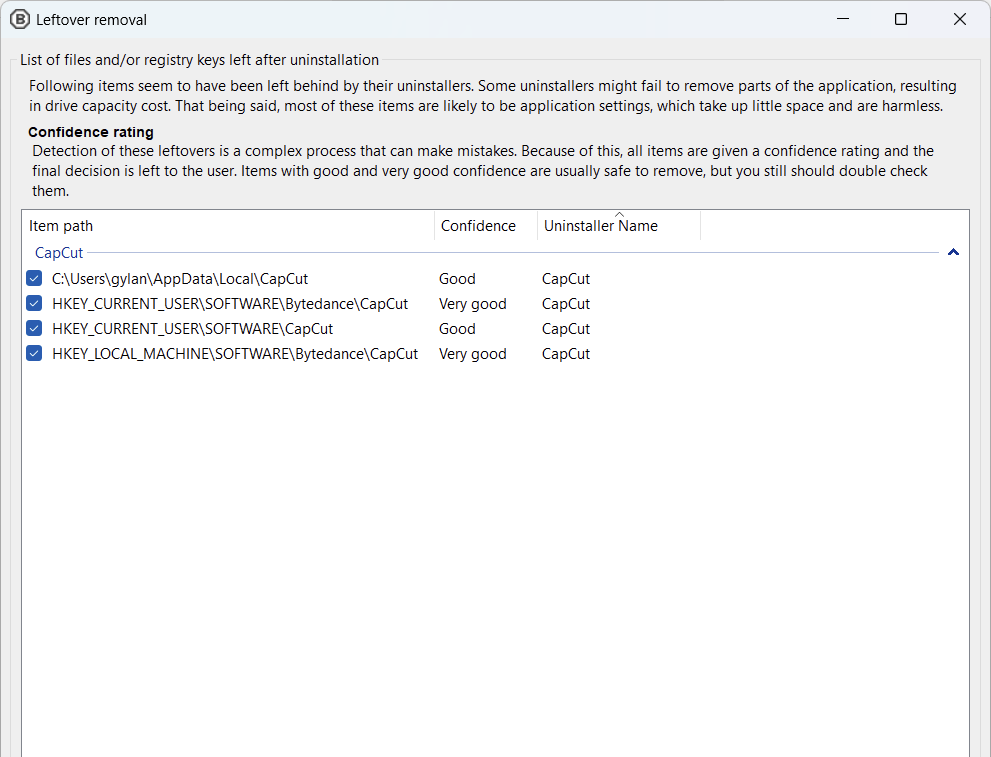
Here’s an example of residual files after uninstallation, such as lingering registry keys. Let’s remove them as well.
Besides being free and open-source, this application is portable, which is why I love it. It also offers a comprehensive set of features, including quiet uninstallation, advanced options, and, most importantly, support for removing built-in Windows 11 apps. This ensures your Windows 11 system can be thoroughly cleaned of unwanted software.
If I were to rate it, among all the open-source uninstallers I’ve tried, this is undoubtedly the best. Do you have any alternatives? Share your thoughts in the comments below.