Previously, we briefly introduced the OpenRecall application, which offers features similar to Windows Recall but operates without the need for an NPU and is available across multiple platforms.
To recap, OpenRecall provides functionality akin to Microsoft’s Recall, which unfortunately was delayed indefinitely. OpenRecall includes features such as Time Travel, allowing users to revisit past activities, AI-powered capabilities, Semantic Search with Advanced Local OCR, and Full Control Storage, giving users complete management over their data.
Read Also: Microsoft Delays Launch of Recall Feature for Copilot+
So, how do you install and use OpenRecall? In this article, dgdig will guide you through the process, especially if you’re curious about how this application works.
Read Also:
Step 1. First, ensure you have Python version 3.11 or newer installed. If not, you can download Python from the official website.
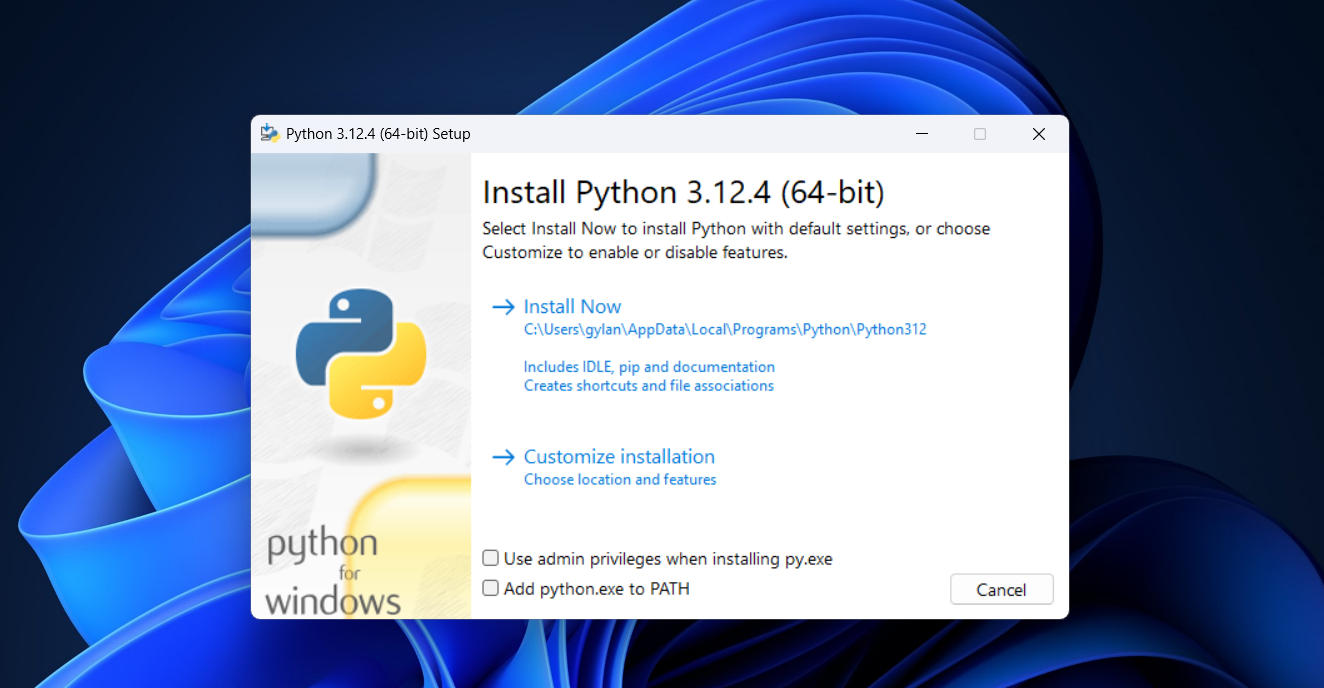
*Don’t forget to check the “Add python.exe to PATH” option during installation.
Step 2. Once Python is installed, you also need to install Git. You can download Git from the official Git page.
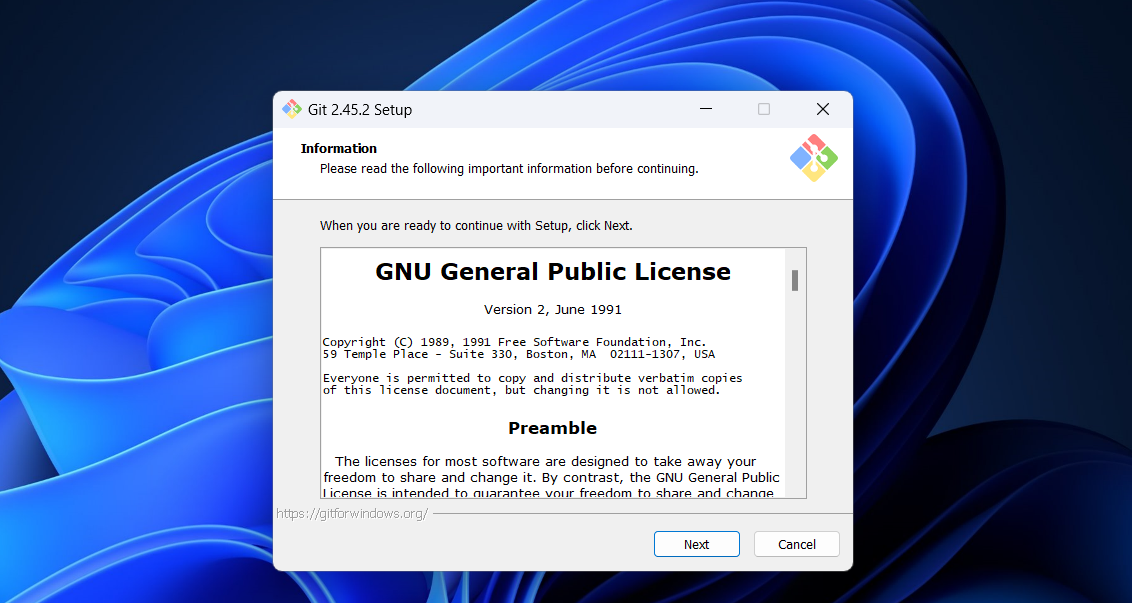
Step 3. After both are installed, open Windows Terminal and enter the following command:
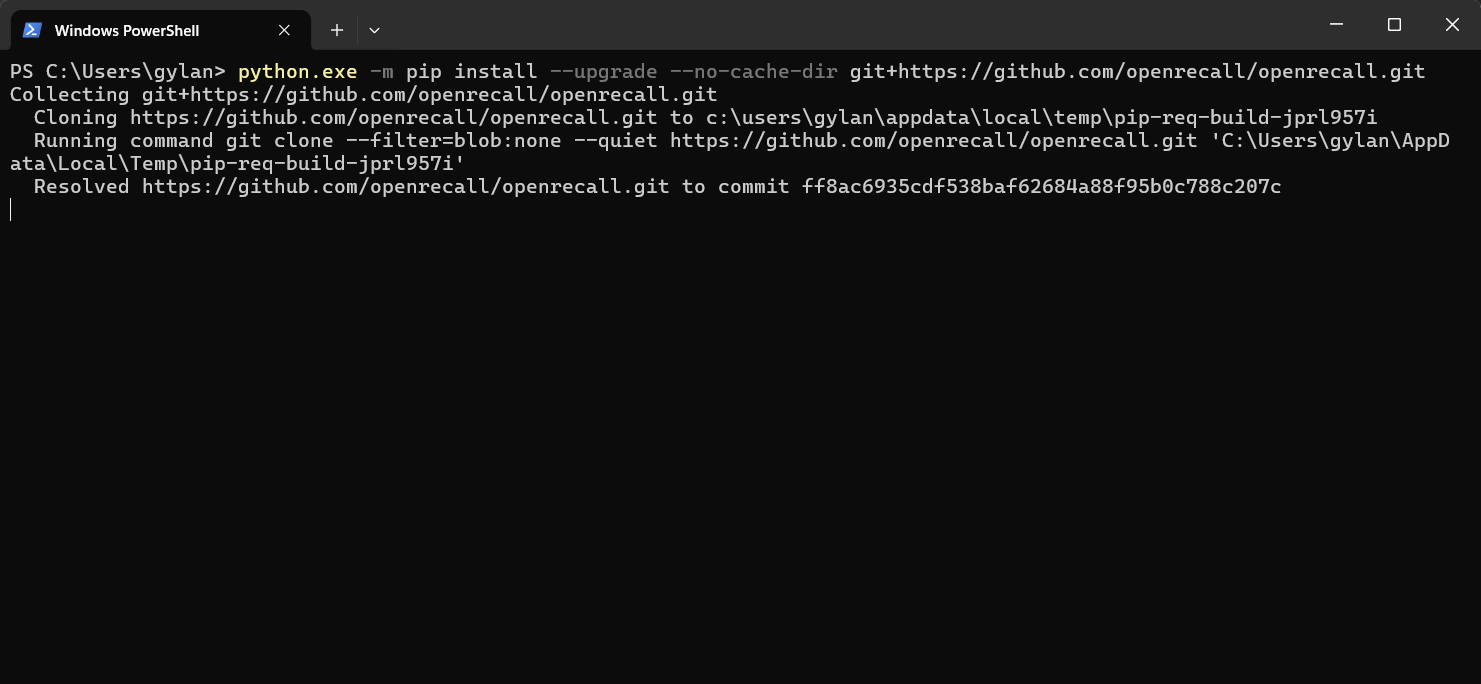
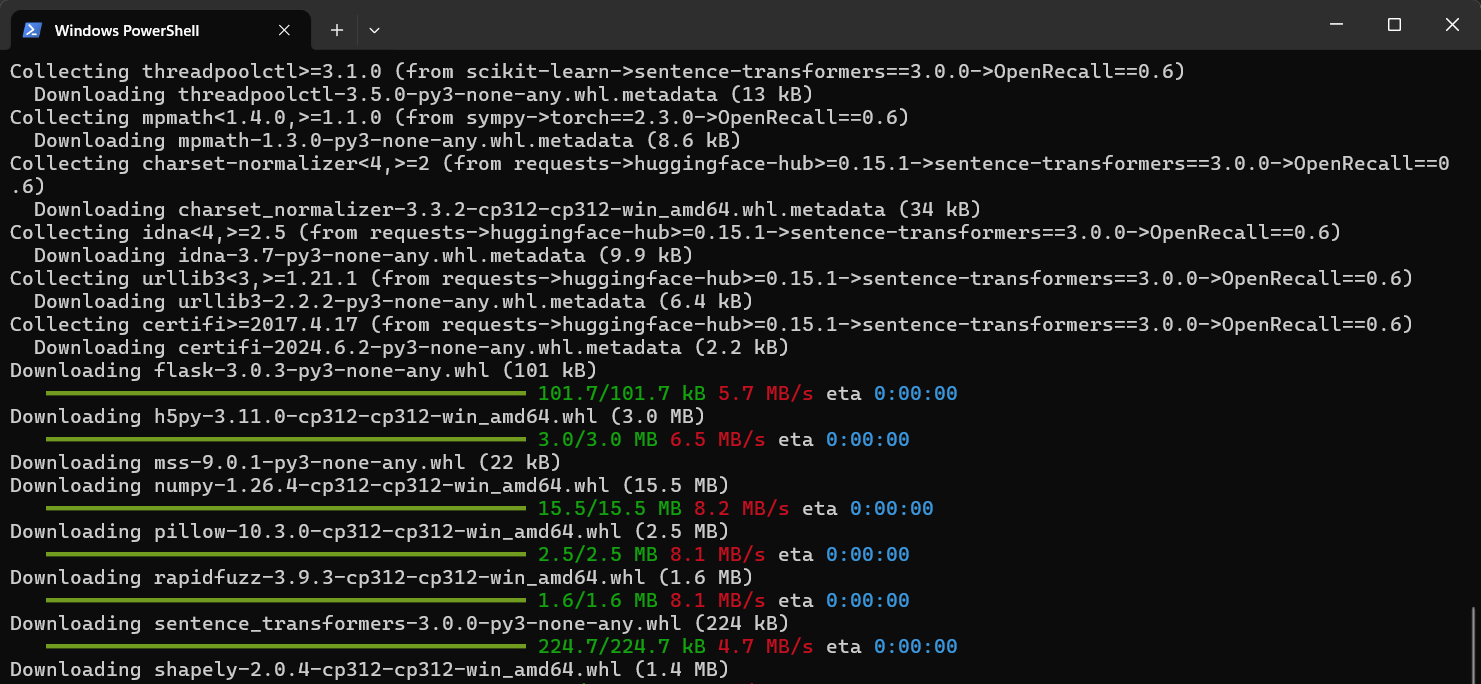
Wait for the download and installation to complete. The process duration depends on your device’s specifications and internet speed. Ensure you have sufficient data quota, as the download size is substantial.
Step 4. Once the installation is complete, launch OpenRecall by entering the following command in Windows Terminal.
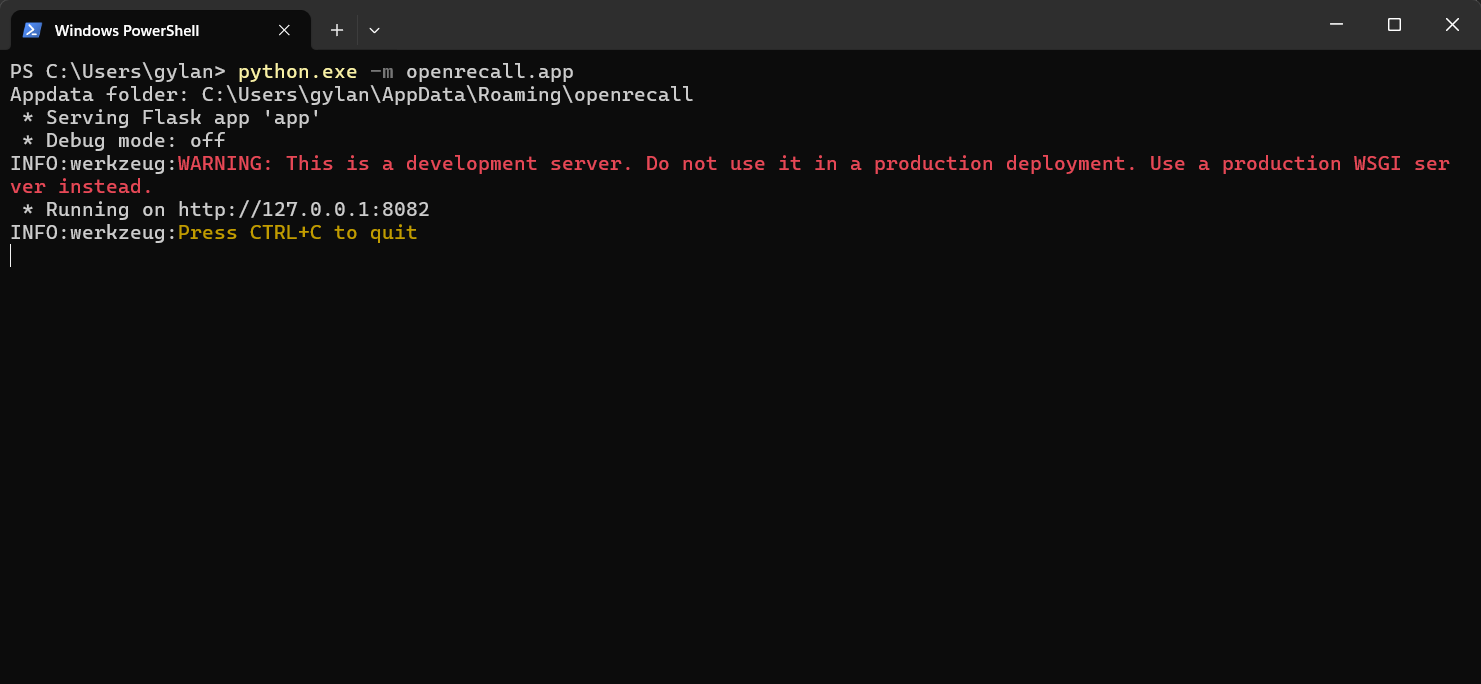
Next, open your preferred browser and navigate to the following URL: http://127.0.0.1:8082
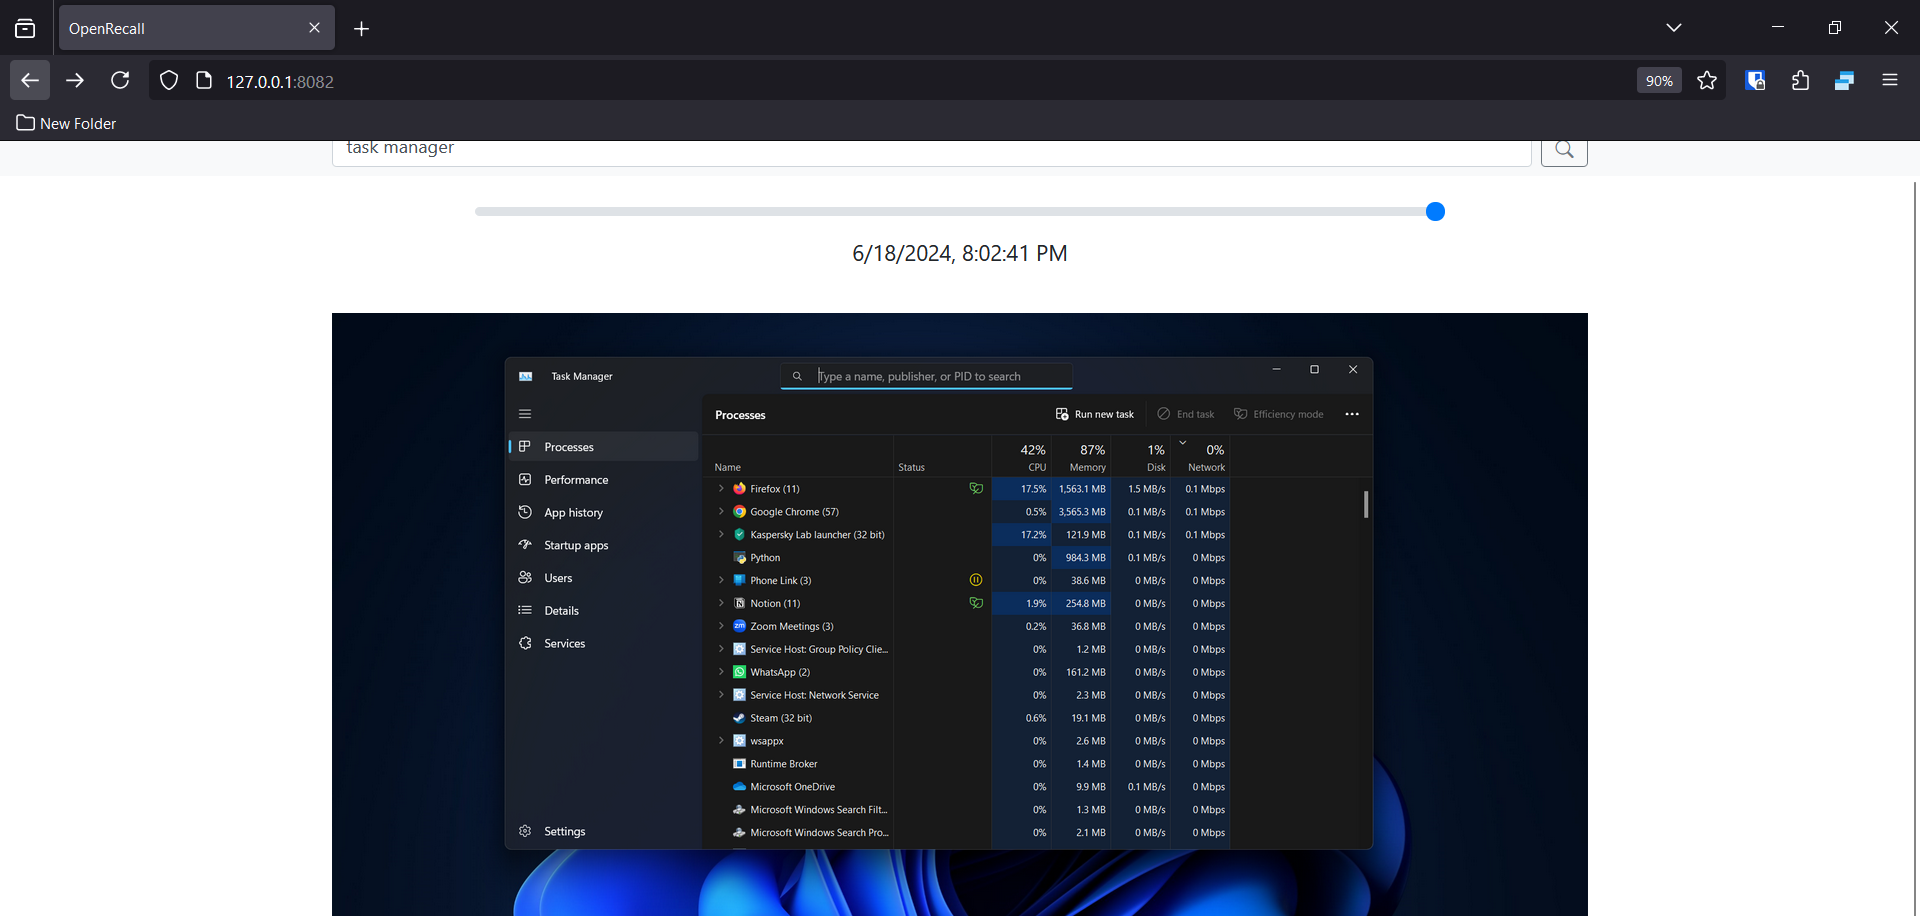
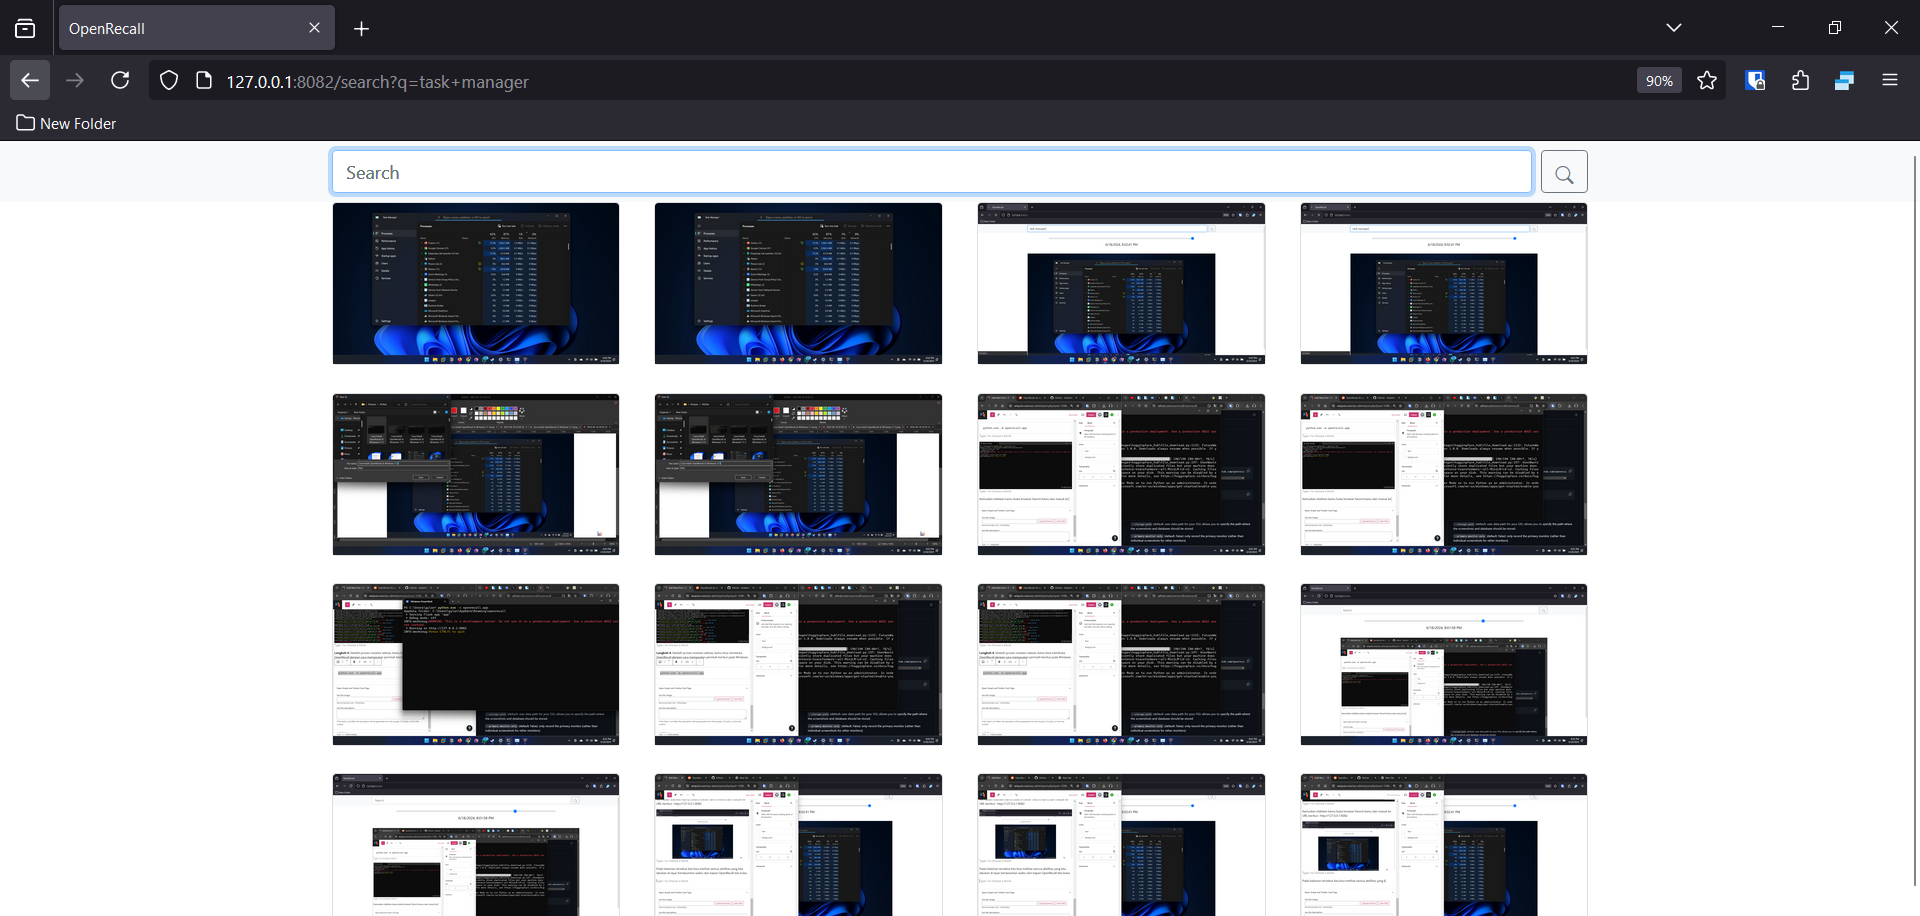
On this page, you’ll see all your screen activities based on the time since you launched OpenRecall.
Additionally, you can search for specific activities using the search form.
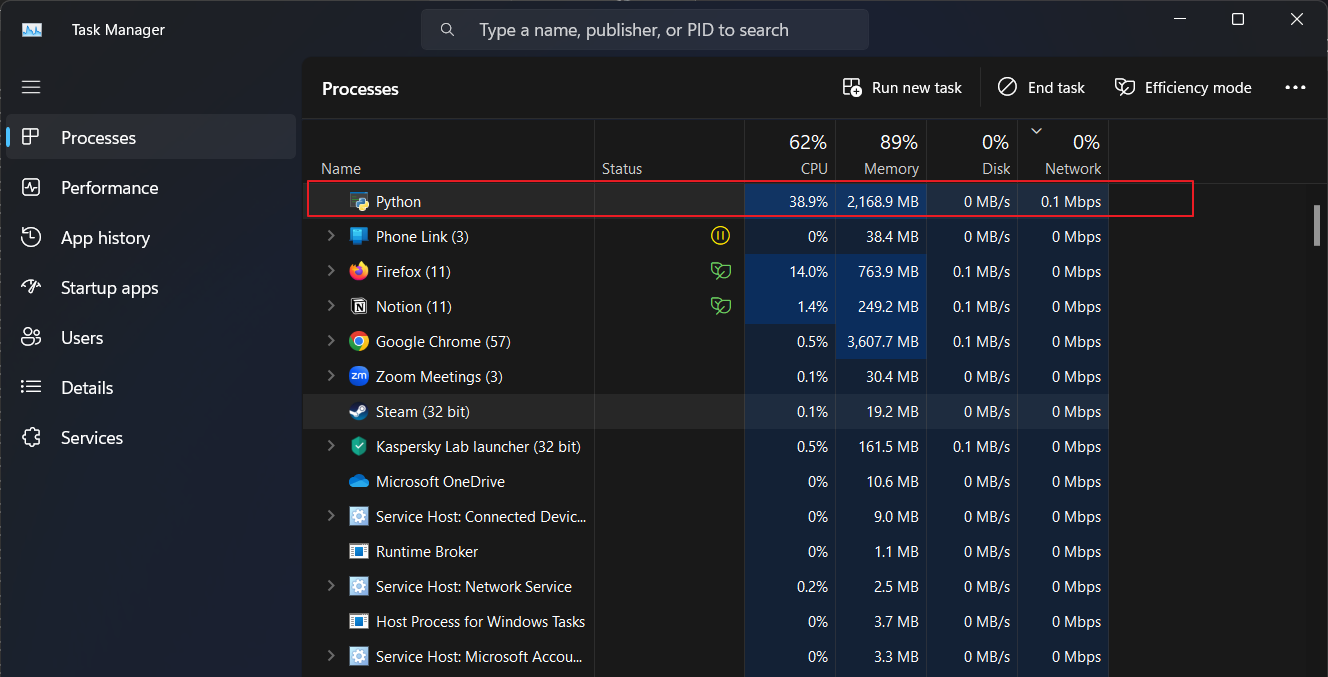
One important thing to note is that the longer OpenRecall runs, the more it will strain your device, as CPU and RAM usage will increase accordingly.
That’s a quick guide to installing OpenRecall on Windows 11. Feel free to give it a try. A more detailed review will be available in the coming days, so stay tuned to dgdig for updates.


